Introduction: Achieving Stunning Curls with a Flat Iron
Creating beautiful curls with a flat iron is a versatile and popular hairstyling technique. By using a flat iron, you can achieve a range of curl styles, from loose and beachy waves to tight and defined curls. In this comprehensive guide, we will explore the step-by-step process of creating flawless flat iron curls, ensuring you have all the necessary information to master this technique. With proper preparation, technique, and attention to detail, you can effortlessly transform your hair into stunning curls that will turn heads wherever you go.
Mastering the Art of Flat Iron Curls: Step-by-Step Guide for Gorgeous Hairstyles
-
Preparing Your Hair
a. Clean and dry hair: Start with clean, dry hair to ensure optimal results. Wash and condition your hair using products suitable for your hair type, and allow your hair to air dry or use a blow dryer until it is completely dry.
b. Heat protectant: Apply a heat protectant spray or serum throughout your hair to shield it from the potential damage caused by heat styling tools. Focus on the mid-lengths and ends, as these areas are more susceptible to damage.
c. Sectioning your hair: Divide your hair into manageable sections, using clips or hair ties to secure each section. Starting from the bottom layers and working your way up will make the curling process more efficient and prevent tangles.
-
Selecting the Right Flat Iron
a. Width of the plates: For loose, natural-looking curls, opt for a flat iron with wider plates (around 1.5 to 2 inches). If you prefer tighter and more defined curls, choose a flat iron with narrower plates (around 0.5 to 1 inch).
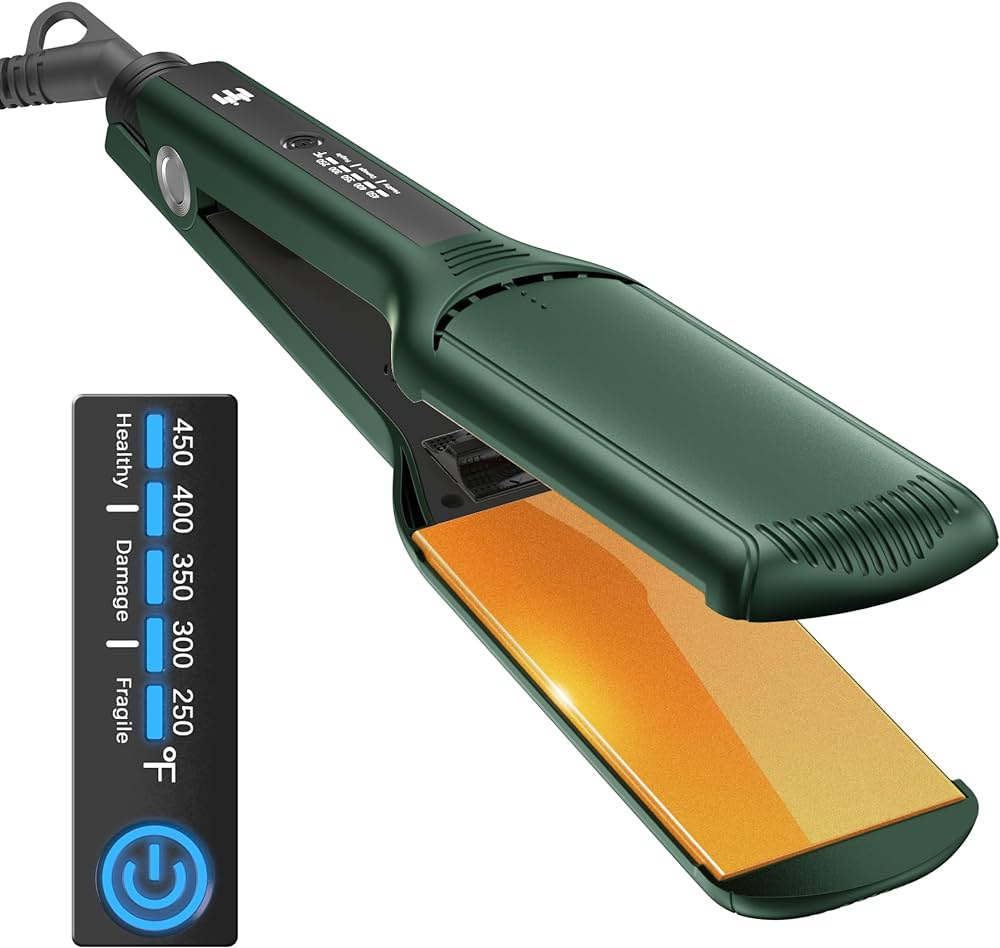
b. Heat settings: Ensure your flat iron has adjustable heat settings. For fine or damaged hair, use lower heat settings (around 300°F or below). For thicker or coarser hair, higher heat settings (around 350°F to 400°F) may be necessary. Always prioritize the health of your hair and avoid using excessive heat.
-
Curling Techniques
a. Basic curling technique:
i. Take a small section of hair: Working with one section at a time, grab a small portion of hair and hold it taut between the flat iron plates.
ii. Clamp and twist: Clamp the flat iron near the roots of the hair section. While maintaining a firm grip, twist the flat iron away from your face, rotating it at least 180 degrees.
iii. Glide down the hair: Slowly glide the flat iron down the length of the hair section, maintaining gentle pressure. The slower you move, the more defined the curl will be.
iv. Release and repeat: Gently release the hair from the flat iron, allowing the curl to cool slightly before moving on to the next section. Repeat this process with each section until all of your hair is curled.
b. Variation for different curl styles:
i. S-shaped waves: Instead of a full rotation, twist the flat iron in an S-shaped pattern while gliding down the hair. This technique creates soft and natural-looking waves.
ii. Spiral curls: Wrap a small section of hair around the flat iron plates, starting from the roots and twisting it around the iron as you move down. Carefully release the hair to reveal spiraling curls.
iii. Defined curls: For tighter and more defined curls, use smaller hair sections and rotate the flat iron multiple times while gliding down. The more rotations you make, the tighter the curl will be.
-
Finishing Touches
a. Finger-combing or brushing: Once all sections of your hair are curled and cooled, use your fingers or a wide-toothed comb to gently separate and loosen the curls, creating a more natural and effortless look. If desired, you can also use a paddle brush to achieve softer, cascading waves.
b. Setting the style: To enhance the longevity of your curls, apply a lightweight hairspray or a curl-enhancing spray. Hold the spray at arm’s length and lightly mist over your hair, ensuring all curls are coated.
c. Optional styling: If you prefer more volume or texture, you can scrunch your curls with your hands or use a texturizing spray. These techniques add bounce and dimension to your hairstyle.
-
Maintaining and Reviving Curls
a. Sleep-friendly styling: Preserve your curls overnight by loosely tying your hair in a high bun or using a silk or satin pillowcase to reduce friction. For added protection, wrap your hair in a silk or satin scarf.
b. Second-day styling: If you want to revive your curls the next day, lightly mist your hair with a curl-refresher spray and scrunch the curls with your hands. Use a diffuser attachment on your blow dryer to gently warm up and reshape any flattened curls.
c. Avoiding excessive heat: To maintain healthy hair and prevent heat damage, limit the frequency of heat styling. Embrace heatless curling methods, such as using foam rollers, flexi rods, or braiding your hair overnight, to achieve curls without the use of a flat iron.
-
Troubleshooting Common Issues
a. Uneven curls: If you notice that some sections of your hair have uneven curl patterns, ensure that you are using consistent tension and heat throughout the process. Take smaller sections and make sure to glide the flat iron down smoothly and evenly.
b. Frizzy curls: Frizz can occur if your hair is not properly moisturized or if you are using a high heat setting. Ensure that you are using a heat protectant and consider using a lower heat setting to prevent excessive heat damage. Using a small amount of anti-frizz serum or oil can also help tame frizz after styling.
c. Flat or lifeless curls: If you find that your curls are falling flat quickly or lacking volume, make sure to use a volumizing or texturizing product before styling. Additionally, try holding each curl in your hand for a few seconds after releasing it from the flat iron to allow it to cool and set before moving on to the next section.
Conclusion: Embarking on Your Curling Journey
With the step-by-step guide provided, you now have the knowledge to create flawless flat iron curls. By preparing your hair, selecting the proper flat iron, employing various curling techniques, and adding finishing touches, you can achieve stunning hairstyles with ease and confidence.
Remember to prioritize the health of your hair by using heat protectant products and avoiding excessive heat. Practice makes perfect, so don’t be discouraged if your first attempts are not flawless. As you refine your technique and experiment with different curl styles, you’ll find the perfect flat iron curls that suit your hair type and personal style.
Embrace the versatility and creativity of flat iron curls, and let your hair shine with gorgeous, head-turning curls that inspire confidence and showcase your unique beauty.