Introduction
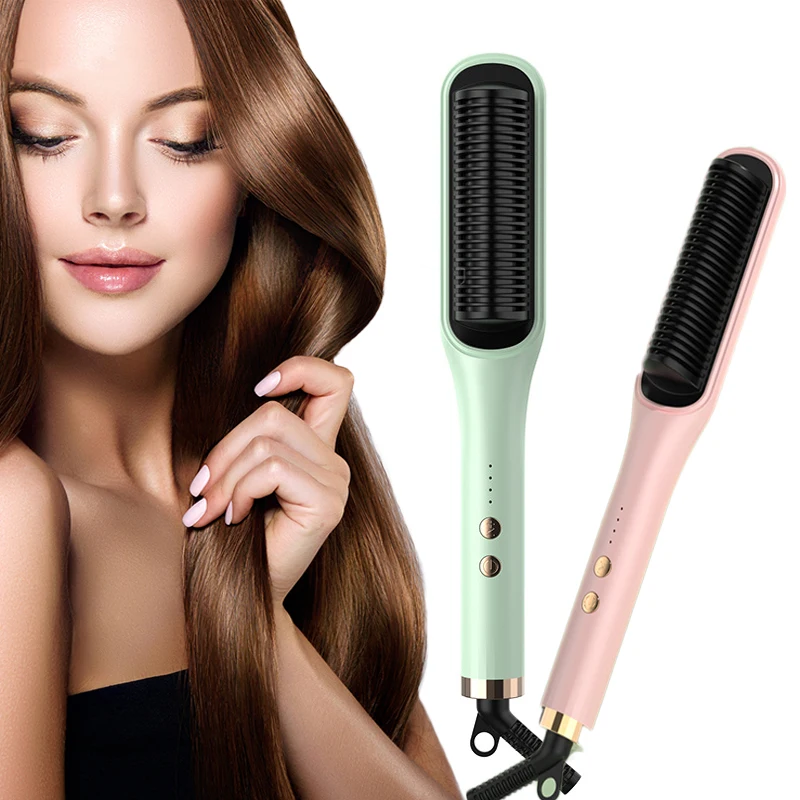
Beachy waves are a popular and timeless hairstyle that exudes a relaxed and effortless vibe. While beachy waves are often associated with using curling irons or wands, they can also be achieved with a flat iron. This versatile styling tool can create loose, tousled waves that mimic the natural texture of beachy waves. In this guide, we will provide a step-by-step process for getting beachy waves using a flat iron.
How do you get beachy waves with a flat iron?
Preparing the Hair
1.1. Clean and Dry Hair
Start with clean, dry hair before styling. If necessary, wash and dry your hair using a gentle shampoo and conditioner. Avoid using heavy styling products that can weigh down the hair or interfere with the curling process.
1.2. Heat Protectant Application
Apply a heat protectant spray or serum to protect the hair from heat damage. Distribute the product evenly throughout the hair, focusing on the mid-lengths and ends. This step is crucial for maintaining hair health and preventing excessive heat damage.
Sectioning the Hair
2.1. Divide into Sections
Divide your hair into manageable sections using clips or hair ties. Start by separating the top section from the bottom section, securing it out of the way. This allows for easier handling and ensures that each section receives equal attention during the styling process.
Curling Technique
3.1. Preparing the Flat Iron
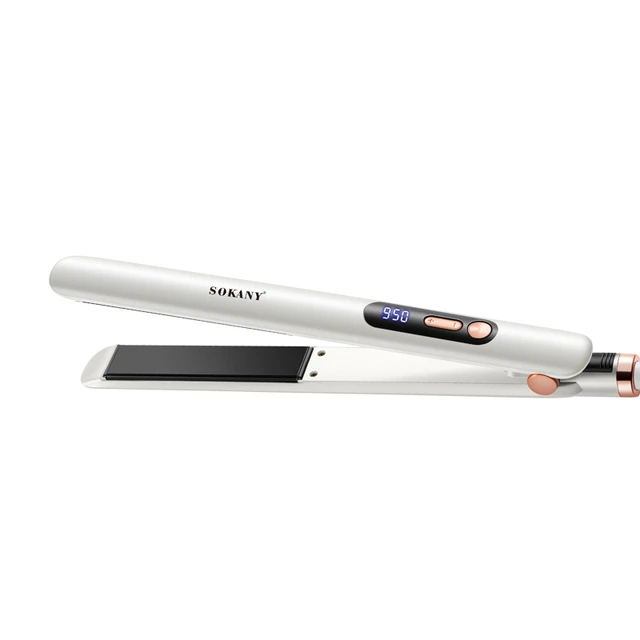
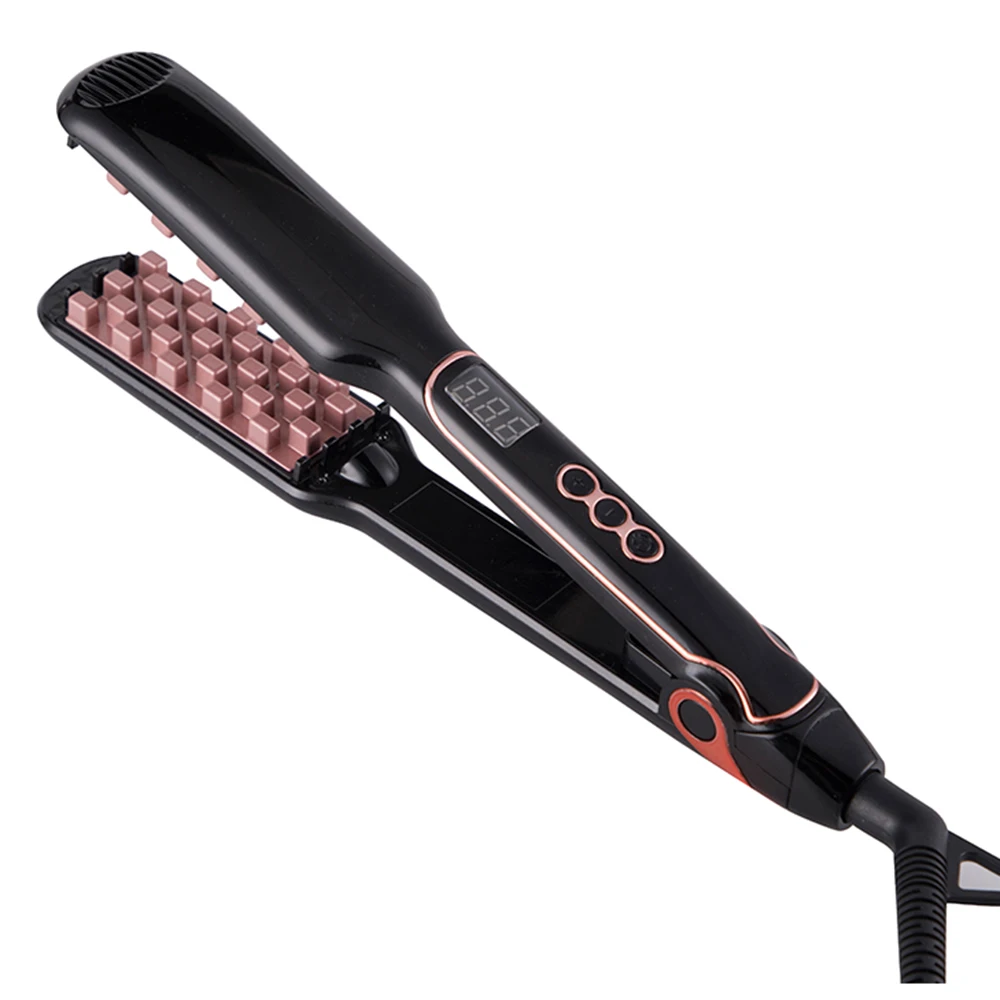
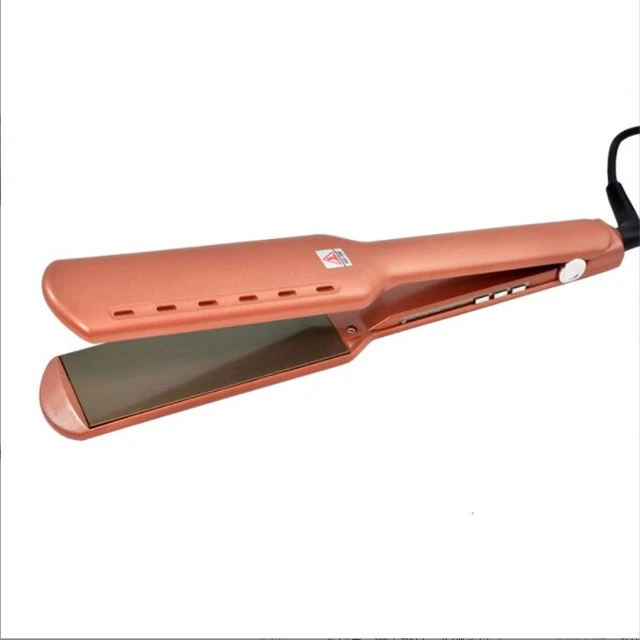
Set your flat iron to the desired heat setting. It is recommended to use a moderate temperature, between 300°F (150°C) and 350°F (175°C), depending on your hair’s thickness and texture. Higher heat settings may be suitable for thicker or coarser hair, while lower heat settings are appropriate for fine or damaged hair.
3.2. Positioning the Flat Iron
Take a small section of hair, about 1-2 inches wide, and hold the hair straightener vertically. Position the flat iron horizontally at the top of the section, close to the roots.
3.3. Twisting and Sliding
Gently close the flat iron around the hair section, then twist it away from your face or towards your face, depending on the desired direction of the wave. Slowly slide the flat iron down the section, allowing the hair to wrap around the plates as you go.
3.4. Alternating Directions
For a more natural and textured look, alternate the direction of the twists as you move through different sections of hair. This variation helps create more dimension and prevents the waves from appearing too uniform or uniform.
Repeating the Process
4.1. Continue Section by Section
Release the next section of hair and repeat the twisting and sliding technique with the straightener . Work your way through all the sections, ensuring that each section is curled consistently and in the desired direction.
4.2. Varying the Curl Intensity
For a more natural and effortless look, alternate between curling some sections more tightly and leaving others slightly looser. This variation in curl intensity contributes to the beachy wave effect by replicating the irregularity of natural waves.
Finishing Touches
5.1. Allowing the Waves to Cool
After curling each section, allow the waves to cool before touching them. This helps set the shape and ensures that the curls hold their form for a longer period of time.
5.2. Loosening the Waves
To achieve a more tousled and beachy look, gently run your fingers through the waves or use a wide-toothed comb to loosen them. Avoid brushing the waves too vigorously, as this can disrupt the curl pattern and create frizz.
5.3. Applying Texturizing Products
To enhance the texture and hold of the beachy waves, consider applying a texturizing product, such as a sea salt spray or texturizing spray. Spritz the product lightly over the hair and scrunch it with your fingers to create a more effortless, beach-inspired texture.
Setting the Waves
6.1. Hair Spray Application
To ensure that the waves hold their shape throughout the day, finish the styling process with a light mist of hairspray. Choose a flexible hold hairspray to maintain the soft, natural look of the beachy waves.
Maintenance and Longevity
7.1. Avoiding Excessive Touching
To prolong the life of your beachy waves, avoid excessive touching or running your fingers through your hair. This can cause the waves to loosen prematurely and result in frizz or loss of definition.
7.2. Protecting from Humidity
Humidity can cause the beachy waves to lose their shape and become frizzy. To protect your waves, consider applying an anti-frizz serum or lightweight styling product before heading out into humid conditions.
7.3. Retouching and Reviving
If your waves start to lose their shape throughout the day, you can quickly refresh them by lightly running the flat iron over the sections that need touch-ups. Be sure to use the lowest heat setting necessary and apply a heat protectant spray before retouching.
Customizing the Waves
9.1. Size of Sections
The size of the sections you choose to curl can impact the final result. For smaller, tighter waves, opt for smaller sections of hair. Conversely, larger sections will create looser, more relaxed waves. Experiment with different section sizes to achieve your desired beachy wave look.
9.2. Curling Iron Angle
The angle at which you hold the flat iron can also affect the outcome of your waves. For natural-looking beachy waves, try alternating the angle of the flat iron as you move through the hair. This variation in angle will create a more authentic, effortlessly tousled appearance.
Hair Preparation for Longevity
10.1. Pre-Styling Products
Using pre-styling products, such as mousse or foam, can help enhance the longevity of your beachy waves. Apply a small amount to damp hair before blow-drying to create volume and hold. This added texture and structure will help the waves hold their shape longer.
10.2. Setting Spray
To ensure your beachy waves withstand the test of time, finish your styling routine with a setting spray. This will help lock in the waves and provide a light hold without making the hair feel stiff or unnatural.
Adapting for Different Hair Types
11.1. Fine or Straight Hair
If you have fine or straight hair, you may find that the waves created by a flat iron don’t hold as well. To combat this, consider using a texturizing spray or dry shampoo on the roots before styling. This will add grip and help the waves last longer.
11.2. Thick or Curly Hair
Thick or curly hair can require higher heat settings and slightly larger sections when curling with a flat iron. Additionally, using a heat protectant spray and working with smaller subsections within each larger section can help achieve more defined waves in thicker or curlier hair.
Conclusion
Creating beachy waves with a flat iron offers a versatile and convenient styling option for various hair types. By following the step-by-step guide and using proper techniques, you can achieve effortless, tousled waves that mimic the natural texture of beachy waves. Remember to prepare the hair, section it properly, and use a twisting and sliding motion with the flat iron. Varying the curl intensity and applying finishing touches such as loosening the waves and using texturizing products can enhance the beachy wave effect. With practice and experimentation, you can master the art of creating beachy waves with a flat iron and enjoy the relaxed and effortless look that this hairstyle offers.
Leave a Reply