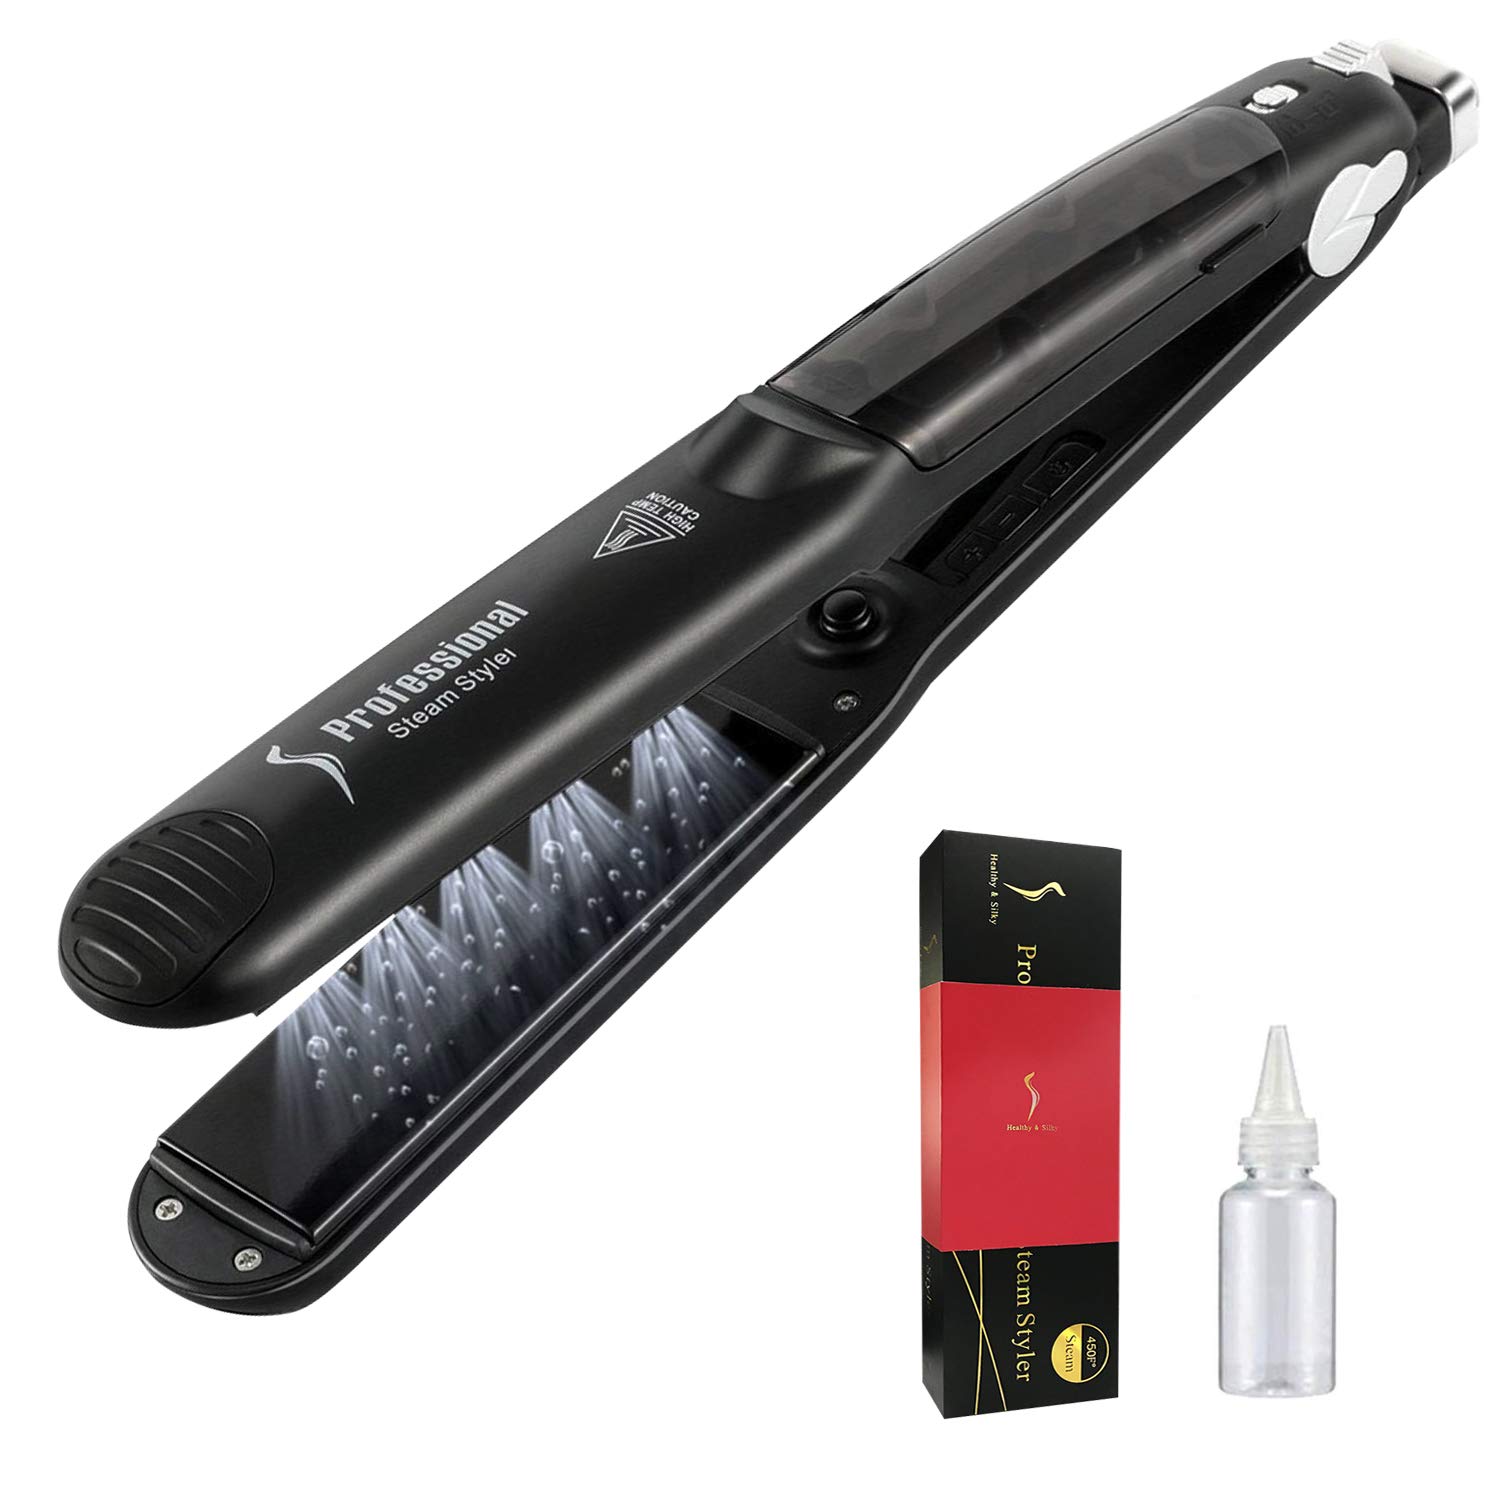
Introduction: Versatile Styling with a Flat Iron
While flat irons are often associated with straightening hair, they can also be used to create gorgeous waves and curls. This versatile styling tool allows you to achieve different looks without the need for multiple heat appliances. In this article, we will provide a detailed step-by-step guide on how to create waves using a flat iron, helping you achieve beautiful, voluminous, and textured hairstyles.
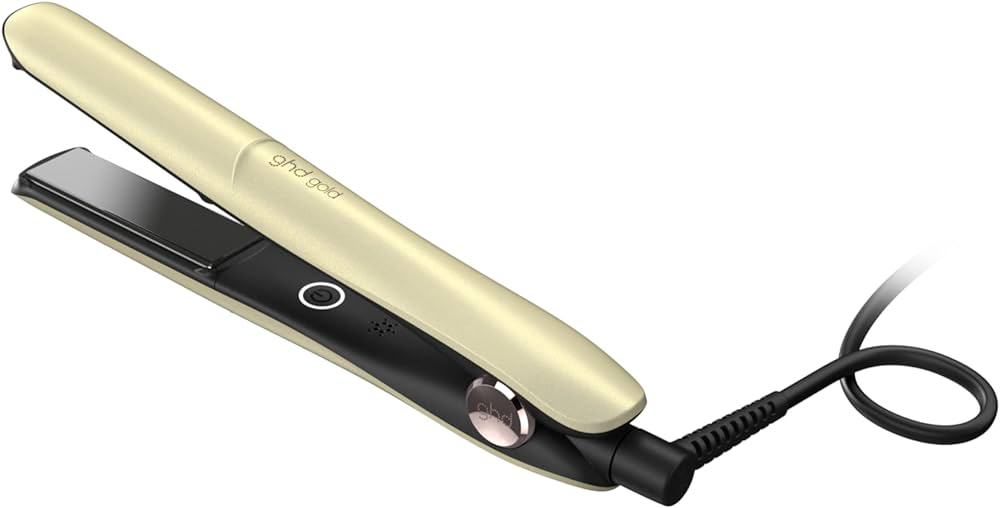
Creating Waves with a Flat Iron: Step-by-Step Guide
-
Preparation: Protecting Your Hair
Before using a flat iron to create waves, it’s important to prepare your hair properly:
a. Clean and dry hair: Begin with clean, dry hair as this ensures better hold and longevity for your waves. If necessary, you can apply a lightweight heat protectant spray to shield your hair from heat damage.
b. Section your hair: Divide your hair into manageable sections. Use hair clips or elastics to secure each section, keeping them out of the way as you style.
-
Select the Right Flat Iron
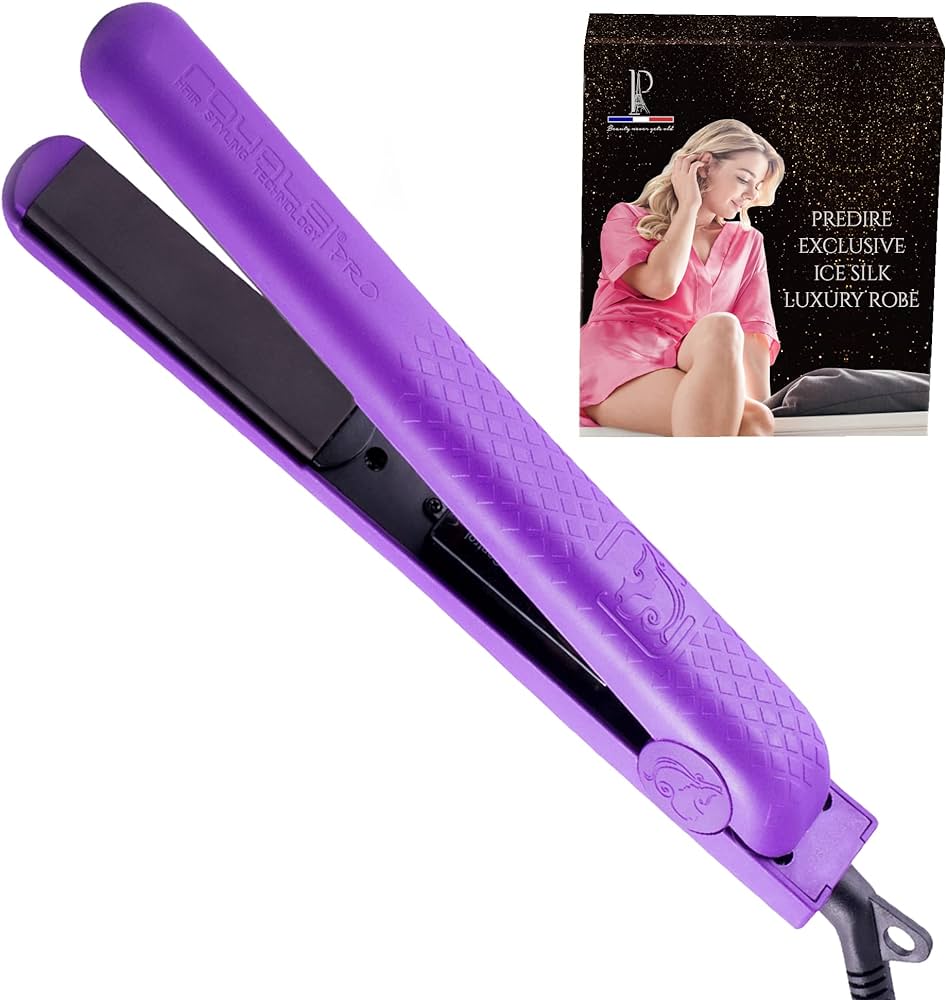
Choosing the right flat iron is crucial for achieving the desired wave pattern. Consider the plate size and shape of the flat iron:
a. Plate size: Depending on the length and thickness of your hair, select a flat iron with plates that are wide enough to handle your hair sections comfortably.
b. Plate shape: Opt for a flat iron with rounded edges or a barrel-shaped design. This allows for more versatility in creating different wave styles.
-
Adjust the Flat Iron Temperature
Setting the appropriate temperature on your flat iron is essential for achieving long-lasting waves while minimizing heat damage:
a. Fine or damaged hair: Lower heat settings between 300°F and 350°F (150°C and 175°C) are recommended for fine or damaged hair types.
b. Normal or medium hair: Medium heat settings between 350°F and 375°F (175°C and 190°C) are suitable for normal or medium hair types.
c. Thick or coarse hair: Higher heat settings between 375°F and 450°F (190°C and 230°C) are necessary for thick or coarse hair types to effectively form waves.
-
Begin Styling: Creating Waves with a Flat Iron
Now that you have prepared and set the right temperature, follow these steps to create waves with a flat iron:
a. Take a hair section: Release one section of hair from the clipped portions and comb through it to ensure it is free of tangles.
b. Prepare for styling: Holding the flat iron with the plates facing downward, clamp it around the hair section near the roots, approximately 1-2 inches away from the roots. Ensure the flat iron is in a vertical position for a more natural wave pattern.
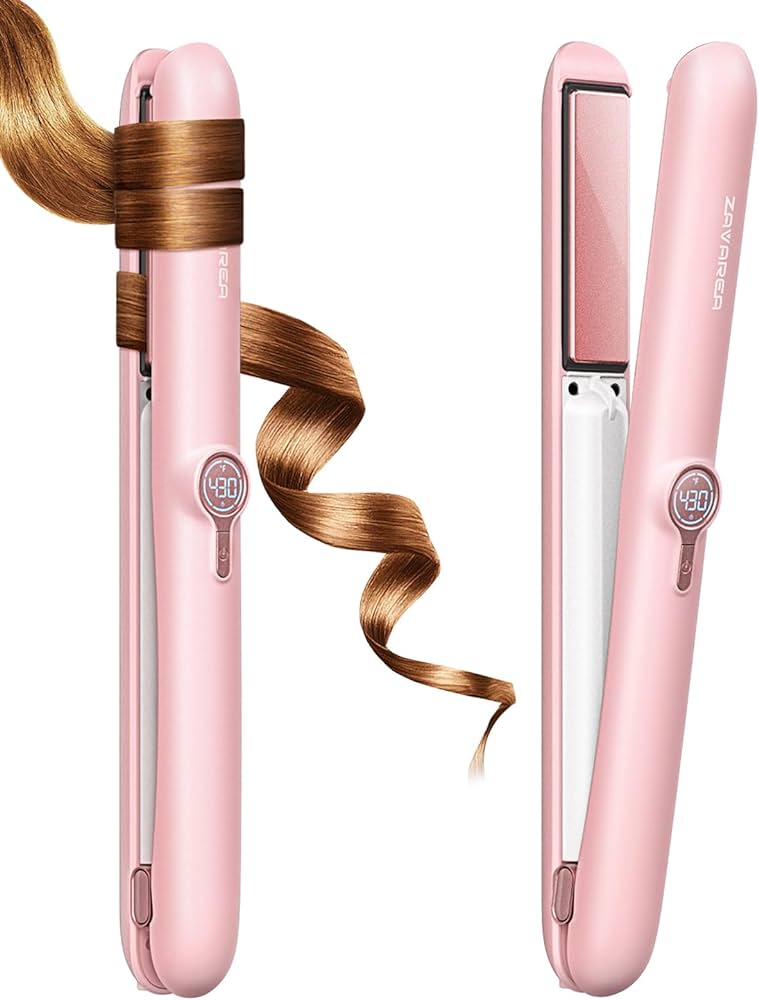
c. Wrap the hair around the flat iron: Gently rotate the flat iron away from your face while wrapping the hair around the plates once. As you progress down the section, continue rotating the flat iron in alternate directions to create a more natural and voluminous wave pattern.
d. Slide the flat iron down: Slowly slide the flat iron down the hair section, maintaining a consistent movement. The slower the glide, the more defined the waves will be.
e. Repeat the process: Continue taking sections of hair, varying in size depending on your desired style, and repeat the process of wrapping and sliding the flat iron down each section until your entire head of hair is waved.
-
Finishing and Styling Tips
Once you have created waves using a flat iron, follow these tips to complete the look:
a. Allow waves to cool: After styling each section, allow the waves to cool for a few seconds before touching or styling further. This helps set the curl pattern and increases its longevity.
b. Enhance volume: To add volume and texture to your waves, gently tousle or scrunch them with your fingers or a wide-toothed comb. Avoid brushing your waves excessively, as this may cause them to lose their shape.
c. Apply a finishing product: Spray a lightweight hairspray or texturizing spray to hold the waves in place while maintaining a natural, effortless look. You can also use a serum or oil to add shine and eliminate frizz.
d. Experiment with different styles: Use a flat iron with adjustable temperature settings to experiment with different wave sizes and textures. You can create beachy waves, loose curls, or tight spirals by modifying the temperature and the way you wrap the hair around the flat iron.
-
Maintenance and Protection
After styling your hair with a flat iron, it’s important to maintain its health and protect it from heat damage:
a. Moisturize and condition: Regularly moisturize and condition your hair to keep it hydrated and healthy. Deep conditioning treatments and leave-in conditioners can help restore moisture and prevent dryness.
b. Limit heat usage: While flat irons can be a great tool for creating waves, it’s essential to limit your heat styling and let your hair rest from heat occasionally to prevent excessive damage.
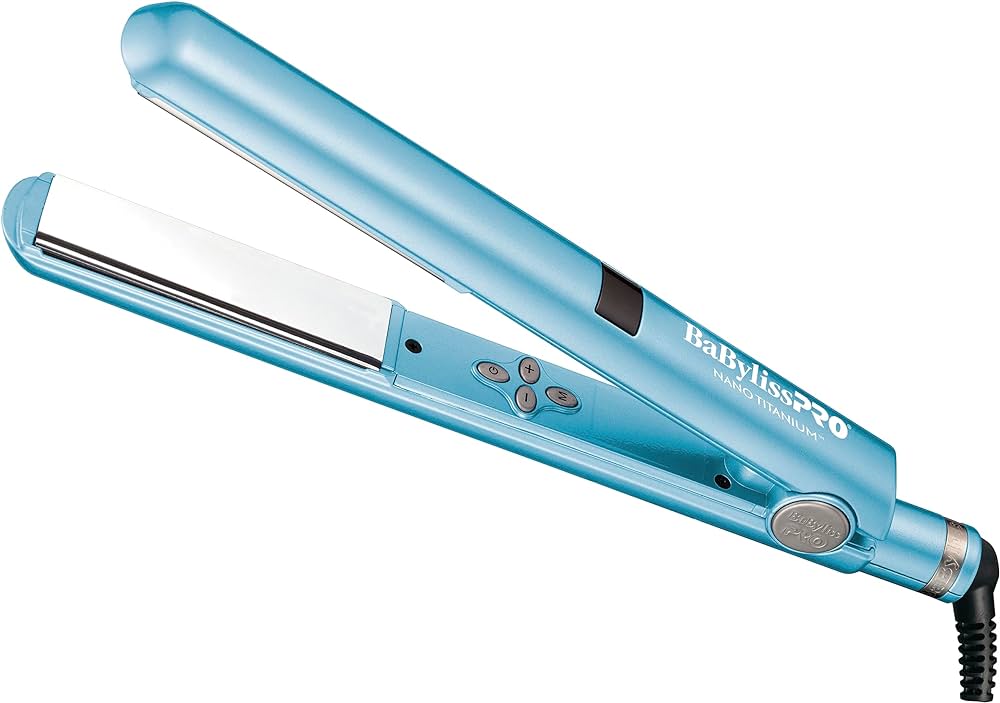
c. Use heat protectant products: Whenever using heat styling tools, remember to apply a heat protectant serum or spray to shield your hair from the potentially damaging effects of hot tools.
-
Exploring Different Variations of Waves
Once you have mastered the basic technique of creating waves with a flat iron, you can explore different variations to add variety to your hairstyle:
a. Beachy waves: For a relaxed and effortless look, create loose and tousled waves. Vary the size of hair sections and alternate the direction of the waves to achieve a more natural beachy appearance.
b. Old Hollywood waves: For a glamorous and sophisticated style, create well-defined waves that mimic the classic Hollywood look. Opt for smaller hair sections and maintain consistency in the direction of the waves for a more polished finish.
c. S-Curve waves: If you desire a unique wave pattern, use your flat iron to create S-curves instead of traditional waves. Alternate the direction and tightness of the curves throughout your hair for a modern and eye-catching look.
d. Mermaid waves: To achieve long, flowing waves reminiscent of mystical mermaids, create loose waves with larger hair sections. Make the waves appear more voluminous by backcombing the roots slightly before styling.
Conclusion: Styling Waves with a Flat Iron
Creating beautiful waves with a flat iron is a versatile and efficient way to style your hair. By following these steps, you can achieve stunning waves that enhance your natural beauty. Remember to prepare your hair properly, select the right flat iron, adjust the temperature accordingly, and follow the wrapping and sliding techniques to achieve your desired wave pattern. With practice and a bit of experimentation, you can master the art of creating waves with a flat iron, allowing you to enjoy a variety of stylish looks effortlessly.
