Introduction
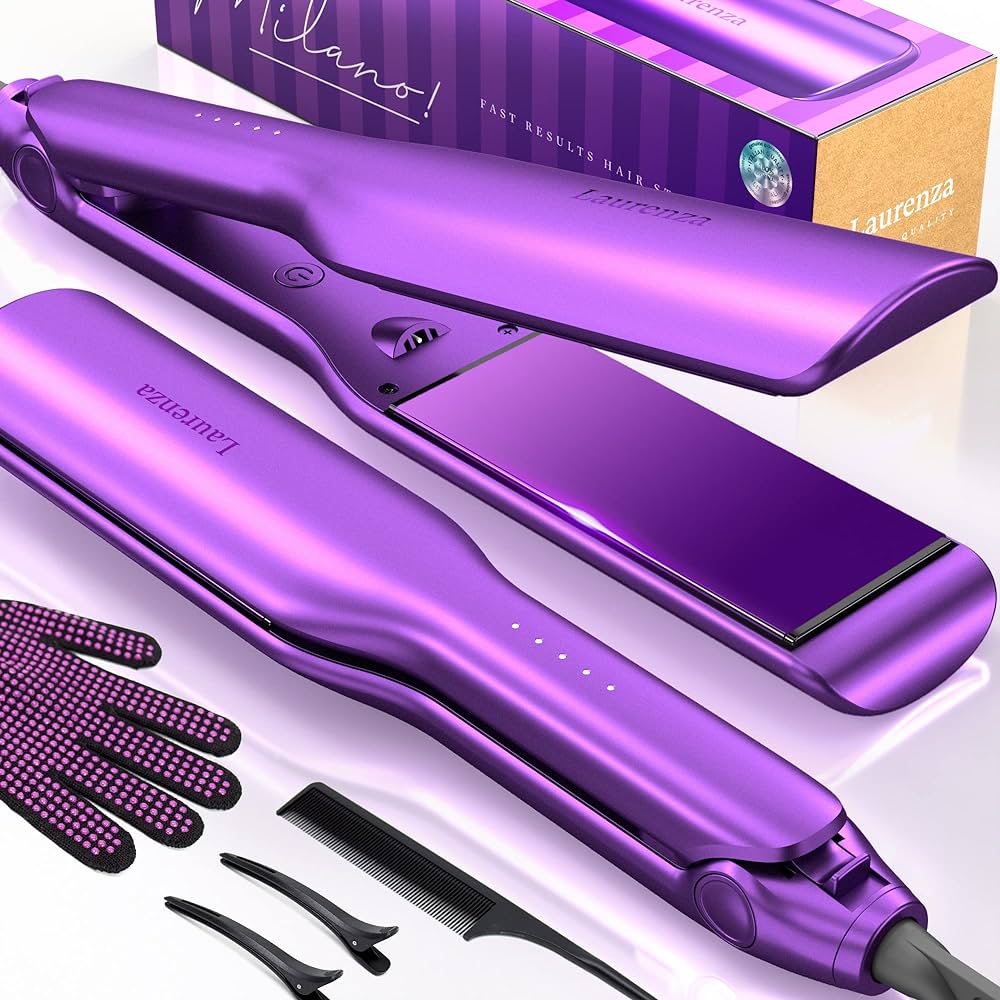
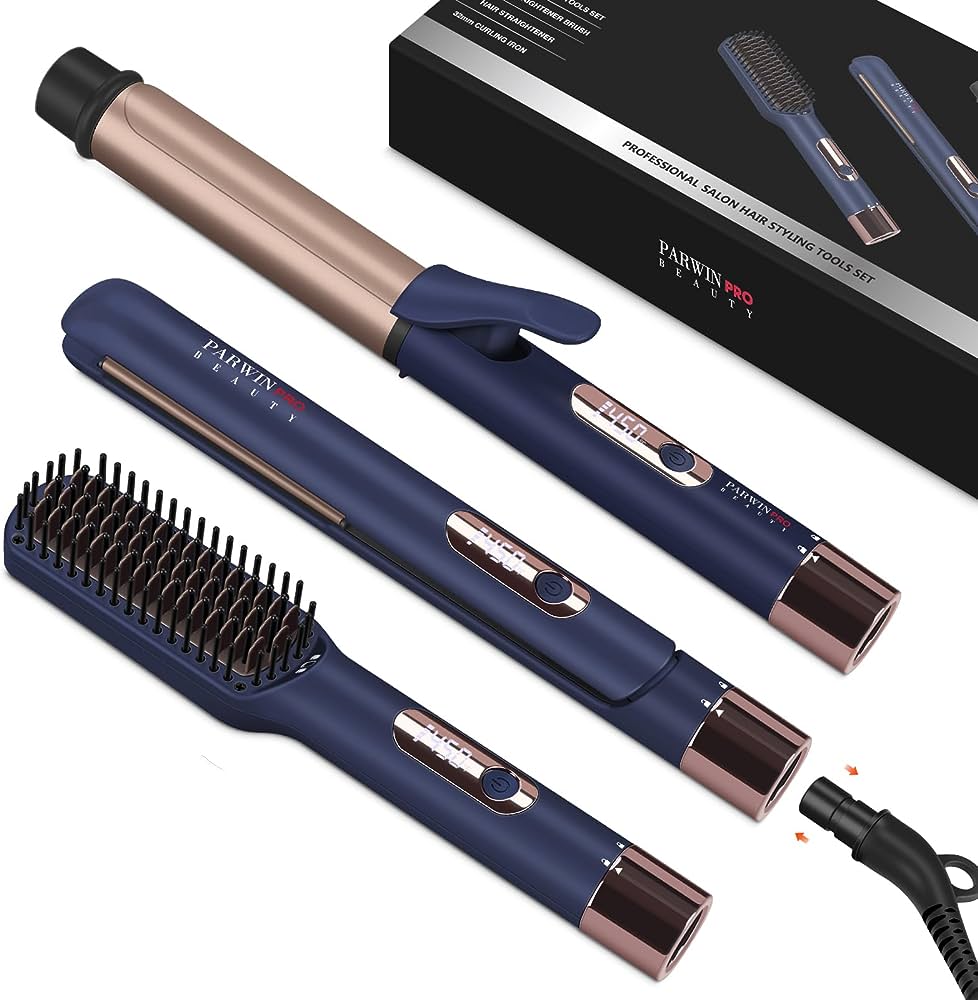
Creating waves with a straightener is a versatile and popular hairstyling technique that allows you to achieve beautiful, voluminous waves without the need for additional styling tools. Whether you desire loose beachy waves or defined, glamorous curls, using a straightener can help you achieve the desired look. In this guide, we will explore step-by-step instructions for creating waves with a straightener, discuss the importance of heat protection, highlight different techniques and styling tips for varying hair lengths, and provide suggestions for maintaining and finishing your wavy hairstyle.
Achieving Beautiful Waves: How to Style Your Hair with a Straightener
I. Preparing Your Hair for Wave Styling
-
Clean and Conditioned Hair:
- Start by washing and conditioning your hair with products suitable for your hair type. Clean hair provides a fresh canvas for styling and ensures optimal results.
-
Apply Heat Protectant:
- Before applying heat to your hair, protect it by applying a heat protectant spray or serum. Heat protectants help minimize heat damage and preserve the health of your hair.
II. Technique 1: Classic Wave Styling
-
Sectioning the Hair:
- Divide your hair into manageable sections using hair clips or hair ties. Start with the bottom layer, gradually working your way up to the top.
-
Prepping the Straightener:
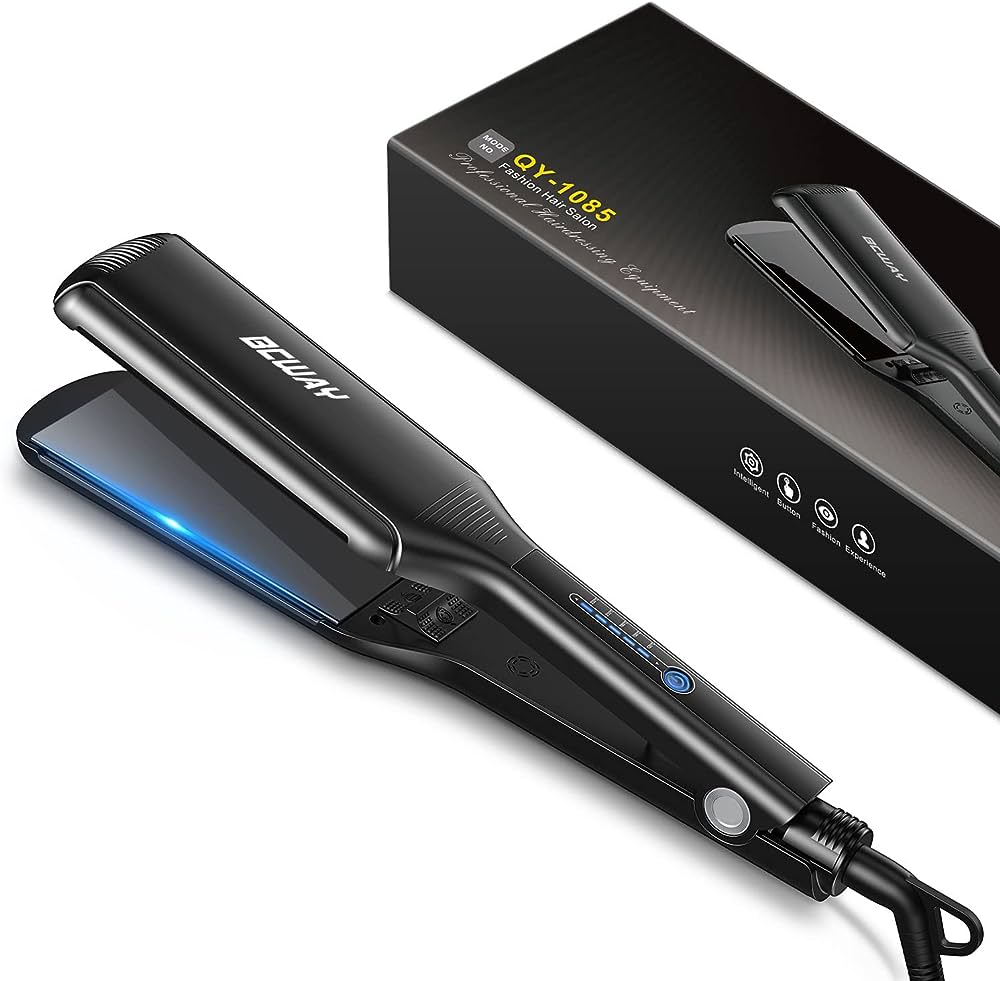
- Set your straightener to an appropriate temperature. Lower temperatures work well for finer or damaged hair, while higher temperatures are suitable for thicker or coarse hair. Follow the manufacturer’s instructions for your specific straightener model.
-
Creating Waves:
- Take a small section of hair and clamp the straightener near the roots, about 1-2 inches away from the scalp.
- Without completely closing the straightener, rotate it away from your face for one complete turn.
- Slowly glide the straightener down towards the ends of your hair, maintaining a gentle grip and a consistent speed.
- Repeat this process for each section of hair until you have achieved waves throughout your entire head.
-
Finishing Touches:
- Once all sections are waved, lightly run your fingers through the waves for a natural, tousled look.
- If desired, you can spritz a light-hold hairspray to set the waves and add extra hold.
III. Technique 2: S-Curl Technique
-
Sectioning the Hair:
- Begin by sectioning your hair as mentioned in Technique 1.
-
Prepping the Straightener:
- Set your straightener to the appropriate temperature for your hair type. Remember to follow the manufacturer’s instructions.
-
Creating S-Curls:
- Take a small section of hair and clamp the straightener near the roots, about 1-2 inches away from the scalp.
- Without fully closing the straightener, rotate it inwards towards your face for one complete turn.
- Glide the straightener down towards the roots in a “S” motion, so the hair wraps around the straightener, creating an “S”-shaped curl.
- Repeat this process for each section of hair until your entire head is styled.
-
Loose and Defined Curls:
- To achieve looser curls, glide the straightener through the hair at a faster pace. For tighter and more defined curls, go slower and hold the hair in the straightener for a few extra seconds.
-
Adding Volume:
- For added volume, tease the roots lightly using a comb or backcombing brush. Gently lift the hair at the roots to create volume and create a more textured look.
IV. Styling Tips for Different Hair Lengths
-
Short hair:
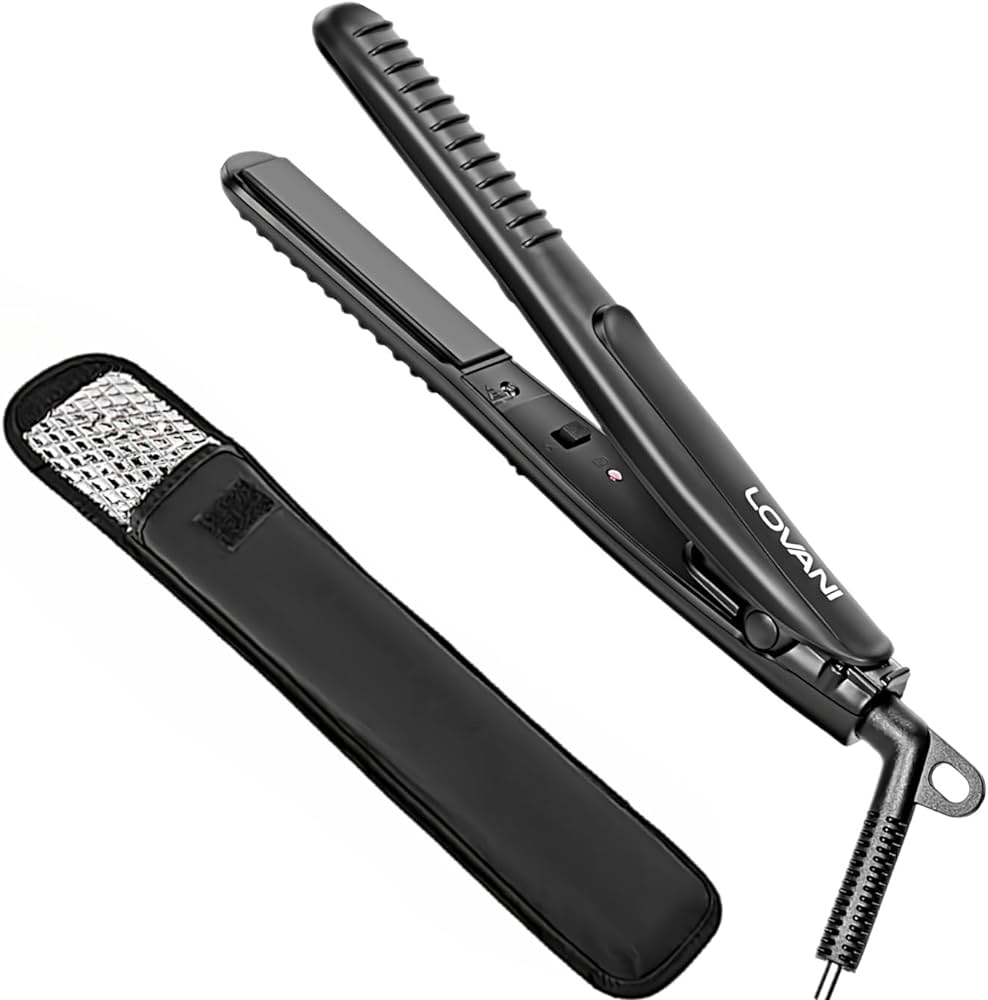
- For short hair, focus on creating texture and movement. Use a smaller straightener or one with narrower plates to easily maneuver through shorter strands. Create waves by twisting small sections around the straightener, holding for a few seconds, and releasing.
-
Medium-length hair:
- Medium-length hair provides opportunities for versatile waves. Use the classic wave styling technique, creating loose waves or glamorous curls, based on your preference. Experiment with varying section sizes for different wave patterns.
-
Long hair:
- Long hair allows for maximum customization in wave styling. Experiment with different techniques such as the classic wave or S-curl techniques. Consider using larger sections for loose waves and smaller sections for more defined curls.
V. Maintaining and Finishing Your Wavy Hairstyle
-
Hair Spray for Hold:
- Applying a light-hold hairspray or texturizing spray can help set the waves and provide hold throughout the day. Mist the product evenly over your hair, maintaining distance to prevent stiffness or buildup.
-
Finger Comb:
- Throughout the day, gently run your fingers through your waves to freshen the style and remove any tangles or knots.
-
Overnight Care:
- To preserve your waves overnight, loosely gather your hair into a loose bun or braid before bed. In the morning, release the bun or braid and refresh the waves with a quick spritz of water or texturizing spray.
-
Protecting Your Waves:
- Protect your waves from humidity and frizz by using anti-frizz serums or leave-in conditioners. These products help maintain the shape and texture of your waves, even in challenging weather conditions.
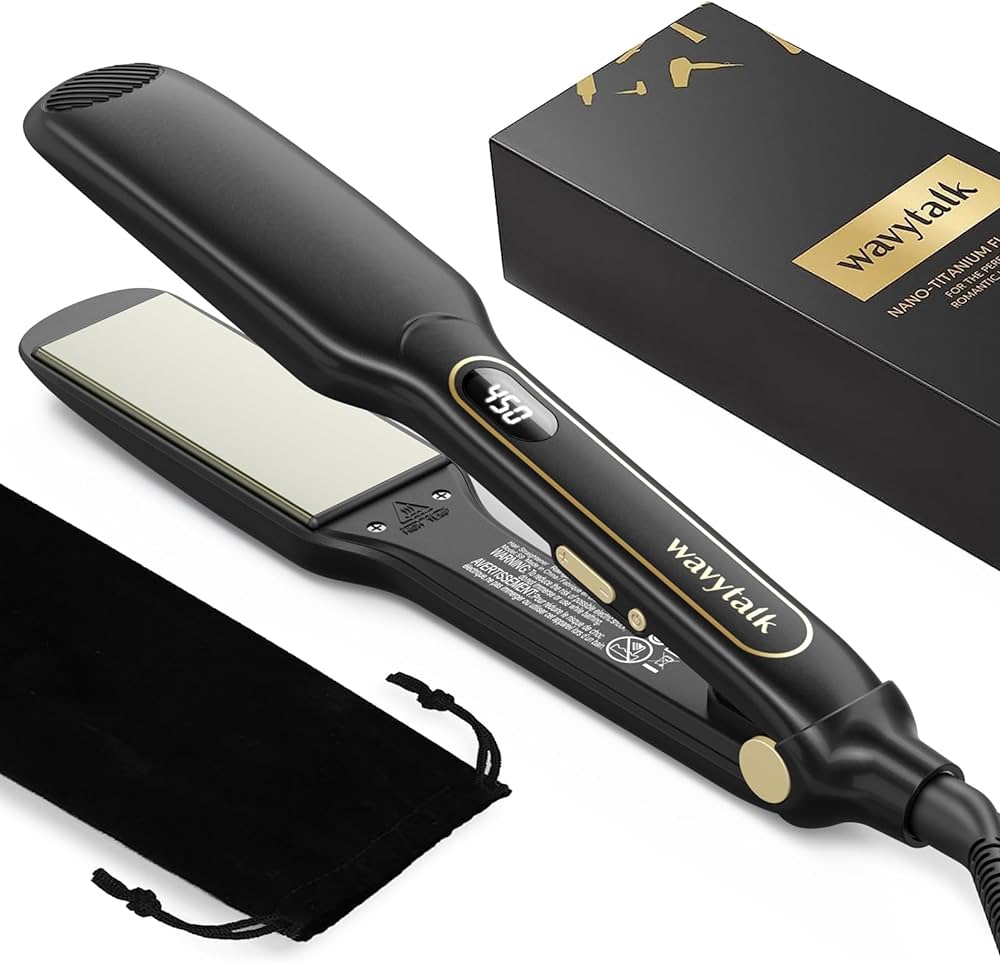
VII. Bonus Tips for Wave Styling with a Straightener
-
Texturizing Spray for Extra Hold:
- If you have fine or slippery hair that struggles to hold waves, consider using a texturizing spray before styling. These sprays add grip and enhance the longevity of your waves.
-
Heat-Resistant Gloves:
- If you find it challenging to manipulate the straightener while creating waves, consider using heat-resistant gloves. These gloves protect your hands from heat while providing better control and grip over the appliance.
-
Experiment with Section Sizes:
- Don’t be afraid to experiment with different section sizes to achieve varied wave patterns. For a more natural look, create waves with both larger and smaller sections of hair.
-
Alternate Curl Directions:
- To add dimension and a more natural appearance to your waves, alternate curl directions as you move through each section. Curl some sections away from your face, and curl others towards your face.
-
Layering Product Application:
- For enhanced texture and hold, consider layering products throughout the styling process. Apply a texturizing spray or sea salt spray onto your hair before starting, and finish with a light-hold hairspray or hair-protecting spray after styling.
-
Practice and Patience:
- Styling waves with a straightener may require some practice to perfect your technique. Don’t get discouraged if your first attempt doesn’t yield the desired results. Keep practicing, refining your technique, and experimenting with different styling methods to find what works best for your hair.
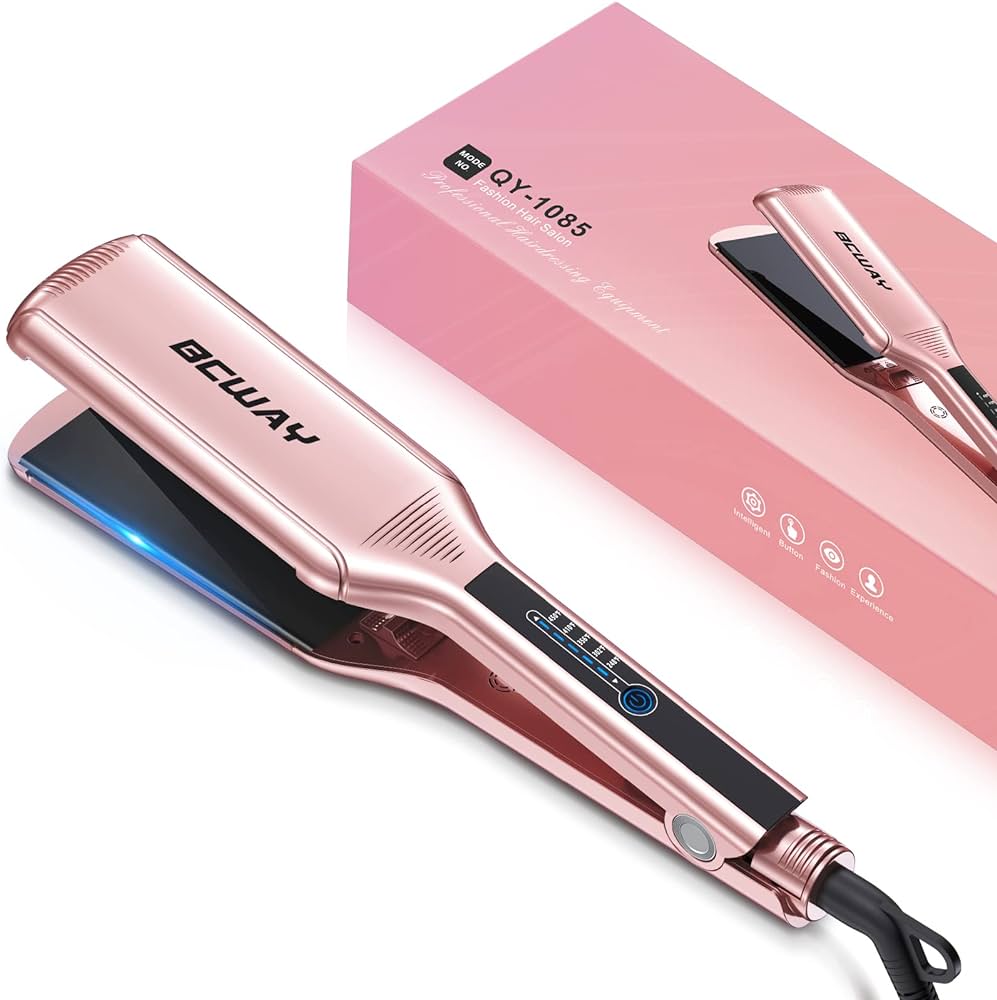
VI. Conclusion: Embrace Effortlessly Chic Waves
Creating beautiful waves with a straightener adds versatility and style to your hair routine. By following the step-by-step instructions mentioned, using appropriate heat protection, and experimenting with different techniques and product finishes, you can achieve effortlessly chic waves that elevate your overall look.
Remember to adapt the styling techniques based on your hair length and desired wave pattern. With proper care and maintenance, you can enjoy stunning waves that turn heads and boost your confidence.
