Introduction
Before straightening your hair, it’s important to properly prepare and protect it to achieve a smooth, sleek, and damage-free result. By following a few essential steps and using the right products, you can create a flawless straightened look while minimizing heat damage. In this guide, we will explore the necessary steps to take and the products to apply before straightening your hair. From heat protectants to detanglers and smoothing serums, we will provide specific instructions and tips to help you achieve the best possible outcome for your straightened hair.
What should I apply before straightening my hair?
Start with Clean and Conditioned Hair
1.1. Shampooing
Begin by washing your hair with a gentle shampoo suitable for your hair type. Thoroughly rinse out the shampoo, ensuring no residue remains. Clean hair provides a fresh foundation for styling and prevents any buildup that could interfere with the straightening process.
1.2. Conditioning
Apply a moisturizing conditioner to nourish and hydrate your hair. Focus on the mid-lengths and ends, where the hair is typically drier. Allow the conditioner to sit for a few minutes before rinsing it out.
1.3. Detangling
After rinsing out the conditioner, gently detangle your hair using a wide-toothed comb or a detangling brush. Starting from the ends, work your way up to the roots, gradually removing any knots or tangles. This step reduces stress and prevents breakage when straightening your hair.
Protect Your Hair from Heat Damage
2.1. Heat Protectant Spray
Apply a heat protectant spray evenly throughout your hair. Heat protectants form a barrier between your hair and the heat styling tools, minimizing damage caused by high temperatures. Make sure to distribute the product from roots to ends, focusing more on the ends, which are most susceptible to damage.
2.2. Serum or Cream with Heat Protection
If you have particularly dry or damaged hair, consider using a heat protectant serum or cream in addition to the spray. These products not only protect your hair from heat damage but also provide moisture and nourishment, resulting in a smoother and healthier-looking finish.
Drying Your Hair
3.1. Towel Drying
Gently squeeze out excess water from your hair using a microfiber towel or an old t-shirt. Avoid rubbing the hair vigorously, as this can cause frizz and damage the hair cuticles.
3.2. Air Drying
Allow your hair to air dry partially before using any heat styling tools. This reduces the amount of time and heat required to achieve your desired straightened look. If you’re short on time, you can use a blow dryer on a low or cool setting while using a diffuser attachment to minimize frizz and preserve the hair’s natural texture.
Applying Smoothing Products
4.1. Smoothing Serum or Oil
Apply a smoothing serum or oil to further enhance the sleekness and shine of your straightened hair. These products help reduce frizz, flyaways, and static, leaving your hair looking smooth and polished. Start with a small amount and work it into your hair, focusing on the mid-lengths and ends.
4.2. Lightweight Styling Cream
For added manageability and control, consider applying a lightweight styling cream. This helps to smooth the hair cuticles, reduce frizz, and provide a sleek finish. Use a dime-sized amount or as directed by the product instructions and distribute it evenly throughout your hair.
Sectioning and Straightening
5.1. Sectioning Your Hair
Divide your hair into manageable sections using clips or hair ties. This makes the straightening process easier and ensures that each section of hair is evenly straightened. Start from the bottom sections and gradually work your way up.
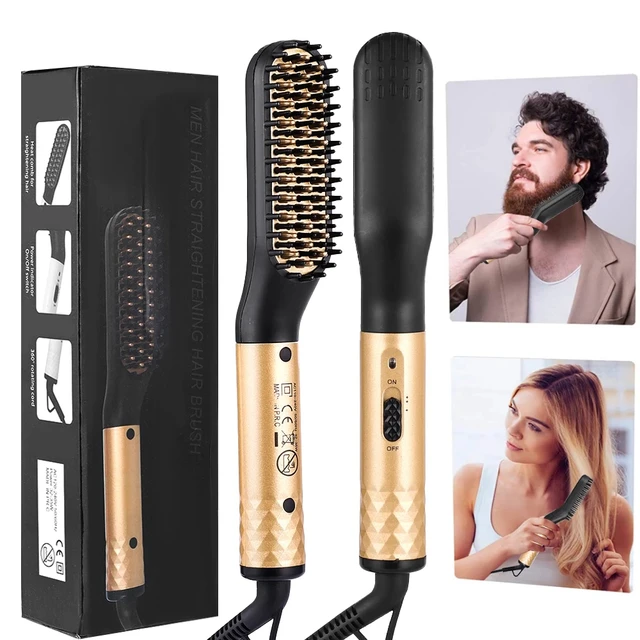
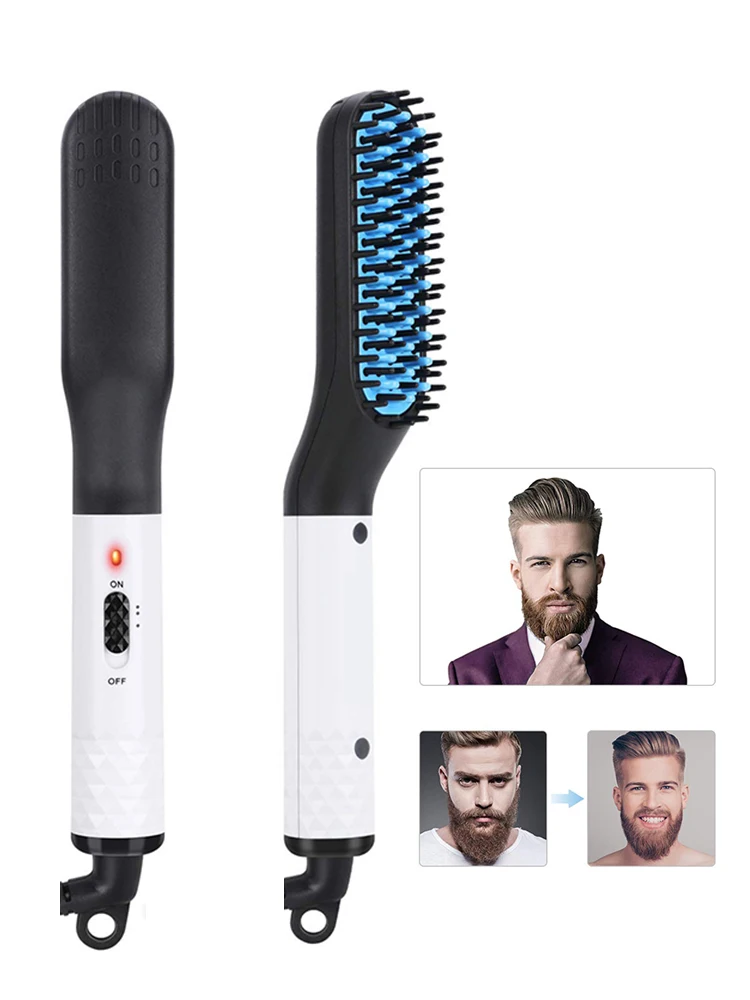
5.2. Using the Right Straightening Tool
Choose a high-quality flat iron or straightening brush suitable for your hair type and desired result. Ceramic or tourmaline plates distribute heat evenly and minimize heat damage. Ensure that the straightening tool is properly heated before use, according to the manufacturer’s instructions.
5.3. Straightening Technique
Take small sections of hair and gently clamp the straightening tool as close to the roots as possible. Slowly glide the tool down the section, smoothing the hair as you go. Avoid going over the same section repeatedly to minimize excessive heat exposure.
Post-Straightening Care
6.1. Cool Down Time
Allow your hair to cool down before styling or touching it. This helps to set the straightened style and prevents the hair from frizzing or losing its sleekness.
6.2. Avoid Moisture Exposure
To maintain your straightened style, avoid exposing your hair to moisture or humidity immediately after straightening. Moisture can cause the hair to revert to its natural texture or create frizz. If necessary, protect your hair with a shower cap when showering or use an umbrella when it’s raining.
6.3. Limit Heat Styling Frequency
To minimize damage, limit the use of heat styling tools on your hair. Embrace natural hairstyles or use heatless styling methods to give your hair a break from excessive heat. This will help maintain the health and integrity of your hair.
Conclusion
Properly preparing your hair for straightening is crucial to achieving a sleek and damage-free result. Start with clean, conditioned hair and ensure it is fully dry before applying heat. Protecting your hair with heat protectant sprays and serums is essential to minimize heat damage. Applying smoothing products and sectioning your hair aids in achieving a smooth, frizz-free finish. Use high-quality straightening tools and follow proper straightening techniques for optimal results. After straightening, practice post-straightening care to maintain your style and protect your hair from moisture. By following these steps and using the right products, you can achieve beautifully straightened hair while keeping it healthy, shiny, and frizz-free.
Leave a Reply