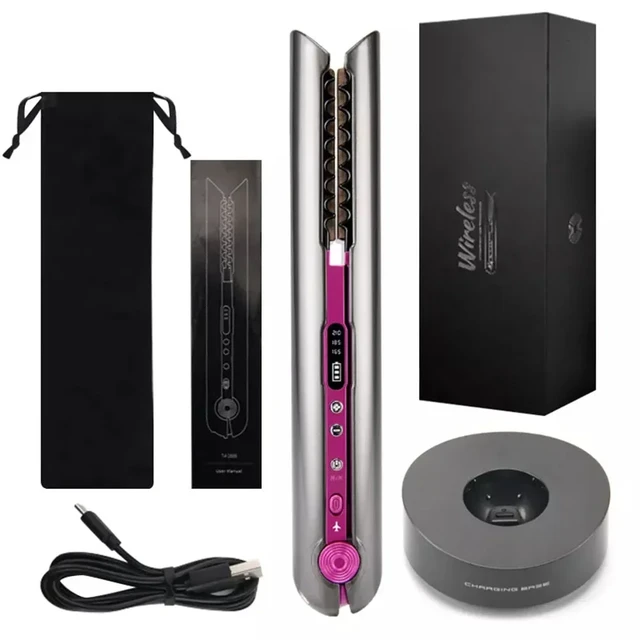
Introduction
If you have a hair straightener and desire bouncy, voluminous curls, you’re in luck! Contrary to its name, a hair straightener can double as a versatile styling tool, allowing you to achieve stunning curls. In this guide, we will explore various techniques for curling your hair with a straightener, providing step-by-step instructions and tips for achieving different curl styles. By following these methods, you can embrace the versatility of your hair straightener and effortlessly create gorgeous curls that elevate your hairstyling game.
How do you curl your hair with a straightener?
Preparing Your Hair
1.1. Clean and Dry Hair
Start with clean, dry hair. Wash and thoroughly dry your hair before using a hair straightener to create curls. Clean hair allows for better heat distribution and ensures a longer-lasting curl.
1.2. Heat Protectant
Apply a heat protectant spray or serum to your hair to minimize heat damage. Distribute the product evenly, focusing on the mid-lengths and ends, which are more prone to damage.
1.3. Section Your Hair
Divide your hair into manageable sections using hair clips or hair ties. This will make the curling process more organized and efficient. Begin by dividing your hair into a top and bottom section, securing each section with a clip.
Basic Curling Technique
2.1. Start with a Small Section
Take a small section of hair, approximately one to two inches wide, and ensure the rest of your hair is secured out of the way. Smaller sections will create tighter curls, while larger sections will produce looser waves.
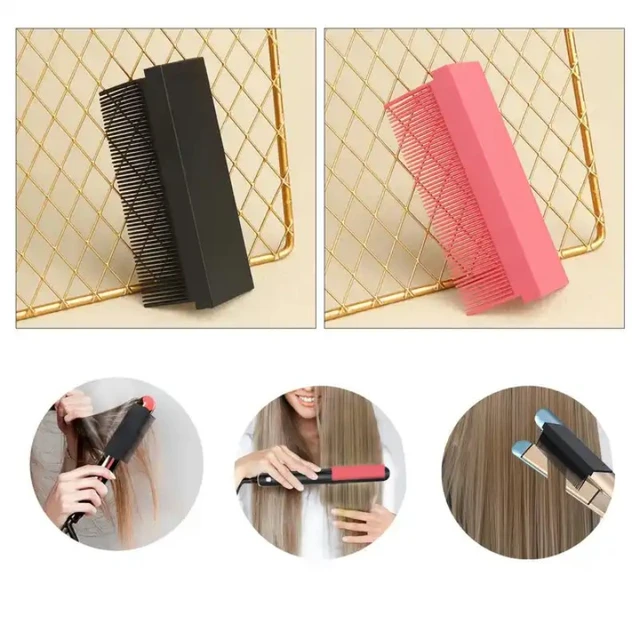
2.2. Clamp and Twist
Hold the hair straightener horizontally and position it near the roots of the section. Clamp the straightener around the hair, and while maintaining a firm grip, twist the straightener away from your face or towards your face, depending on your desired curl direction.
2.3. Glide Down the Section
Slowly glide the straightener down the section of hair, keeping a steady and controlled motion. The slower you move, the tighter the curl will be. Experiment with the speed to achieve your desired curl style.
2.4. Release and Repeat
Release the clamp of the straightener, carefully allowing the curl to unravel. Repeat the process with the remaining sections of hair, working your way through each section until all of your hair is curled.
Beach Waves Technique
3.1. Alternate Curl Directions
To create effortless beach waves, vary the curl direction throughout your hair. Take small sections of hair and alternate between twisting the straightener away from your face and towards your face. This technique adds dimension and a more natural-looking wave.
3.2. Leave the Ends Straight
For a relaxed beachy vibe, leave the ends of your hair straight. Glide the straightener down each section, but as you reach the ends, release the tension slightly and allow the hair to remain straight. This technique creates a tousled, lived-in effect.
3.3. Use a Texturizing Spray
After curling your hair with the straightener, spritz a texturizing spray or sea salt spray throughout your hair. Gently scrunch the hair to enhance the beachy texture and provide a more undone look.
Tight Curls Technique
4.1. Smaller Sections
For tighter and more defined curls, use smaller sections of hair. Take sections that are approximately half an inch wide, ensuring that the straightener is able to clamp down securely.
4.2. Slow and Controlled Movement
When gliding the straightener down the section, move slowly and maintain continuous tension. This ensures that the heat is evenly distributed, resulting in more defined and longer-lasting curls.
4.3. Pin and Cool
After curling each small section, secure the curl with a hairpin or bobby pin, allowing it to cool completely. This step helps set the curl and ensures it will hold its shape for longer.
4.4. Finger Comb and Set with Hairspray
Once all of the curls have cooled, remove the pins and carefully finger comb through your hair to create a more natural look. Finish with a light mist of hairspray to hold the tight curls in place.
Loose Waves Technique
5.1. Larger Sections
To achieve loose waves, work with larger sections of hair. Take sections that are approximately two inches wide, allowing for a softer and more relaxed curl.
5.2. Twist and Pull Technique
Instead of twisting the straightener as in the basic curling technique, use a twist and pull motion. Clamp the straightener around the section, twist it once, and then slowly pull it down the hair, maintaining a gentle and consistent tension.
5.3. Finger Comb and Set with Texturizing Spray
After curling each section, gently finger comb through your hair to break up the curls and create soft waves. For added texture and hold, spritz a texturizing spray or light-hold hairspray throughout your hair.
Finishing Touches
6.1. Apply a Hair Serum
Once you have achieved your desired curls, apply a small amount of hair serum to your palms and run it through your hair. This will add shine and help tame any frizz or flyaways.
6.2. Set with Hairspray
To ensure that your curls last longer, lightly mist your hair with a flexible-hold hairspray. Hold the hairspray bottle at arm’s length and mist it all over your hair to lock in the curls.
Troubleshooting Tips
8.1. Adjusting the Temperature
If your curls are not holding or if they are turning out too flat, try adjusting the temperature of your straightener. Higher temperatures generally create tighter curls, while lower temperatures produce looser waves. Experiment with different heat settings to find the optimal temperature for your hair type and desired style.
8.2. Adding More Texture
If you have fine or slippery hair that struggles to hold curls, consider adding some texture before styling. Apply a volumizing mousse or a dry shampoo to the roots of your hair to create more grip and body. This will help your curls hold their shape for longer.
8.3. Using Heat-Resistant Gloves
If you find it challenging to maneuver the straightener while curling your hair, consider using heat-resistant gloves. These gloves provide protection from the heat and allow you to have better control over the styling process. They also help prevent accidental burns on your fingers or hands.
8.4. Spritzing with Water
If you encounter any stubborn sections of hair that are difficult to curl, lightly mist them with water using a spray bottle. This will add moisture and help the heat penetrate the hair, making it more receptive to curling.
Conclusion
Curling your hair with a straightener allows for endless hairstyling possibilities. Whether you prefer basic curls, beach waves, tight curls, or loose waves, these techniques provide a step-by-step approach to achieving your desired curl style. Remember to start with clean, dry hair, use a heat protectant, and divide your hair into sections for easier styling. Experiment with different techniques, curl directions, and section sizes to find the style that best suits you. Enjoy the versatility of your hair straightener and embrace the beautiful curls you can create effortlessly.
Leave a Reply