Introduction
Using a curling iron to create beautiful, bouncy curls is a popular hairstyling technique. While it may seem intimidating for beginners, a curling iron can actually be quite easy to use with a little practice and guidance. In this guide, we will provide step-by-step instructions and essential tips to help beginners master the art of curling their hair with a curling iron. From choosing the right curling iron to styling techniques and safety precautions, this comprehensive guide will equip you with the knowledge and confidence to achieve stunning curls effortlessly.
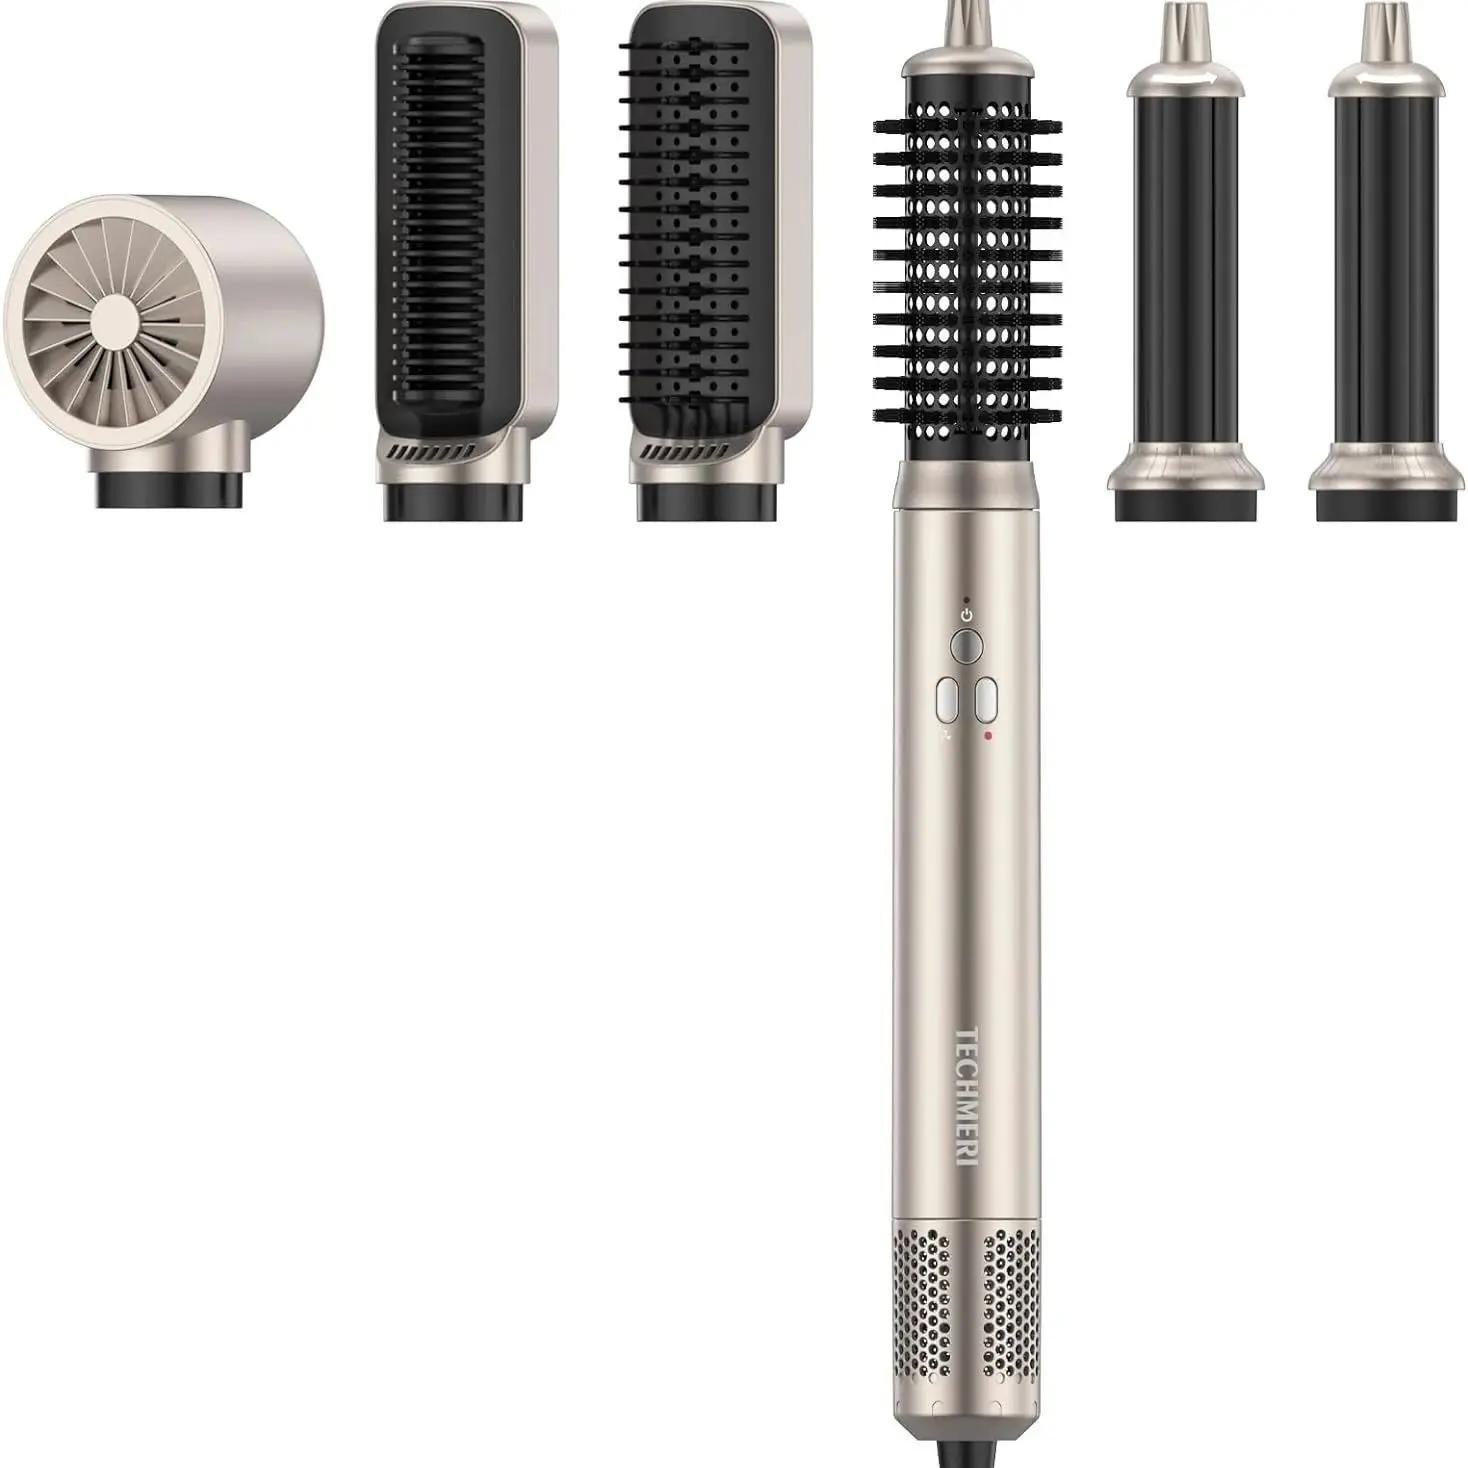
Is a curling iron easy to use for beginners?
Choosing the Right Curling Iron
1.1. Barrel Size
Consider the barrel size of the curling iron, as it determines the size and type of curls you can achieve. Larger barrels (1.5 to 2 inches) create loose, voluminous curls, while smaller barrels (1 inch or less) produce tighter, more defined curls. For beginners, a 1-inch barrel offers versatility and allows you to experiment with different curl styles.
1.2. Heat Settings
Select a curling iron that offers adjustable heat settings. This allows you to customize the temperature based on your hair type and desired curl style. Lower heat settings are suitable for fine or damaged hair, while higher heat settings work well for thick or coarse hair.
1.3. Ceramic or Tourmaline Barrel
Opt for a curling iron with a ceramic or tourmaline barrel. These materials distribute heat evenly, reduce frizz, and minimize damage to the hair. They also provide a smoother surface for easy gliding of the hair, preventing snagging or pulling.
Preparing Your Hair
2.1. Clean and Dry Hair
Start with clean, dry hair. Ensure that your hair is free from any product buildup or excess oils, as these can interfere with the curling process and may even damage the curling iron. If necessary, wash and thoroughly dry your hair before curling.
2.2. Heat Protectant
Apply a heat protectant spray, serum, or cream to your hair. This creates a barrier between the heat of the curling iron and your hair, minimizing damage and helping the curls to last longer. Distribute the protectant evenly throughout your hair, focusing on the mid-lengths and ends.
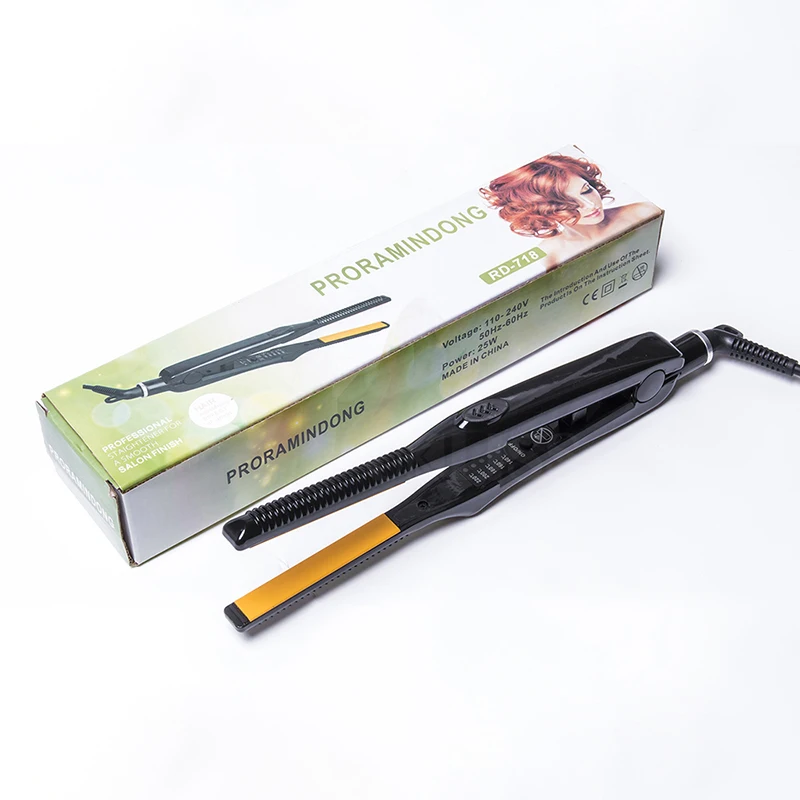
2.3. Sectioning Your Hair
Divide your hair into manageable sections using hair clips or hair ties. This makes it easier to work through your hair systematically and ensures that each section receives equal attention. Begin by parting your hair into a top and bottom section, securing each section with a clip.
Curling Techniques
3.1.1. Clamp and Wrap
Take a small section of hair, approximately one inch wide, and hold the curling iron vertically, with the barrel pointing downward. Clamp the hair near the roots between the barrel and the clip, ensuring a secure grip. Begin wrapping the hair around the barrel, away from your face.
3.1.2. Curling Direction
For a natural look, alternate the curling direction with each section. This means wrapping some sections away from your face and others towards your face. Experiment with different directions to achieve the desired effect.
3.1.3. Hold and Release
Hold the hair wrapped around the barrel for about 10-15 seconds, depending on your hair’s thickness and the desired level of curl. Avoid leaving the hair on the barrel for too long to prevent heat damage. Gently release the curl by opening the clamp and sliding the curling iron out of the hair.
3.1.4. Repeat and Continue
Continue curling each section, working your way through your hair. Remember to alternate the curling direction and hold each curl for a consistent amount of time. Take your time and ensure that each section is evenly curled.
3.2.1. Section and Twist
Similar to the basic technique, take a small section of hair and hold the curling iron vertically. Clamp the hair near the roots, then twist the curling iron 180 degrees away from your face. Continue twisting the hair around the barrel until you reach the ends.
3.2.2. Hold and Release
Hold the twisted section on the curling iron for about 10-15 seconds, allowing the heat to penetrate through the twist. Gently release the curl by opening the clamp and sliding the curling iron out of the hair.
3.2.3. Repeat and Continue
Repeat the twisting technique with each section, ensuring that the curls are consistent in size and shape. Take your time and work through your hair systematically.
Styling Tips for Beginners
4.1. Size and Sectioning
Start with smaller sections of hair, especially if you’re new to curling. Smaller sections are easier to handle and allow for better control over the curling iron. As you gain more experience, you can adjust the section sizes based on your preference and desired curl style.
4.2. Curling Iron Angles
Experiment with different curling iron angles to achieve varied curls. Holding the curling iron vertically creates tighter curls, while holding it horizontally produces looser waves. Tilt the curling iron at different angles to achieve natural-looking curls and avoid uniformity.
4.3. Cool and Set
Allow each curl to cool completely before touching or brushing it. This helps the curl to set and hold its shape for longer. If desired, secure each curl with a hairpin or clip while it cools to help it retain its form.
4.4. Finger Comb or Brush
Once your hair has cooled, gently finger comb through the curls to loosen them and create a more natural look. If you prefer softer waves, use a wide-toothed comb or a brush with gentle bristles to lightly brush through the curls.
Safety Precautions
5.1. Heat Protection
Always exercise caution when using a curling iron, as the barrel can become very hot. Protect your hands and fingers by using the provided heat-resistant glove or wrapping a cloth around the barrel-clamping area. Be mindful of the hot barrel to prevent accidental burns.
5.2. Unplug After Use
After you finish curling your hair, unplug the curling iron and allow it to cool down before storing it. Never leave a hot curling iron unattended, as it poses a potential fire hazard.
5.3. Proper Storage
Store your curling iron in a safe and designated area, away from flammable objects or areas where it may come into contact with water. Use the provided heat-resistant stand or wrap the cord around the base of the curling iron for tidy storage.
Practice and Experimentation
6.1. Practice Makes Perfect
Curling your hair with a curling iron may take some practice, so don’t be discouraged if you don’t achieve the desired results immediately. Take your time, be patient, and allow yourself room for improvement. With practice, you’ll gradually become more comfortable and proficient in creating beautiful curls.
6.2. Experiment with Techniques and Styles
Don’t be afraid to experiment with different techniques, curling directions, and styles. Try out various barrel sizes, curling iron angles, and sectioning techniques to discover the looks that suit you best. Explore online tutorials and hairstyling inspiration to find new ideas and techniques to try.
Conclusion
Using a curling iron can be easy and fun, even for beginners. By following the tips and techniques outlined in this guide, you can confidently curl your hair and achieve stunning results. Remember to choose the right curling iron, prepare your hair properly, and practice different techniques to find what works best for you. With time, patience, and a little experimentation, you’ll become skilled at using a curling iron to create beautiful curls that enhance your personal style. Enjoy the process and embrace the versatility this hairstyling tool offers.
Leave a Reply