Introduction:
Beach waves are a timeless and versatile hairstyle that exudes a relaxed, yet polished look. Creating beach waves with a curling iron is a popular method because it allows for control and precision. This comprehensive guide will explore the steps to achieve perfect beach waves using a curling iron, including preparation, techniques, and maintenance tips.

How to Do Beach Waves with a Curling Iron:
Achieving Effortless Style
Choosing the Right Curling Iron:
What Should You Look For?
Selecting the right curling iron is essential for creating beach waves. Various factors influence how well the iron performs and how the waves will look.
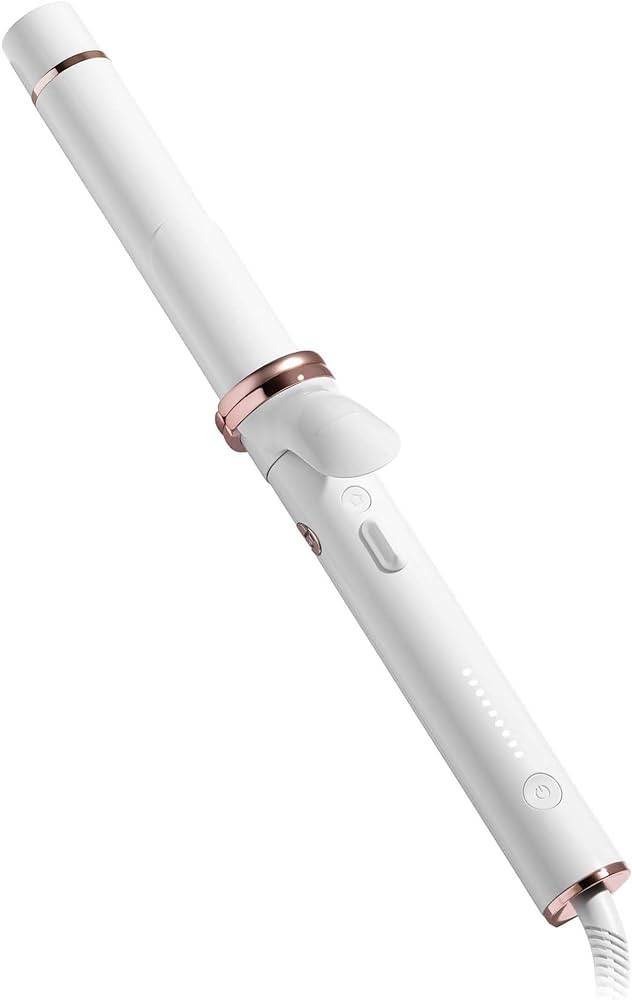
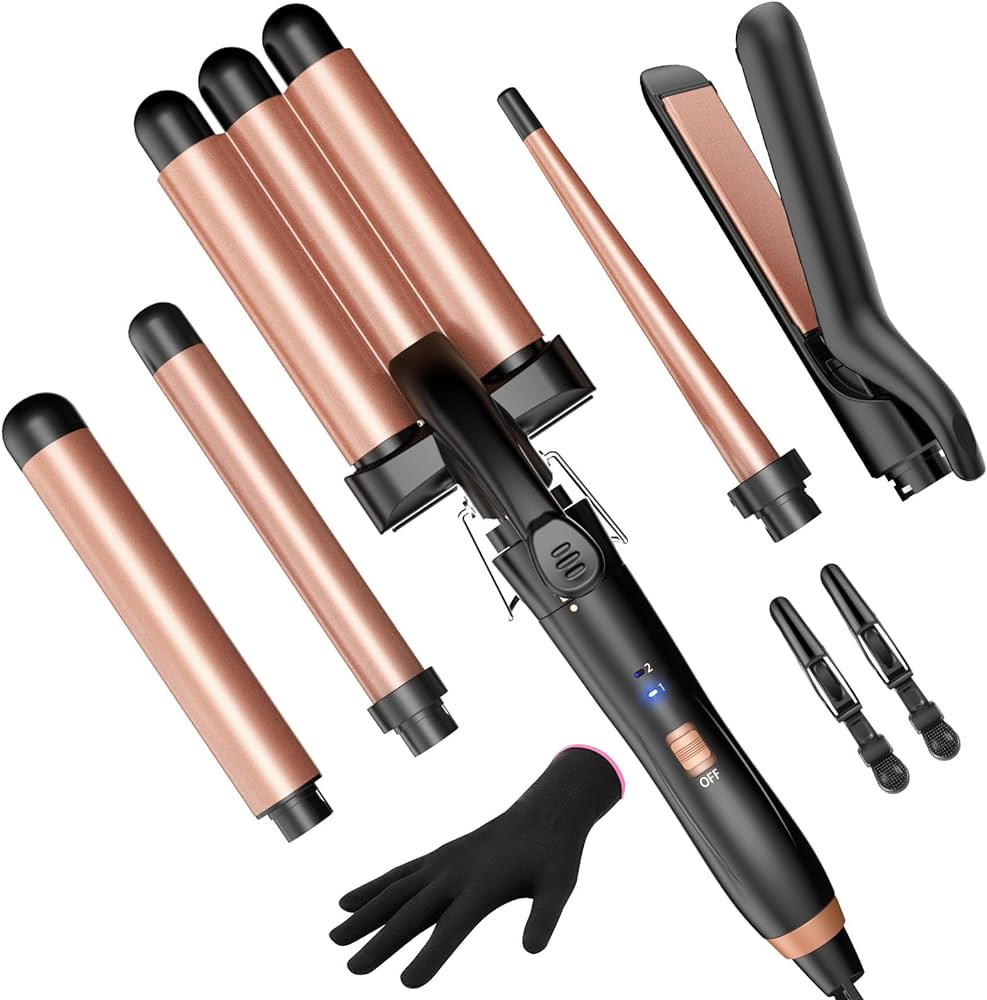
Barrel Size: The barrel size of the curling iron plays a significant role in determining the size of the waves. For beach waves, a medium-sized barrel (1 to 1.25 inches) works best. This size creates natural-looking waves that are neither too tight nor too loose.
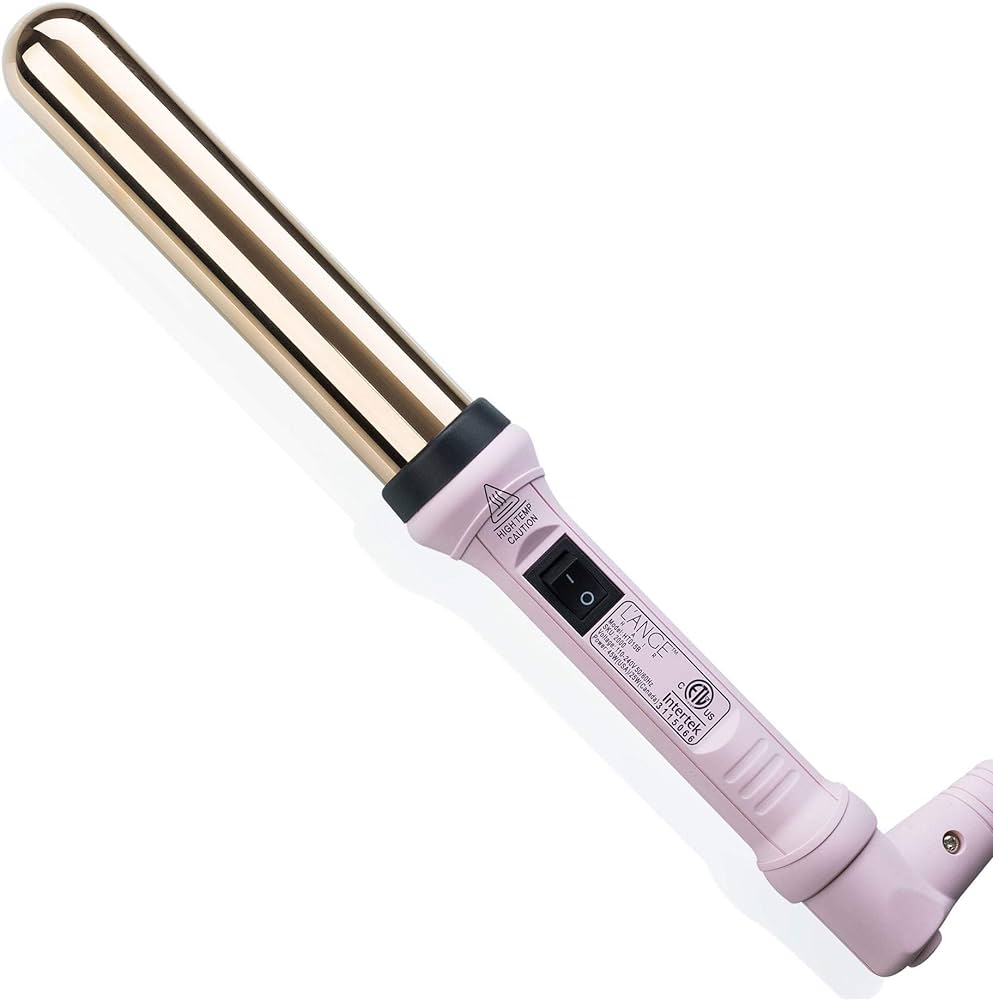
Material: The material of the curling iron affects heat distribution and the overall health of your hair. Ceramic or tourmaline barrels are ideal as they distribute heat evenly and reduce frizz. Titanium barrels are also effective but tend to be hotter and more suitable for thick or coarse hair.
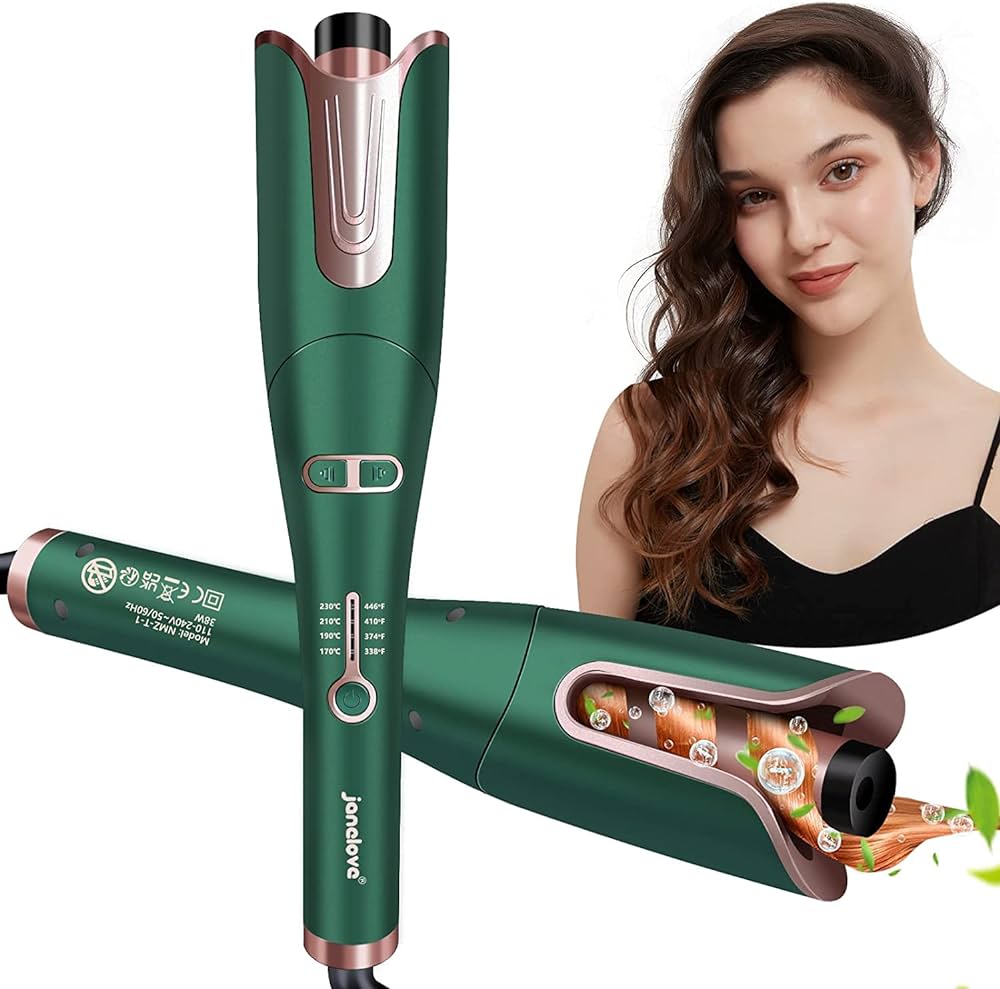
Temperature Control: Opt for a curling iron with adjustable temperature settings. This feature allows you to customize the heat based on your hair type. Fine or damaged hair requires lower temperatures (around 300°F), while thick or coarse hair may need higher settings (up to 400°F).
Clamp vs. Wand: Curling irons come with or without clamps. A curling wand requires you to wrap your hair around the barrel manually, which can create more natural waves. A curling iron with a clamp can be easier to use, especially for beginners, but may create more uniform curls.
Preparation:
How to Get Ready for Styling Beach Waves?
Proper preparation ensures that your hair is protected and primed for styling, resulting in long-lasting beach waves.
Clean and Dry Hair: Start with clean and completely dry hair. Washing your hair the night before can also be beneficial, as slightly dirty hair tends to hold waves better. Use a lightweight shampoo and conditioner to avoid weighing your hair down.
Heat Protectant: Apply a heat protectant spray evenly throughout your hair. This product shields your hair from heat damage, reducing the risk of breakage and maintaining the health of your strands.
Detangle: Brush your hair thoroughly to remove any tangles. Starting with smooth, tangle-free hair ensures that the waves come out evenly and reduces the risk of snagging or pulling during curling.
Section Your Hair: Divide your hair into manageable sections. Use hair clips to secure the sections you are not working on. Typically, dividing your hair into top and bottom sections, and further subdividing each into smaller sections, makes the process more efficient.
Creating Beach Waves:
What Techniques to Use with a Curling Iron?
Following the right techniques with your curling iron helps create the perfect beach waves, giving you a stylish, effortless look.
Wrapping Technique:
Step 1: Take a small section of hair (about 1 inch wide) from the bottom layer. Hold the curling iron vertically, with the clamp open if you’re using a curling iron with a clamp.
Step 2: Wrap the section of hair around the barrel away from your face, starting from the base near your scalp and working towards the ends. Leave about 1 inch of the hair’s ends out of the clamp to create a more natural, beachy look.
Step 3: Hold the hair on the barrel for about 5-10 seconds, depending on your hair’s thickness and the curling iron’s temperature. Release the hair gently.
Alternating Directions:
Step 1: For a more natural and textured look, alternate the direction you wrap your hair around the barrel. For example, curl one section away from your face and the next section towards your face.
Step 2: Continue alternating directions as you work through each section. This variation prevents the waves from clumping together and adds dimension to the hairstyle.
Twisting Method:
Step 1: For added texture, twist each section of hair before wrapping it around the curling iron. Hold the section and twist it from root to tip, then wrap the twisted section around the barrel.
Step 2: This method creates a more tousled, textured wave that resembles natural beach waves.
Finishing Touches: How to Set and Style Your Beach Waves?
Finishing touches help set your beach waves and complete the look, ensuring it lasts throughout the day.
Cool Down: Allow your curls to cool completely before styling. Cooling helps set the waves and ensures they last longer. Avoid touching or combing the curls while they are still warm.
Break Up Waves:
Fingers: Gently run your fingers through your hair to break up the waves and create a more relaxed, natural look. This method helps separate the waves without flattening them.
Wide-Tooth Comb: Alternatively, use a wide-tooth comb to softly separate the waves. This tool adds volume and prevents the waves from looking too perfect or uniform.
Texturizing Spray: Apply a texturizing spray or sea salt spray to enhance the beachy texture. Spritz the product evenly throughout your hair and scrunch the ends for added volume and definition.
Setting Spray: Finish with a light-hold hairspray to set the waves without making them stiff. This helps maintain the style while allowing natural movement.
Maintenance Tips:
How to Keep Your Beach Waves Looking Fresh?
Implementing these maintenance tips ensures that your beach waves stay fresh and stylish throughout the day.
Avoid Touching: Constantly touching or playing with your hair can cause the waves to fall flat and become greasy. Resist the urge to touch your hair to maintain the style.
Sleep Care: To preserve your beach waves overnight, tie your hair into a loose bun or braid before sleeping. Using a silk or satin pillowcase minimizes friction and helps maintain the waves’ shape.
Refresh: To refresh your waves the next day, use a dry shampoo at the roots to absorb oil and add volume. Lightly reapply texturizing spray or sea salt spray and scrunch the ends to revive the beachy texture.
Moisturize: Heat styling can dry out your hair, so incorporating moisturizing treatments like hair masks or oils into your routine helps maintain hair health. Use these treatments regularly to keep your hair hydrated and shiny.
Professional Tips: What Do Hairstylists Recommend for Perfect Beach Waves?
Professional hairstylists offer valuable insights and recommendations for achieving and maintaining perfect beach waves.
Sectioning Secrets:
Small Sections: Work in small sections for more defined and controlled waves. Smaller sections allow for more even heating and better wave formation.
Curl Variations: Vary the size of sections and the direction of curls to create a more natural, beachy look. This technique adds depth and dimension to the hairstyle.
Temperature Control:
Adjust Heat: Adjust the temperature based on your hair type. Fine or damaged hair requires lower heat settings, while thicker hair may need higher temperatures for effective curling.
Protective Products: Stylists emphasize the importance of using a heat protectant to shield your hair from damage. High-quality heat protectants maintain hair health while allowing for effective styling.
Finishing Tips:
Loose Ends: Leaving the ends slightly loose or uncurled creates a more natural beach wave look. This technique prevents the ends from looking too polished or curled.
Volume and Texture: Use products that add volume and texture without weighing your hair down. Texturizing sprays and lightweight mousses enhance the beachy vibe.
Additional Tips:
How to Enhance the Beach Wave Styling Process?
Incorporating a few additional tips can further improve your beach wave styling process and enhance the overall look.
Pre-Style Prep: Consider using a volumizing mousse or lightweight styling gel before drying your hair. These products add body and hold, making it easier to achieve defined waves.
Texture Boosters: Use a small amount of hair wax or pomade on the ends of your hair for added texture and definition. These products help create a more lived-in, beachy look.
Humidity Protection: If you live in a humid climate, use an anti-humidity spray to keep your waves intact. This product helps prevent frizz and maintains the shape of the waves in damp conditions.
Tool Alternatives: If you prefer not to use a traditional curling iron, try using a flat iron to create beach waves. The technique involves clamping a section of hair and twisting the flat iron as you move it down the length of the hair, creating a wave pattern.
Conclusion
Creating beach waves with a curling iron is a straightforward and effective method for achieving a relaxed, yet polished hairstyle. Choosing the right curling iron, preparing your hair properly, and using the right techniques all contribute to achieving the perfect beach waves. Incorporating finishing touches and maintenance tips ensures that the waves stay fresh and stylish throughout the day. Learning from professional tips, user experiences, and incorporating additional styling enhancements provides added benefits. By following these best practices and exploring various methods, you can effortlessly achieve beautiful, beachy waves that compliment any look.