Bending plexiglass, also known as acrylic, can be a rewarding and creative endeavor. Whether you’re engaged in DIY projects, crafting, or creating custom displays, understanding how to effectively bend plexiglass with everyday tools like a hair dryer can lead to impressive results. This guide delves into the methods, materials, and safety measures involved in bending plexiglass. We aim to provide you with a detailed overview exceeding 1800 words, ensuring that you are well-prepared for your plexiglass projects.
Understanding Plexiglass
What is Plexiglass?
Plexiglass, a brand name for acrylic, is a transparent thermoplastic that is lightweight, shatter-resistant, and versatile. Due to its clarity and durability, plexiglass is often used as a substitute for glass in various applications, including windows, signs, and displays. Unlike glass, plexiglass is easier to cut, shape, and mold, making it a popular choice for various crafting and construction projects.
Properties of Plexiglass
Before we dive into the bending process, it’s important to understand some key properties of plexiglass that affect how it can be manipulated:
- Thermoplastic Nature: Plexiglass becomes pliable when heated and can be shaped into various forms.
- Heat Resistance: While it can withstand varying temperatures, excess heat may lead to melting or warping.
- Durability: Though robust, plexiglass can scratch easily, so care should be taken during handling and processing.
Tools You Will Need
Bending plexiglass requires basic tools and materials. Here’s a list of what you’ll need to achieve your project:
Essential Tools
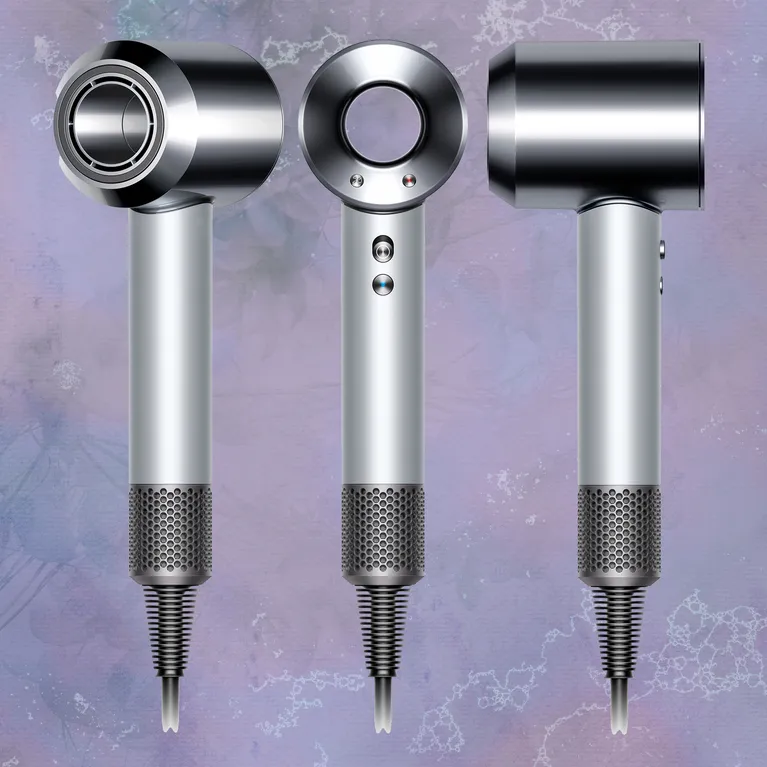
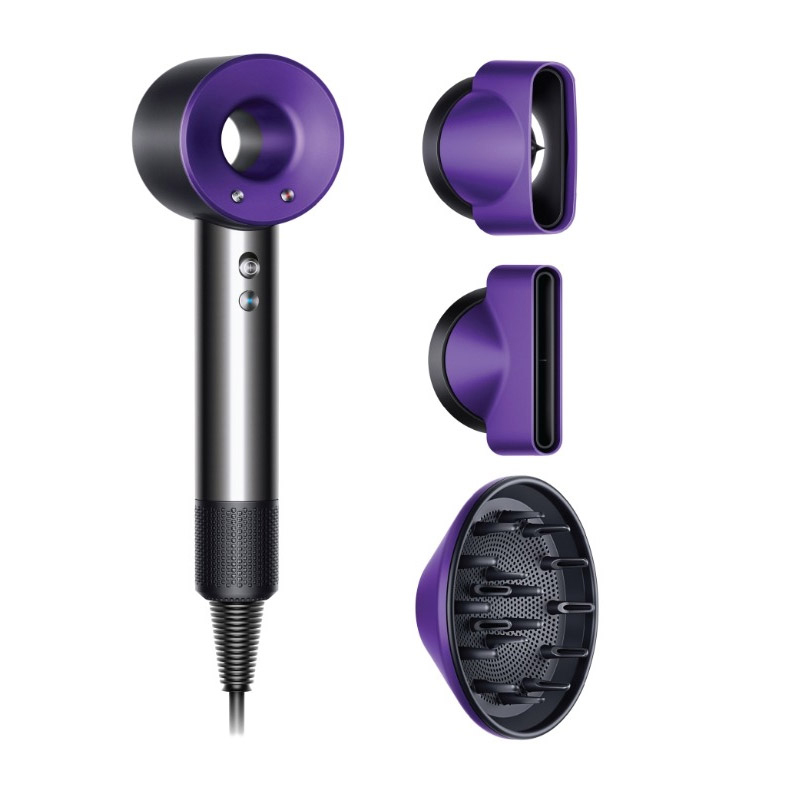
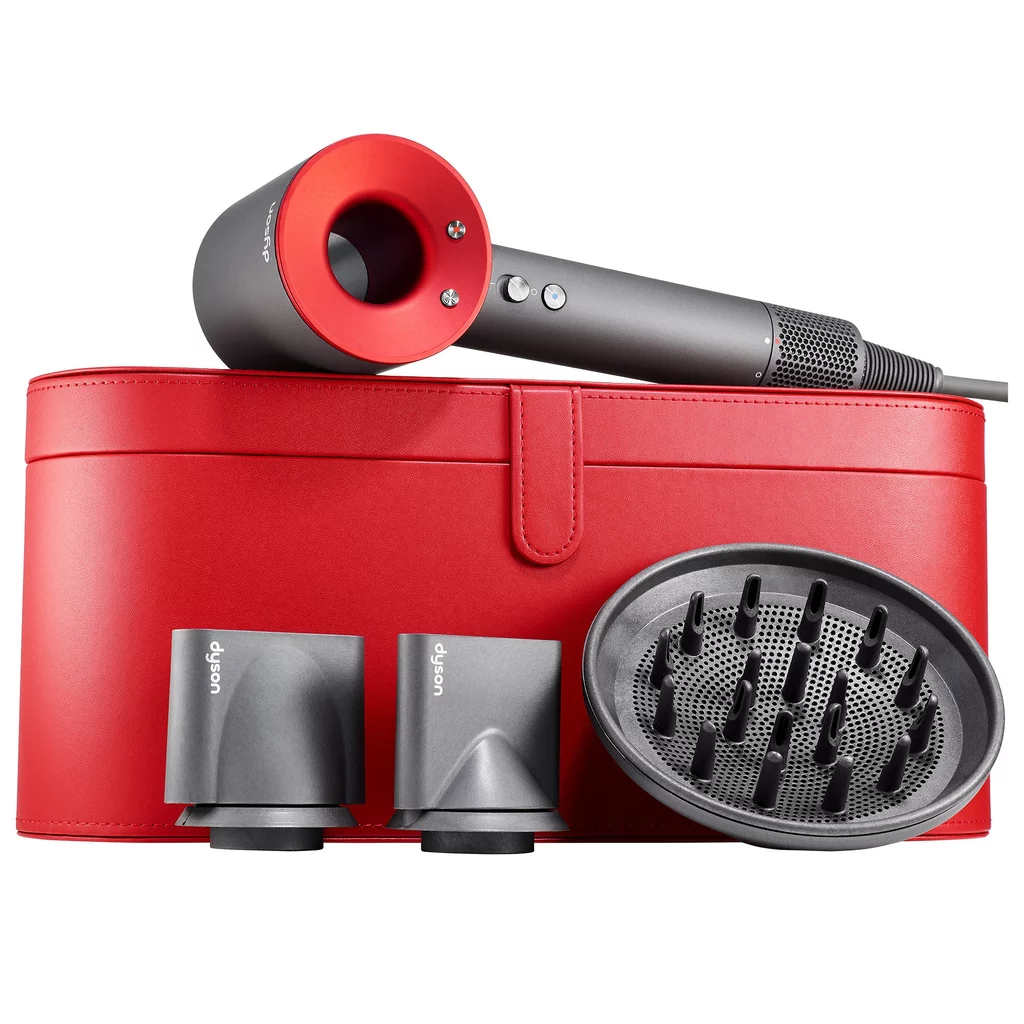
- Hair Dryer: A standard hair dryer can provide the heat required to soften the plexiglass.
- Clamps: These are useful for holding the plexiglass in place while you bend it.
- Work Surface: Choose a sturdy table or workbench to ensure stability.
- Straight Edge/Ruler: For making precise measurements before cutting.
- Marker or Pen: To outline cutting lines on the plexiglass.
Optional Tools
- Heat Gun: A heat gun can be more effective and provide higher temperatures than a hair dryer if you need to work with thicker sheets.
- Gloves: Protect your hands from accidental burns while working with heated materials.
- Safety Goggles: To shield your eyes from any flying debris during cutting or crafting.
Preparing the Plexiglass
Before bending the acrylic, proper preparation is essential for achieving a clean and effective result. Follow these steps:
Step 1: Select the Right Sheet
Choose the thickness of the plexiglass based on your project needs. Thinner sheets (around 1/8 inch) are easier to bend, while thicker sheets may require more heat and time.
Step 2: Measure and Mark
Use a straight edge and a marker to make precise lines where you want the bend to occur. This could be either straight lines for right angles or curves depending on your design.
Step 3: Cut the Plexiglass
If you need to cut the plexiglass to size before bending, do so using a fine-toothed saw or acrylic cutter. Make sure to score the material adequately; pressing too hard may result in cracks.
Heating the Plexiglass
The key to bending plexiglass is to heat it uniformly without damaging the material. This section will guide you through the heating process using a hair dryer.
Step 1: Setup Your Work Area
Ensure that you’ve set up your work environment to provide enough space to maneuver the plexiglass. Make sure your work surface is heat-resistant and clear of any clutter. Position clamps nearby for easy access.
Step 2: Initial Heating
- Turn on the Hair Dryer: Set the hair dryer to the highest heat setting.
- Distance from Plexiglass: Hold the hair dryer approximately 6-12 inches away from the surface of the plexiglass.
- Even Movement: Move the dryer back and forth in a controlled manner, covering the area you intend to bend. Focus on heating the section rather than keeping the dryer in one place to avoid melting the material.
Step 3: Check for Pliability
After a couple of minutes of heating, check the flexibility of the plexiglass by gently pressing on it. Once it begins to feel soft and pliable, you’re ready for the next step.
Bending the Plexiglass
Step 1: Position the Plexiglass
Once the material is pliable, position the sheet on your work surface where you want to perform the bend. If you’re doing a small bend, you can simply hold it in your hands; for larger bends, you will want to utilize clamps to secure it down.
Step 2: Apply the Bend
Gently push the section you want to bend. Use your hands or a tool that won’t damage the surface to guide the acrylic. For a right angle, you will need to apply pressure gradually—stay cautious and ensure you don’t bend too quickly.
Step 3: Secure the Shape
Once you have achieved the desired angle, use clamps to hold the shape until it cools down and sets. Depending on the thickness of the acrylic, this may take a few minutes.
Cooling and Final Touches
Allow the bent plexiglass to cool completely before handling it further. The cooling phase is crucial, as it solidifies the new shape.
Step 1: Remove Clamps
Carefully remove any clamps you used once the material has cooled down. Handle with care to avoid any stress on the newly formed bend.
Step 2: Finishing Touches
If the edges of the bent area are rough, consider sanding them down with fine-grit sandpaper. This not only smooths any discrepancies but also improves the overall appearance of your project.
Tips for Successful Bending
Use Sufficient Heat
Using too little heat can make the plexiglass difficult to bend, while excessive heat can cause it to warp or melt. Always aim for a balance, and don’t rush the heating process.
Work Slowly
Patience is key when bending plexiglass. Applying too much pressure too quickly may cause cracks. Take your time to gradually apply pressure until you achieve the desired form.
Experiment with Scrap Material
Before working on your final project, practice on scrap pieces of plexiglass. This will help you refine your technique and become familiar with how the material reacts to heat.
Common Mistakes to Avoid
Ignoring Safety Precautions
Always prioritize safety by wearing gloves and goggles when handling heated materials. Failing to do so can lead to burns or injury.
Overheating the Material
Keeping the hair dryer too close for too long can lead to melting. Always maintain a safe distance and monitor the material closely.
Not Securing the Shape Properly
Once bent, ensure the shape is secured until completely cooled. Failing to do so can result in the material returning to its original shape or warping.
 Applications for Bending Plexiglass
The ability to bend plexiglass opens up various creative and functional applications. Here are some projects where bending acrylic can be particularly useful:
Signage and Displays
Create custom signs or retail displays by bending the plexiglass into curved shapes or angles. This method can enhance the visual appeal of advertisements or product displays.
Furniture Design
Innovative furniture pieces, such as coffee tables or shelves, often employ bent plexiglass as a striking design element. The ability to shape acrylic allows designers to explore modern aesthetics.
Aquariums
Bending can help create unique aquarium shapes or dividers, giving you the creative freedom to design aquatic landscapes that stand out.
Arts and Crafts
Craft projects such as sculptures, frames, or decorative pieces can benefit from the flexibility of bent plexiglass, leading to unique artistic expressions.
Conclusion
In summary, mastering how to bend plexiglass with a hair dryer can be an incredibly rewarding skill that opens up a world of possibilities for DIY enthusiasts and professionals alike. With the right tools, knowledge, and safety measures, you can transform flat sheets of plexiglass into dynamic shapes that enhance the beauty and functionality of your projects. Always remember to practice and experiment, as bending acrylic can be an art form in itself. Whether you’re creating custom signage, unique furniture, or innovative crafts, the skills you’ve acquired here will serve you well in your creative endeavors. Now that you’ve learned how to bend plexiglass with a hair dryer, it’s time to ignite your crafting journey!

