When it comes to achieving salon-quality hair at home, understanding how to use hair dryer attachments is essential. These attachments can help you achieve various styles, improve drying efficiency, and minimize heat damage. In this comprehensive guide, we will delve into the various types of hair dryer attachments, their unique benefits, and detailed techniques to help you master their use. Whether you have curly, straight, or textured hair, the right attachments can make a significant difference in your daily hair routine.
Types of Hair Dryer Attachments
Before diving into how to use hair dryer attachments effectively, let’s explore the various types available. Each has its unique function and benefits.
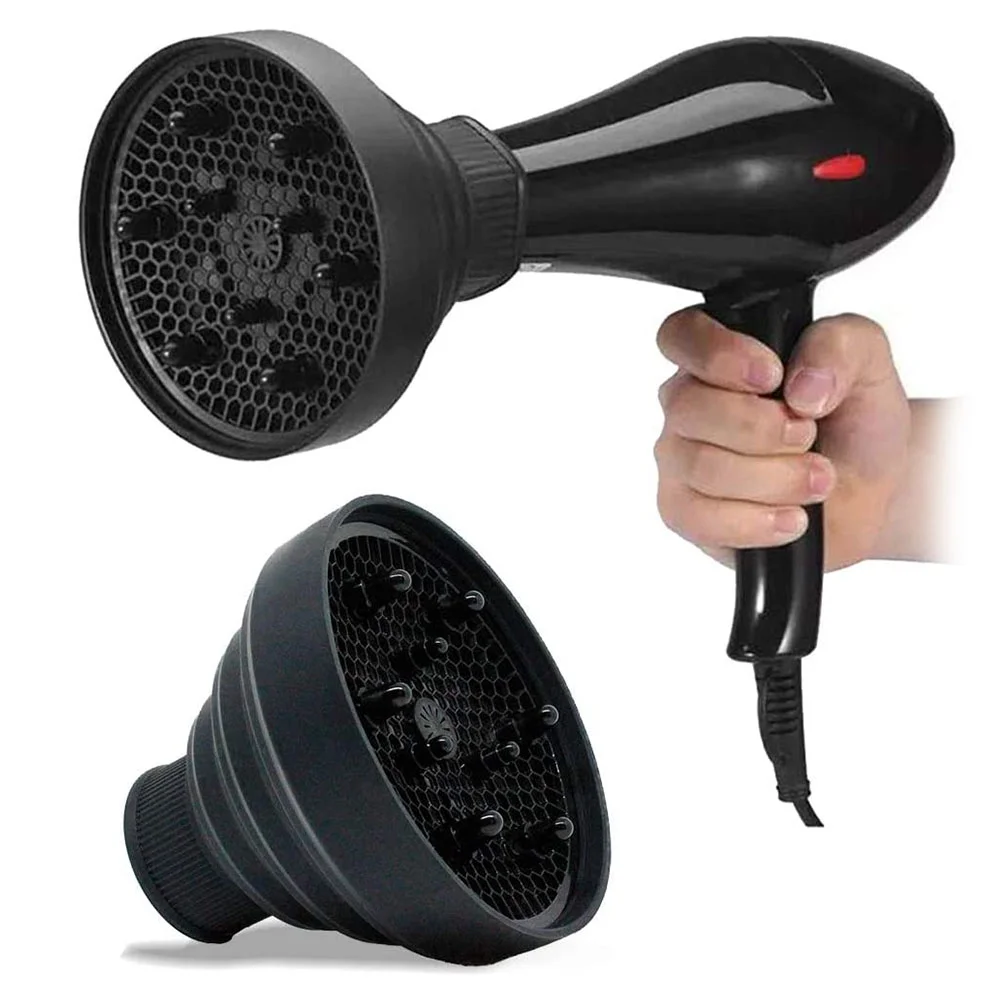
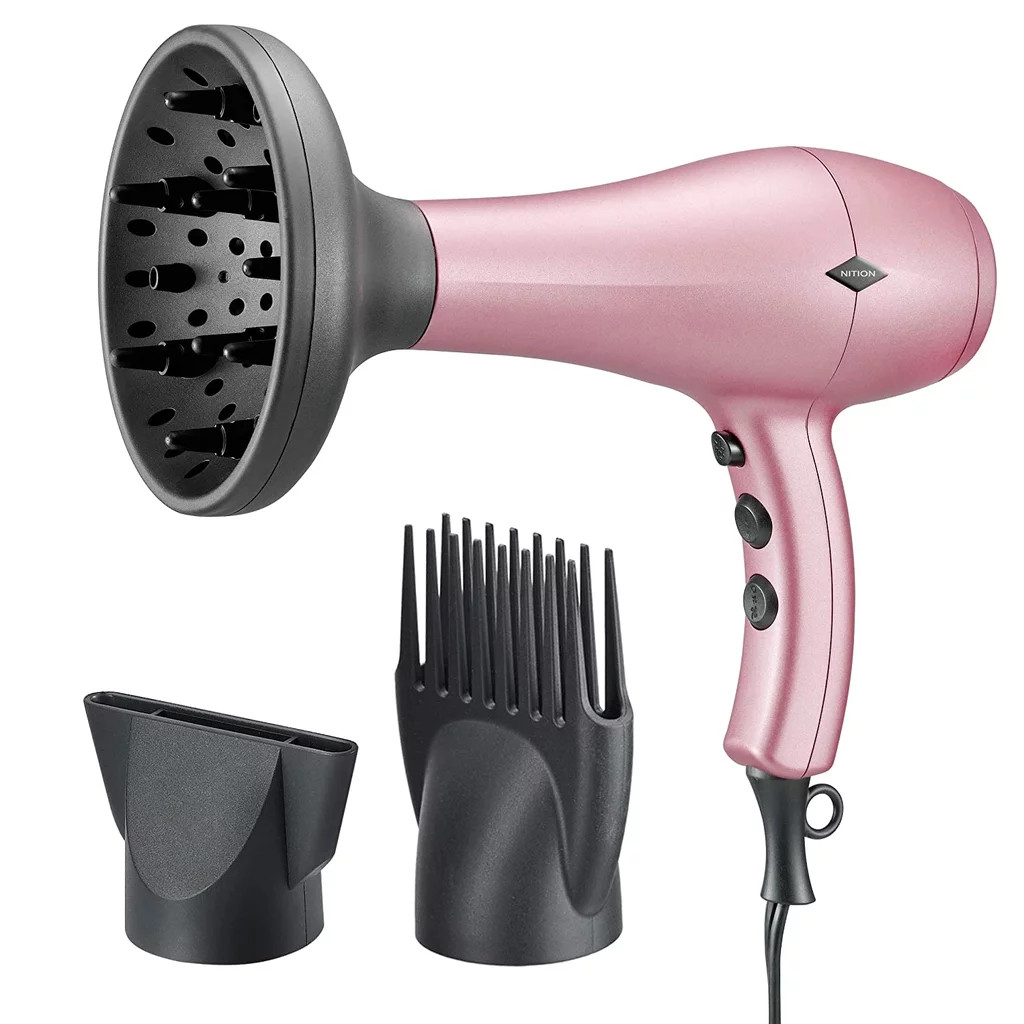
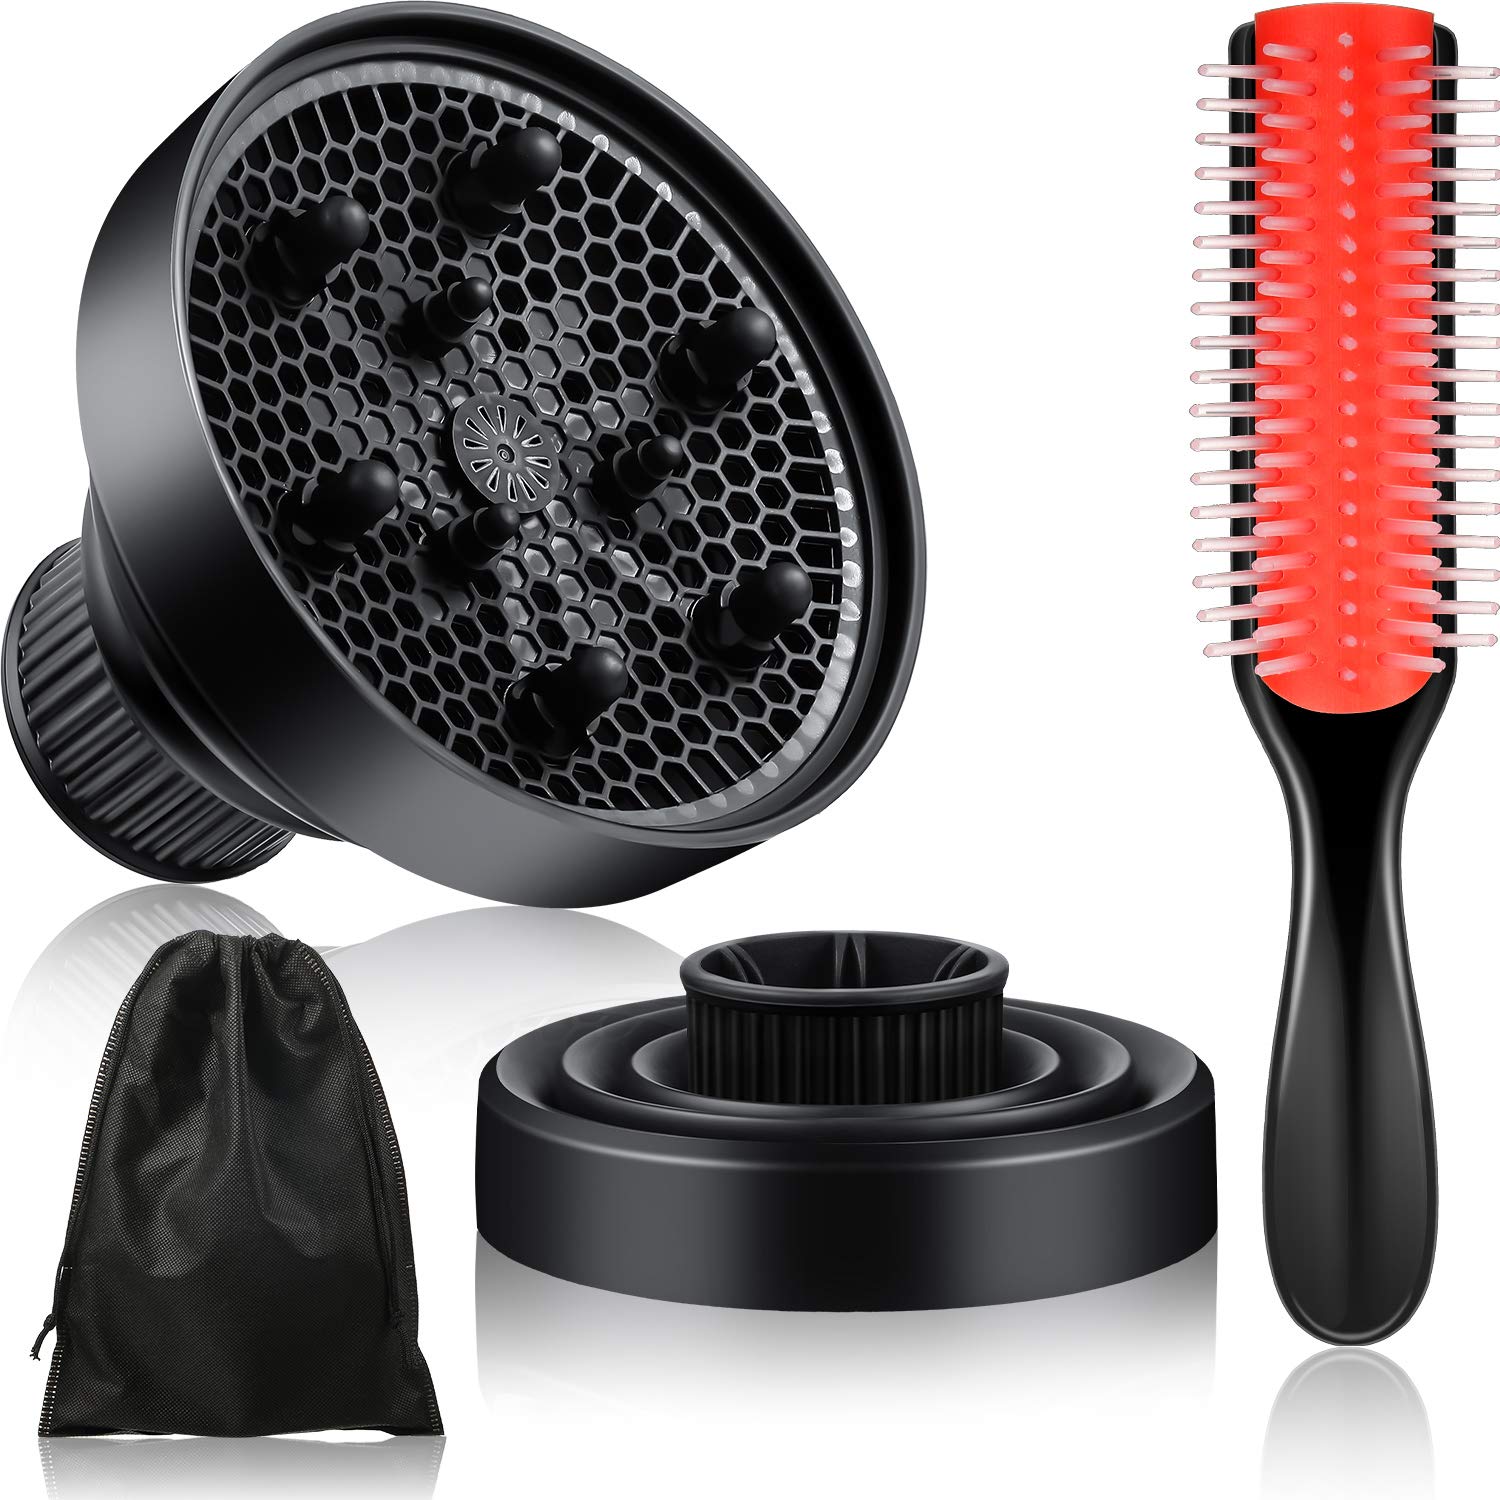
Diffusers
Diffusers are one of the most popular attachments for curly or wavy hair types. They spread the blow-dryer’s airflow over a larger area, helping to enhance and maintain curls while reducing frizz.
Concentrators
Concentrators, often flat and rectangular, focus the airflow in a concentrated stream. This attachment is ideal for straightening and smoothing hair or achieving a sleek look.
Brushes
Brush attachments combine the benefits of a blow dryer and a round brush, allowing for a bouncy blowout or polished curls. They come in various sizes and bristle types, making them versatile tools for styling.
Comb Attachments
Comb attachments are excellent for straightening hair while you dry. They detangle as you go, making it a great option for thick or coarse hair types.
Hood Attachments
Hooded dryers are typically found in salons, allowing for an even, indirect heat. These attachments are useful for deep conditioning treatments or setting curls.
Bonnet Attachments
Bonnet attachments allow you to put on a cap while you dry your hair, making it great for maintaining curls or styles overnight.
How to Use a Diffuser
Using a diffuser can seem challenging at first, but with practice, you’ll master it.
Step 1: Prepare Your Hair
Start with clean, damp hair. Apply your favorite curl-enhancing products, such as mousse or leave-in conditioner, to help define your curls.
Step 2: Attach the Diffuser
Simply twist the diffuser onto the end of your hair dryer until it’s securely in place.
Step 3: Section Your Hair
Divide your hair into manageable sections. If you have thick hair, consider smaller sections for more defined curls.
Step 4: Dry From Below
Position the diffuser beneath a section of hair, cupping it in the diffuser’s bowl. Turn your hair dryer on a low or medium heat setting and use the low-speed option to prevent frizz.
Step 5: Scrunch and Lift
As you dry, gently scrunch the hair upward toward your scalp while holding the diffuser in place. Continue scrunching and lifting until your hair is dry, taking care not to touch your curls too much.
Step 6: Finish Up
Once your hair is fully dry, you can apply a light serum for shine and frizz control.
How to Use a Concentrator
A concentrator is a fantastic tool for achieving sleek and straight hair.
Step 1: Prep Your Hair
Start by applying a heat protectant to your hair. This will minimize damage from the heat.
Step 2: Choose Settings
Select the high heat and high speed settings on your hair dryer for optimum results.
Step 3: Section Your Hair
Divide your hair into sections. Use clips to hold the top layers out of the way.
Step 4: Direct the Flow
Hold the concentrator attachment at the end of your hair and direct the airflow downward to prevent frizz.
Step 5: Use a Brush
Using a round or paddle brush, glide it down as you point the concentrator down the hair shaft. This will help to smooth and straighten your hair effectively.
Step 6: Cool the Style
For added shine and to set your style, finish with a blast of cool air for a few seconds.
How to Use a Brush Attachment
A brush attachment can provide amazing volume and style in a fraction of the time.
Step 1: Start with Damp Hair
Pre-dry your hair with a general blow dryer until it’s about 80% dry.
Step 2: Select Your Brush
Choose a round or paddle brush attachment based on the style you’re aiming for.
Step 3: Section Your Hair
Similar to previous methods, divide your hair into manageable sections.
Step 4: Use the Brush with Dryer
Using a round brush attachment, start with the sides of your head, wrapping sections of hair around the brush while applying heat.
Step 5: Move Downward
Slide the brush down your hair as you release the section, creating volume at the roots.
Step 6: Style with End Wrap
Finish with a little flick at the ends for added bounce, then let it cool in place.
How to Use a Comb Attachment
For those who prefer a more straightforward approach to drying thick or unruly hair, a comb attachment is a lifesaver.
Step 1: Prepare Your Hair
Apply a heat protectant and any styling products suitable for your hair type.
Step 2: Use the Right Heat Setting
Choose a high heat setting for efficient drying.
Step 3: Start at the Roots
Insert the comb into your roots and follow it down the length of your hair. The comb will help to straighten as you dry.
Step 4: Glide Through
Continue to glide the comb through your hair until you achieve the desired straightness.
Step 5: Repeat for Detangling
This attachment also helps detangle your hair while it dries, reducing frizz and leaving your hair smooth.
How to Use a Hood Attachment
While less common for at-home use, hood attachments can give you that salon experience right in your bathroom.
Step 1: Set Up Your Hood
Attach the hood to your hair dryer and plug it in.
Step 2: Apply Products
Apply your favorite styling or conditioning products for best results.
Step 3: Position Your Head
Place your head under the hood and adjust it so that it covers all of your hair evenly.
Step 4: Sit Back and Relax
Turn on the dryer and let it work its magic. You can multitask here—read or do some light housework while you wait.
Step 5: Check and Style
After the timer goes off, check the dryness and style your hair as desired.
How to Use a Bonnet Attachment
If you’re looking for a way to hold your curls overnight without damaging them, a bonnet attachment is a perfect option.
Step 1: Prepare Your Hair
After stylizing your curls, product application can enhance longevity.
Step 2: Attach the Bonnet
Simply attach the bonnet to your hair dryer.
Step 3: Insert Hair
Put your hair into the bonnet attachment snugly. Make sure it’s secure but not too tight.
Step 4: Use a Low Heat Setting
Opt for a low-heat setting to gently dry your curls, allowing them to set without causing damage.
Step 5: Let it Cool Down
When finished, remove the bonnet and let your curls cool down, enhancing their formation and reducing frizz.
 Tips for Maximizing Your Hair Dryer Attachments
Now that you know how to use hair dryer attachments, let’s talk about some tips to maximize your results:
Choose the Right Attachment for Your Hair Type
Different attachments serve various purposes, so choose wisely. Know what style you want and what type of attachment is best suited for that.
Experiment With Different Settings
Most hair dryers have multiple heat settings. Experiment with low, medium, and high to find what works best for your hair type.
Keep Distance
Hold the hair dryer a few inches away from your hair to prevent overheating and damage.
Don’t Over-Dry
Over-drying can lead to frizz and make hair look lifeless. Aim for about 80% dry, particularly if you’re styling with other tools.
Protect Your Hair
Always use a heat protectant to shield your hair from damage caused by hot tools.
Practice Patience
Mastering hairstyling techniques takes time and practice. Don’t rush! Take your time to find out what style works best for you.
Conclusion
In conclusion, understanding how to use hair dryer attachments effectively can drastically improve the way you style your hair. With the right techniques and practices, you can achieve beautiful, salon-like results in the comfort of your home. From diffusing curls to straightening your locks with a concentrator, each attachment offers unique benefits that cater to different hair types and styling preferences. So go ahead, explore the world of hair dryer attachments and elevate your hairstyling game!

