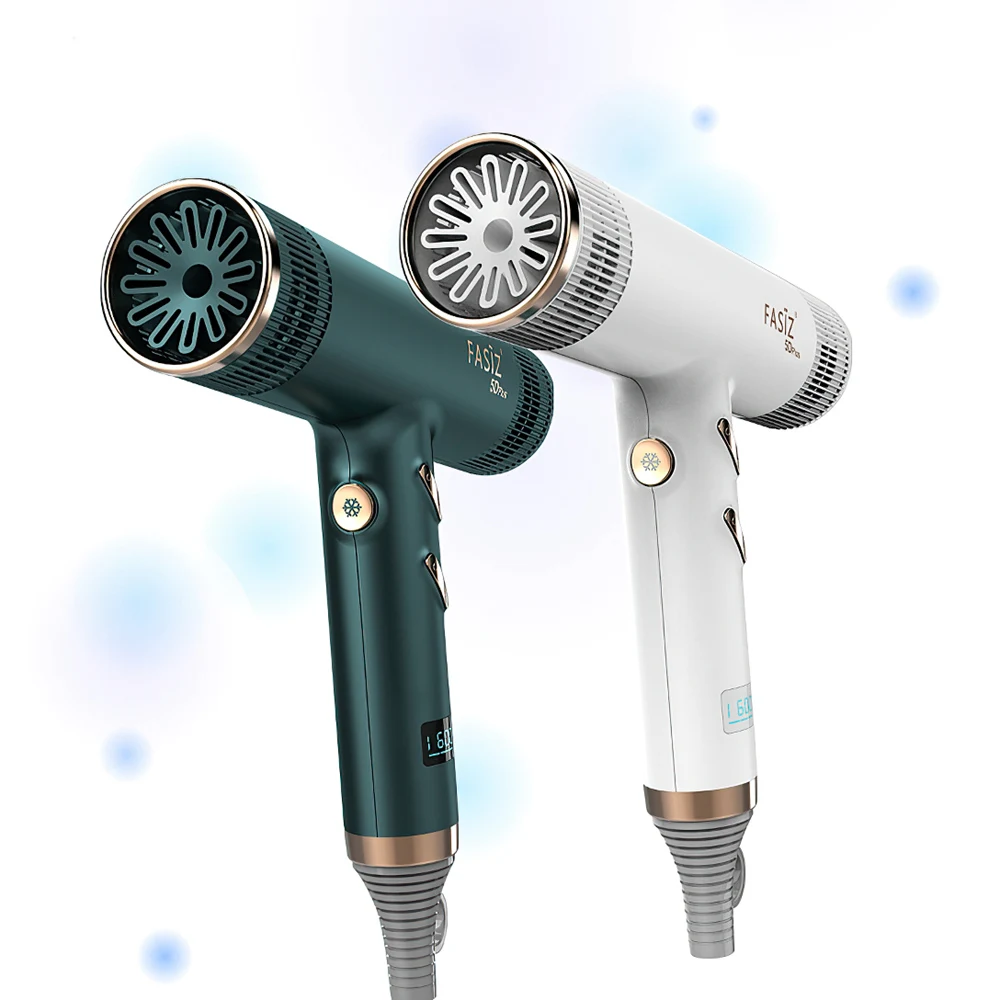
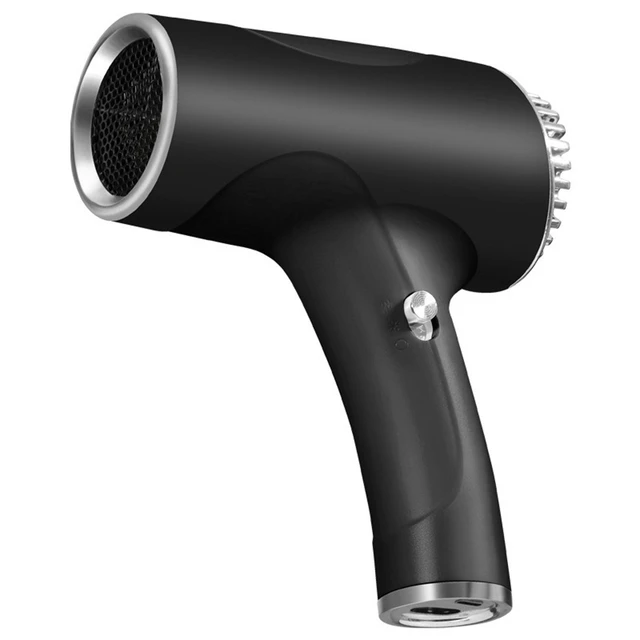
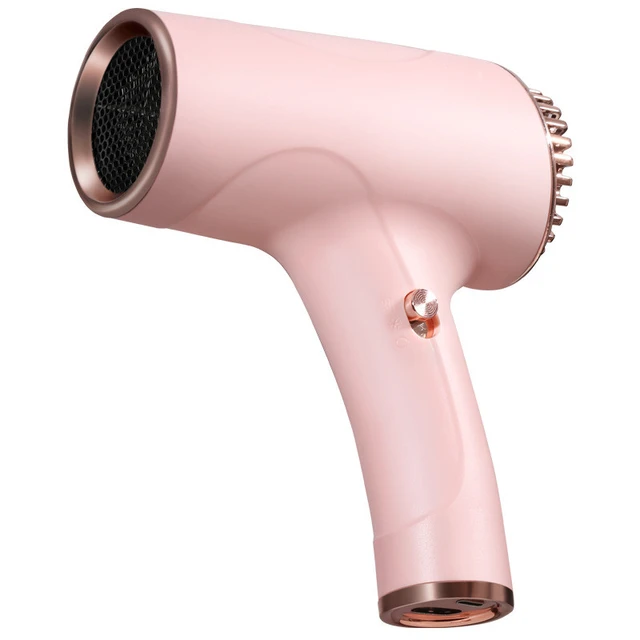
Keeping your hair dryer clean is essential for maintaining its performance and prolonging its lifespan. Over time, dust, lint, and product residue can accumulate, potentially impacting your hair dryer’s efficiency and even causing overheating. In this article, we will walk you through the process of cleaning your hair dryer step-by-step, covering everything from the basic cleaning methods to more intricate details that might often be overlooked.
Why Cleaning Your Hair Dryer is Important
Maintain Efficiency
One of the primary reasons to clean your hair dryer is to maintain its efficiency. A dryer clogged with dust and debris won’t operate as effectively. A clean filter and vent allow for better airflow and faster drying times, saving you both time and energy.
Prolong Lifespan
Regular maintenance can significantly extend the life of your hair dryer. By preventing buildup and overheating, you can avoid damaging critical components within the dryer, such as the motor and the heating element.
Health Safety
A dirty hair dryer can harbor bacteria and allergens, potentially impacting your health, especially if you have sensitive skin or a respiratory condition. Cleaning your hair dryer regularly helps reduce these risks.
Improved Hair Quality
Using a clean hair dryer ensures that you are not blowing hot air mixed with dirt and product residue onto your hair, which can lead to dullness and damage over time. A clean dryer helps you achieve silky, smooth results.
Equipment You Will Need
Before diving into the cleaning process, gather the necessary tools:
- Soft cloths: Microfiber cloths work best for cleaning surfaces without scratching them.
- Toothbrush or small brush: To remove stubborn lint and debris.
- Compressed air canister: To blow out dust from hard-to-reach places.
- Warm, soapy water: For cleaning the detachable parts.
- Isopropyl alcohol: For disinfecting surfaces, if needed.
- Screwdriver: If disassembling is required for deeper cleaning.
How to Clean Hair Dryer: Step-by-Step Instructions
Step 1: Unplug the Hair Dryer
Safety should always be your first concern. Ensure that your hair dryer is unplugged before you begin cleaning. This eliminates any risk of electric shock and prevents the machine from accidentally turning on during the cleaning process.
Step 2: Remove the Filter
Most modern hair dryers come equipped with removable filters. Check your hair dryer’s user manual for specific instructions on how to do this. Generally, the filter is located at the back of the device. Gently twist or pull to remove it. If it’s difficult to remove, you might need to consult the manual for guidance.
Step 3: Clean the Filter
Once removed, tap the filter gently to dislodge any loose debris. Use a soft brush or your toothbrush to scrub it gently and remove built-up dust and lint. If the filter is particularly dirty, wash it in warm, soapy water and allow it to dry completely before re-installing it. Make sure to avoid using harsh chemicals, as they can degrade the plastic.
Step 4: Clean the Outside of the Hair Dryer
Using a microfiber cloth lightly dampened with warm soapy water or isopropyl alcohol, wipe down the exterior of the hair dryer. Pay extra attention to the areas where product buildup might occur, such as the handle and buttons. Avoid getting any moisture into the dryer’s air intake or outlet.
Step 5: Clean the Air Vents
Hair dryers have air vents that can easily become clogged with dust and lint. Use compressed air to blow out any debris from these vents. Alternatively, you can use a soft brush to remove lint from the vent areas. Avoid using any sharp objects that could damage the internal components.
Step 6: Disassemble for Deeper Cleaning (if needed)
If you find that your hair dryer is still not performing well, consider a deeper clean. Use a screwdriver to carefully remove the outer casing. This step typically voids warranties, so check your warranty status before proceeding. Once open, look for any localized buildup of dust and debris inside. Gently clean these areas with a soft cloth or brush. Be cautious not to touch any electrical components to avoid damaging your hair dryer.
Step 7: Reassemble and Test
After everything is clean and dry, carefully reassemble the hair dryer. Make sure that everything is secured properly to avoid any loose components during operation. Plug your hair dryer back in and give it a test run. Ideally, you should notice an improvement in airflow and efficiency.
Frequency of Cleaning
Cleaning your hair dryer doesn’t have to be a daunting task. Fortunately, it is not needed on a daily basis. However, regular maintenance is key:
- Every Month: At a minimum, give your dryer a quick clean to remove visible dust and lint.
- Every 4-6 Months: Remove and clean the filter as described above.
- Annually: Consider doing a deep clean. If your hair dryer is showing signs of reduced performance, look for opportunities to disassemble and clean it thoroughly.
Common Mistakes to Avoid
Using Excessive Water
While it’s important to clean your hair dryer, using excessive water can lead to internal damage. Ensure that no moisture enters the device, especially the air intake, which can lead to electrical failures.
Skipping the Filter Cleaning
Neglecting to clean the filter is a common oversight. Remember, this component is crucial for airflow, and failing to clean it can result in overheating and inefficiency.
Ignoring Signs of Wear and Tear
Taking care of your hair dryer means paying attention to any signs of wear. If you notice unusual noises, burning smells, or the dryer feeling excessively hot during use, it is essential to stop using it and investigate further.
Not Consulting Your User Manual
Every hair dryer model can have unique features and cleaning needs. Always refer to your user manual for the best cleaning practices specific to your hair dryer.
 DIY Solutions for Persistent Odors
If your hair dryer has developed a strange odor, it might be due to an accumulation of burnt hair, product buildup, or other factors. Here are some DIY solutions to eliminate those stubborn smells:
Baking Soda Treatment
- Create a Paste: Mix baking soda with a small amount of water until it forms a paste.
- Apply: Use a soft cloth to apply the paste to the outer surfaces of the dryer.
- Let it Sit: Allow it to rest for about 30 minutes to absorb odors.
- Wipe It Off: Gently wipe the area with a damp cloth and dry thoroughly.
Vinegar Rinse
- Dilute Vinegar: Mix equal parts of water and vinegar in a spray bottle.
- Spray and Wipe: Lightly spray the exterior of your hair dryer and wipe it down with a soft cloth.
- Air Dry: Allow it to air dry completely before using it again.
Additional Tips for Hair Dryer Care
Use the Right Heat Settings
Understanding your hair dryer’s heat settings can lead to lower wear and tear. Using high heat settings can speed up drying time but can also cause damage over time. Try using a medium heat setting for everyday use.
Avoid Overusing Extension Cords
If possible, plug your hair dryer directly into an outlet rather than using extension cords. Overheating can occur if the cord is not suitable for high-powered devices.
Store Properly
When storing your hair dryer, avoid wrapping the cord tightly, as this can cause internal wiring damage. Instead, loosely coil the cord or use a designated tie strap for storage.
Conclusion
Knowing how to clean hair dryer effectively is vital for maintaining its performance and ensuring your safety and health. Regular cleaning not only prolongs its life, but it also provides a better hair styling experience. By following the detailed steps outlined above, you can keep your hair dryer in top-notch condition for years to come, ultimately helping you achieve beautiful, healthy hair without the pitfalls of poor maintenance. Remember, a little prevention goes a long way, so make this cleaning routine a part of your hair care regimen. Happy drying!

