Introduction to Waterpik Maintenance
Maintaining optimal oral health goes beyond simply brushing and flossing; it involves using quality dental tools like the Waterpik Water Flosser. This advanced oral hygiene appliance effectively removes debris and plaque from hard-to-reach areas between your teeth, ensuring a cleaner mouth and reducing the risk of gum disease. However, to keep your Waterpik working effectively, it is vital to clean it regularly. This guide provides comprehensive details on how to clean Waterpik water flosser, ensuring that it functions efficiently and lasts longer.
Understanding the Waterpik Water Flosser
What is a Waterpik Water Flosser?
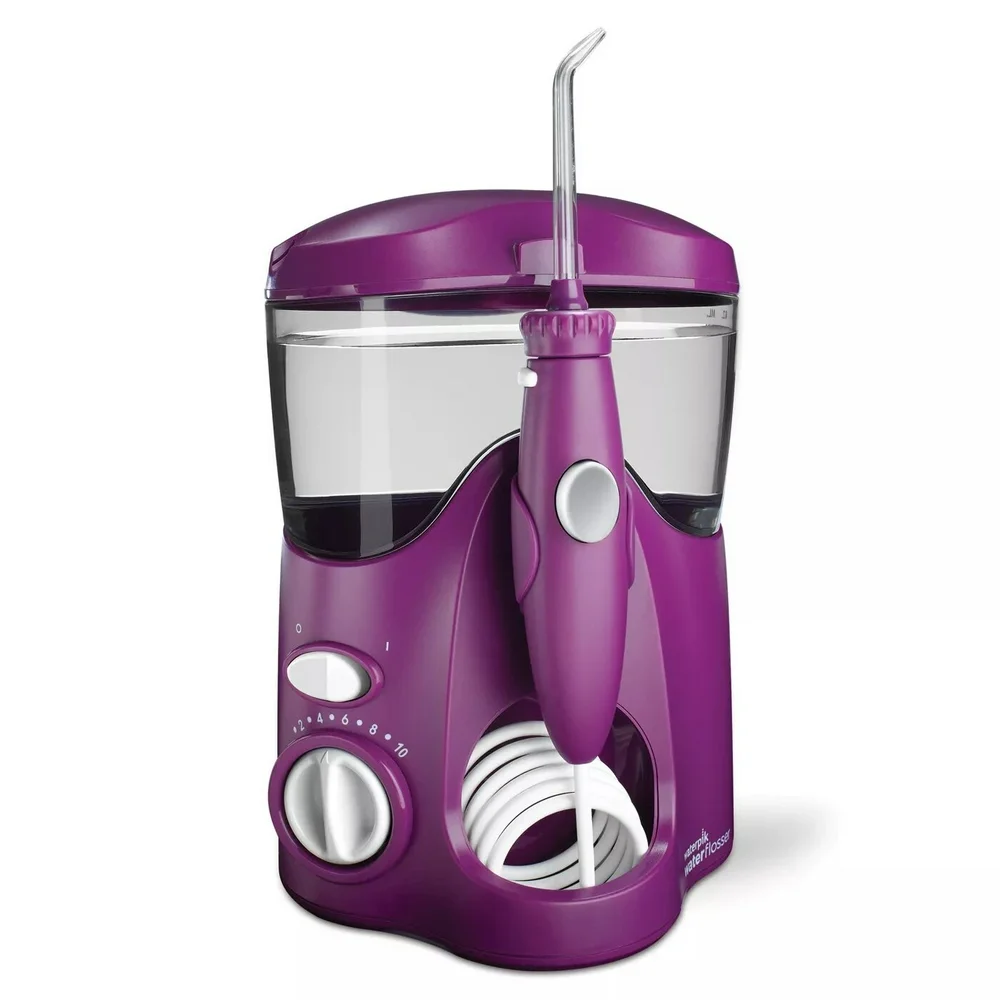
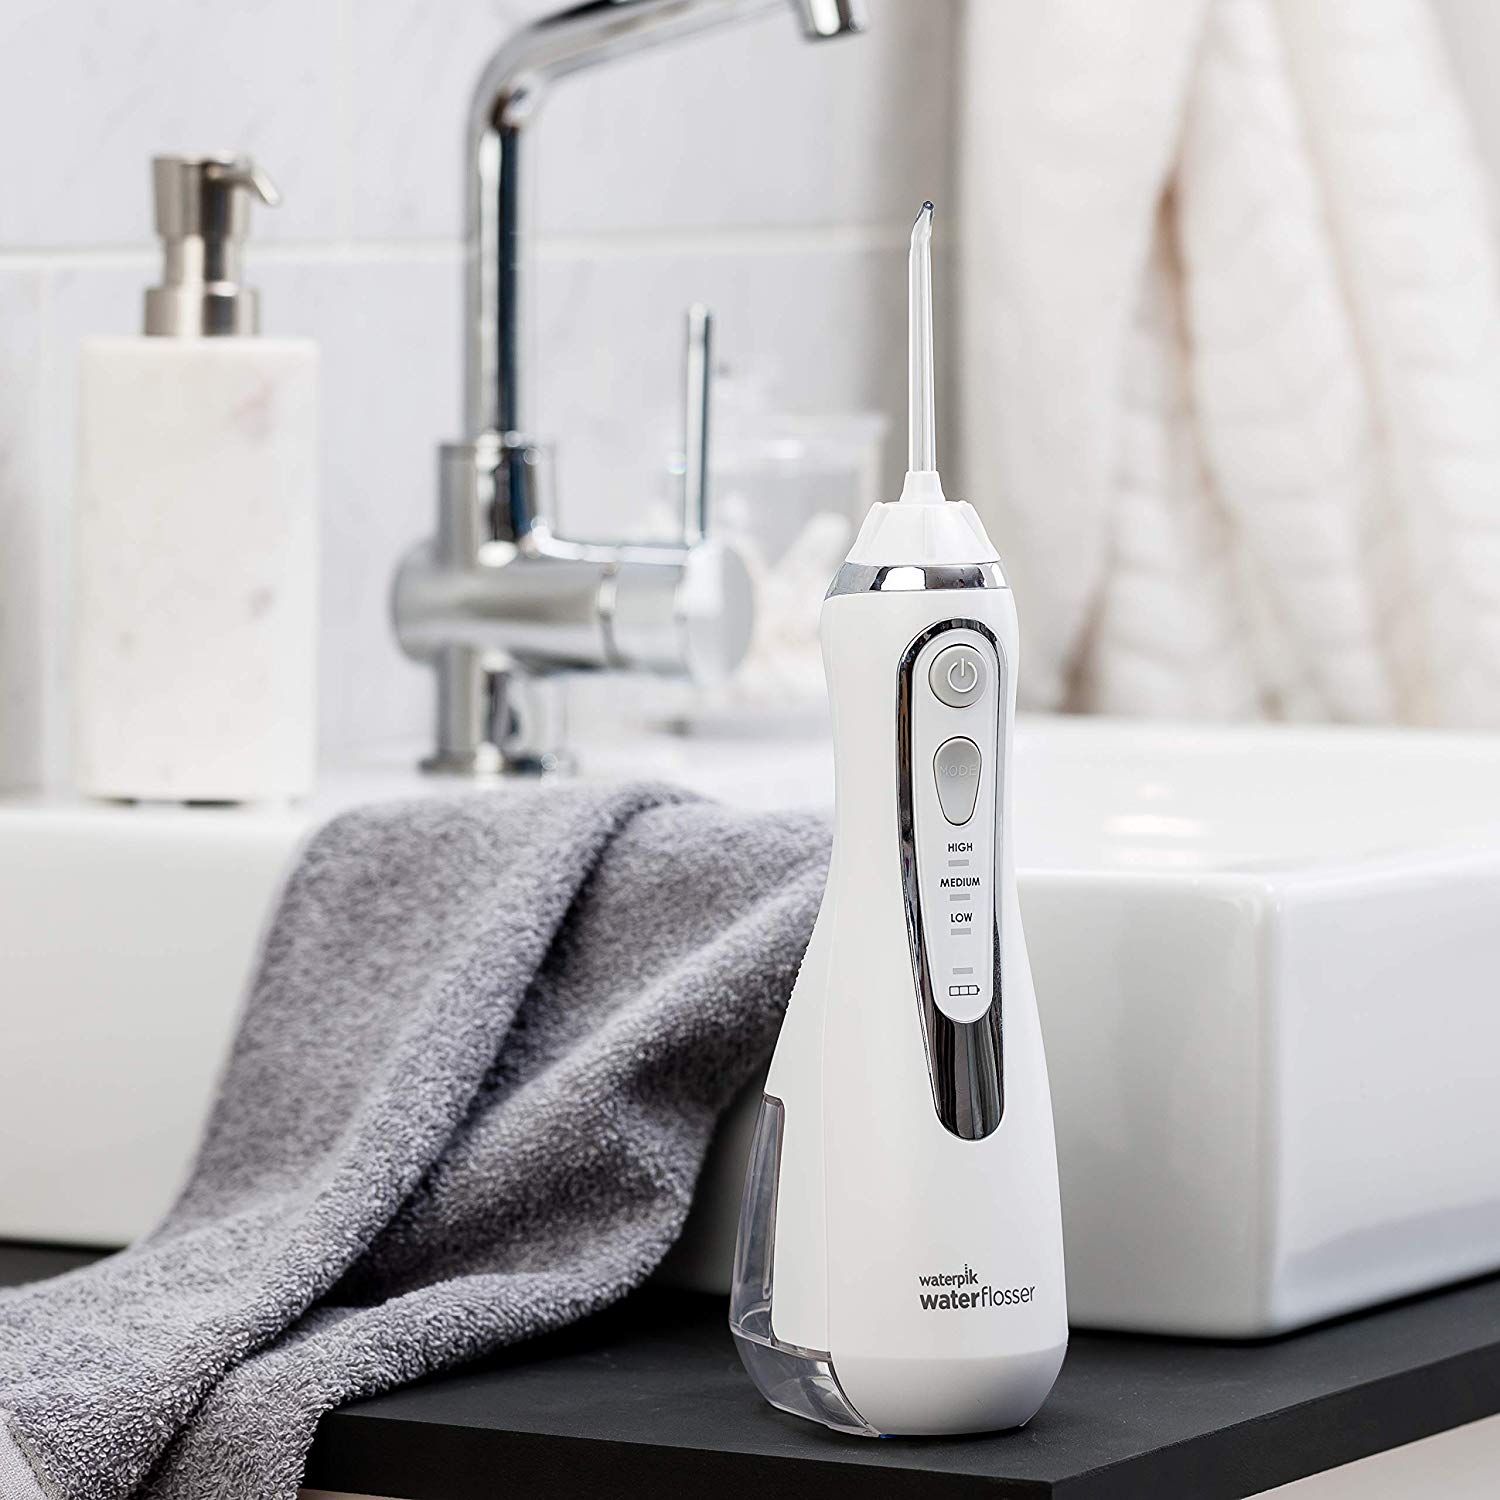
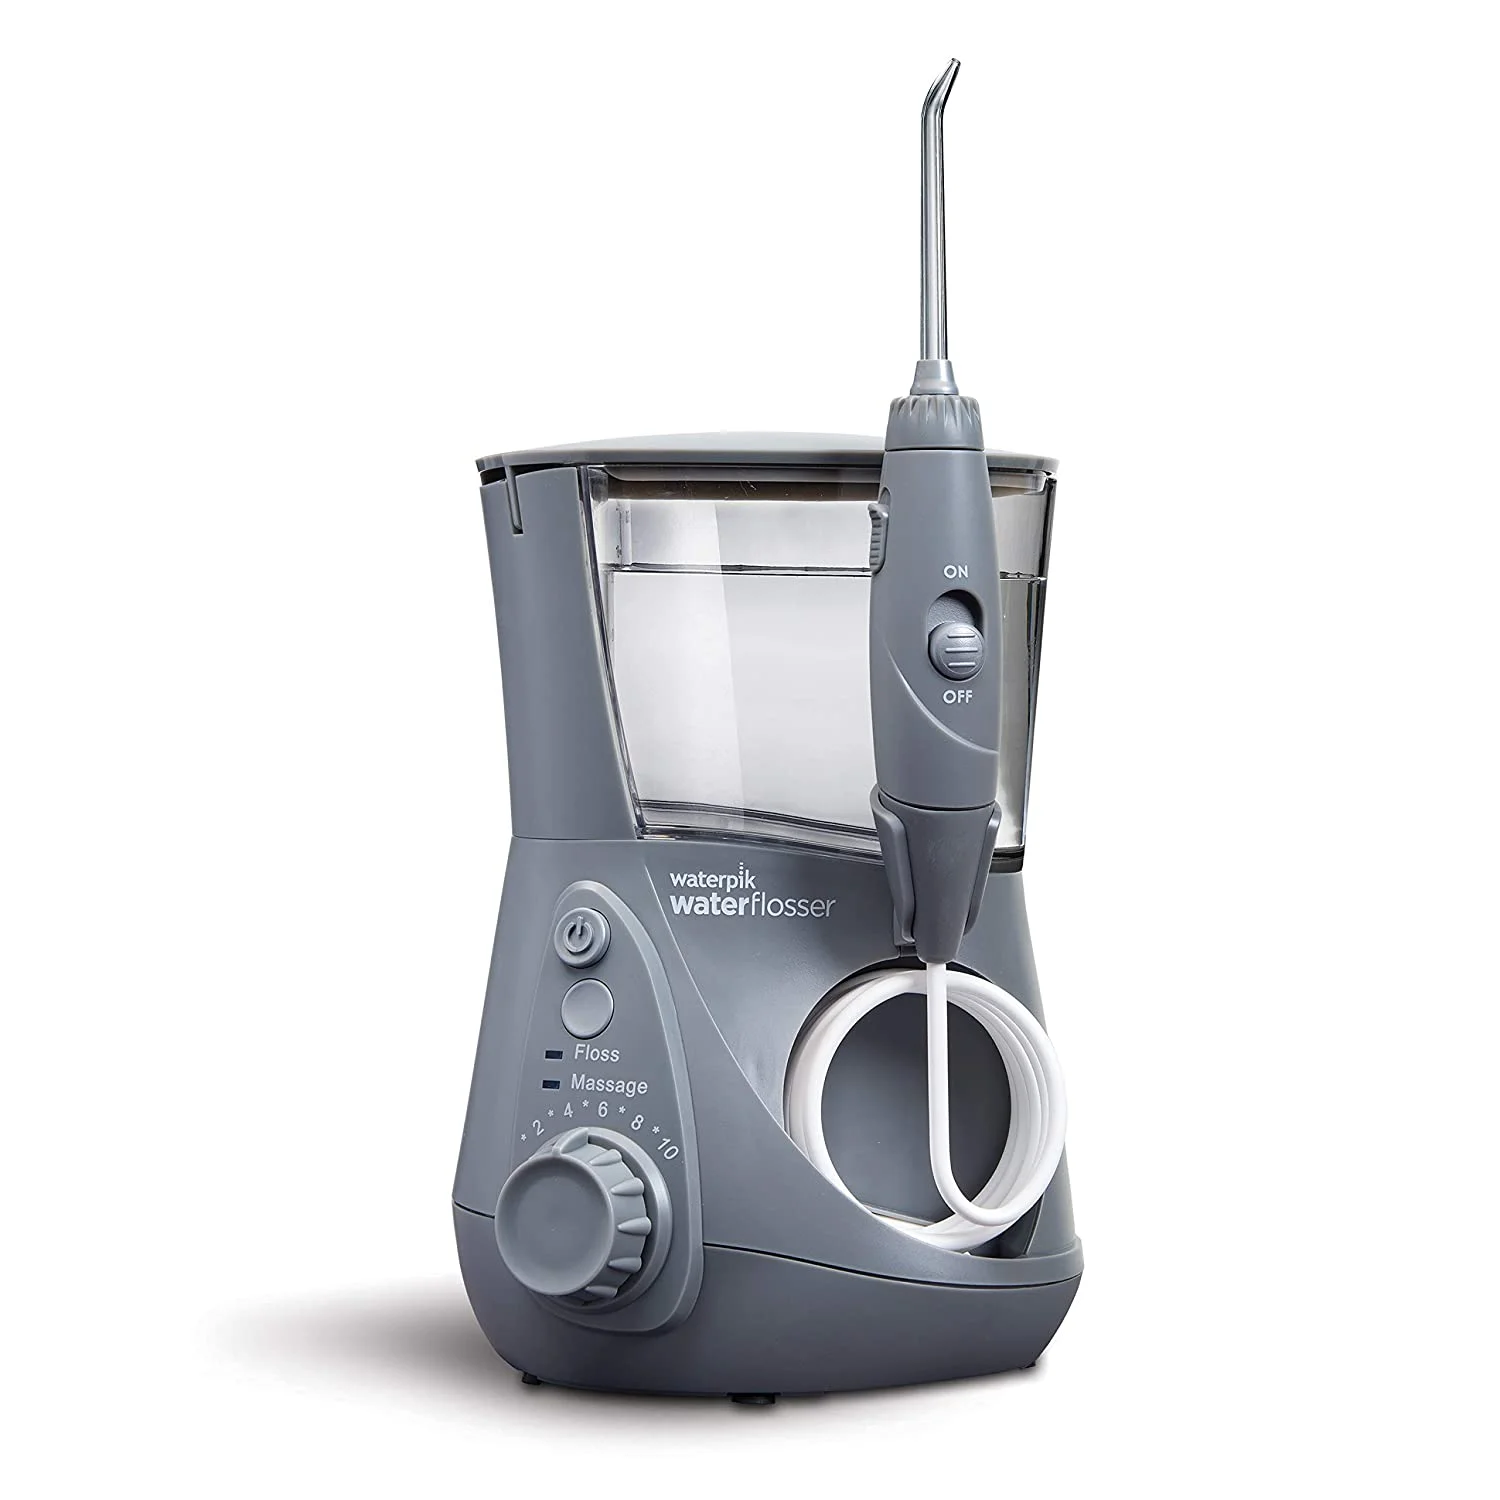
A Waterpik Water Flosser is an electric device that uses a stream of pulsating water to remove food particles and plaque from teeth and gums. It is an excellent alternative for individuals who find traditional string floss challenging to use or ineffective. Many dental professionals recommend Waterpiks for their ability to provide superior plaque removal capabilities and for their effectiveness in promoting overall oral health.
Why Cleaning is Important
Even the best dental care routines can fall short if your tools are not cleaned properly. An unclean Waterpik can harbor bacteria and mold, which not only diminish its effectiveness but can also introduce harmful pathogens into your mouth. Regular cleaning prevents mineral buildup from hard water, ensures the water reservoir remains hygienic, and prolongs the life of your device.
Step 1: External Cleaning of Your Water Flosser
Maintaining the external cleanliness of your Water Flosser is the first step in ensuring its longevity and efficiency. A clean external surface prevents dust and grime from entering the device’s internal parts, which could otherwise degrade its functionality over time. Begin with gathering the right materials for a gentle, yet effective cleaning process.
Step 1A: Gather Necessary Materials
Before cleaning, gather the items you’ll need so you can work smoothly. You will require a soft cloth and a non-abrasive cleanser. These materials will help you clean without scratching or damaging the Water Flosser’s surface.
Step 1B: Wipe Down the Unit
Using the soft cloth, gently wipe down the entire exterior of your Water Flosser. Be careful around the buttons and knobs. Use a small amount of the mild cleanser if necessary, to remove stubborn stains or build-up. Make sure to not let any liquid seep into the inner parts of the device, as this could cause damage. After wiping, dry the unit thoroughly with a clean cloth or towel before moving on to the next step of maintenance.
Step 2: Water Reservoir Maintenance
Maintaining your Waterpik’s water reservoir is key to preventing malfunctions. Deposits that accumulate can affect how well your flosser works. Regular reservoir care ensures consistent performance.
Step 2A: Detaching and Cleaning the Reservoir
Start by taking off the water reservoir from your flosser. If you’re unsure how to do this, check the product manual. For models with a black reservoir valve, push it out from the bottom. Rinse the valve under warm water for about half a minute. Be gentle and make sure it’s clean before setting it aside.
Step 2B: Dishwasher Safe Cleaning Method
Next, you can clean the reservoir in your dishwasher. Just make sure it goes on the top rack. It’s best to opt for air drying after the wash cycle to avoid any heat damage. Remember, if your model has a valve, put it back in after cleaning it. It should snap into place, with the four prongs showing underneath the reservoir.
Step 3: Internal Component Care
Maintaining the internal components of your Waterpik water flosser is crucial. This ensures the device operates smoothly and efficiently. Over time, residue and minerals can accumulate inside, which might hinder its performance.
Step 3A: Accessing Internal Parts
To begin cleaning the internal parts, first make sure your Waterpik is unplugged and empty. Refer to your user manual for instructions on how to safely disassemble the unit. Typically, this involves removing certain accessible parts such as the pump and internal tubing.
Step 3B: Internal Cleaning Techniques
Once you have access to the internal parts, use a small, soft-bristled brush to gently scrub away any buildup. You can also use a mixture of water and vinegar to help dissolve mineral deposits. For hard-to-reach areas, consider using cotton swabs dipped in the vinegar solution. After cleaning, rinse all components thoroughly with clean water to remove any residual cleaning solution. Allow all parts to dry completely before reassembling your Waterpik water flosser.
Step 4: Handle and Hose Cleaning (Countertop Models)
Proper cleaning of the handle and hose ensures your Water Flosser functions well. This step is for countertop models. It helps prevent clogs and maintains water pressure.
Step 4A: Detaching the Handle
Start by unplugging your flosser to ensure safety. Next, remove the handle from the hose. For most models, this requires a gentle twist or a push-button release. Consult your guide if you need help.
Step 4B: Handle Cleaning Instructions
Once detached, rinse the handle under warm water. Use a small brush to clear out any debris inside. If the handle is very dirty, soak it in a vinegar solution for a few minutes. Rinse it again after soaking. Dry the handle completely before reattaching it to the hose.
Step 5: Flosser Tip Maintenance
Maintaining your flosser tip is crucial for optimal hygiene and performance. Mineral deposits and other residues can accumulate on the tip affecting its effectiveness. In this section, we will guide you on how to properly remove, clean, and replace the flosser tip.
Step 5A: Removing and Cleaning the Flosser Tip
First, detach the flosser tip from the handle. You can usually do this by twisting it off or pressing a release button. Consult your user manual if you’re unsure. Once removed, rinse the tip under warm running water to remove loose debris. For deeper cleaning, soak the tip in a mixture of water and vinegar for a few minutes. This will help dissolve any mineral build-up. After soaking, use a small brush to gently clean the tip, ensuring all residues are removed. Rinse it thoroughly once more before moving on to the next step.
Step 5B: Replacing the Flosser Tip
After your flosser tip is completely dry, reattach it to the handle. Make sure it snaps into place securely. It’s recommended to replace your flosser tip every three to six months, depending on usage. Regularly replacing the tip ensures effective cleaning and reduces the risk of bacterial buildup. Keep a spare tip on hand to make regular replacements easier and maintain consistent oral hygiene.
 Conclusion: Maintaining Water Flosser Performance
To keep your Water Flosser in top shape, follow these simple steps regularly. First, make sure to gather cleaning materials. Then, proceed with wiping down the unit’s exterior. Don’t forget to clean the water reservoir, especially if it has a valve. Use your dishwasher’s top rack for an easy clean, and air dry afterward. Next, tackle the internal parts with caution, using gentle scrubbing and a vinegar solution. For those with countertop models, detach and clean the handle and hose thoroughly. Remember, the flosser tip needs attention too; remove, rinse, and possibly soak in vinegar. Lastly, dry all components well before putting them back together.
Replace the flosser tip every three to six months to prevent bacterial growth. Stick to a cleaning routine every one to three months, depending on how often you use the flosser. Regular maintenance ensures your Water Flosser works well and lasts longer. Keep up with these steps, and your oral hygiene routine will benefit greatly.

