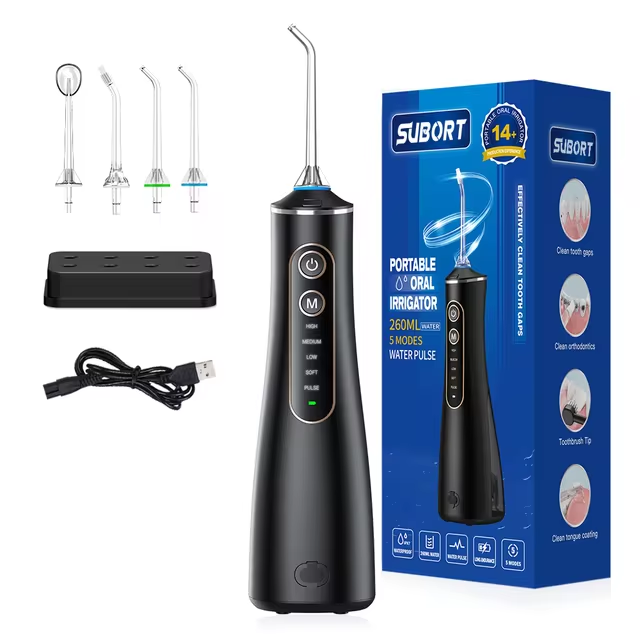
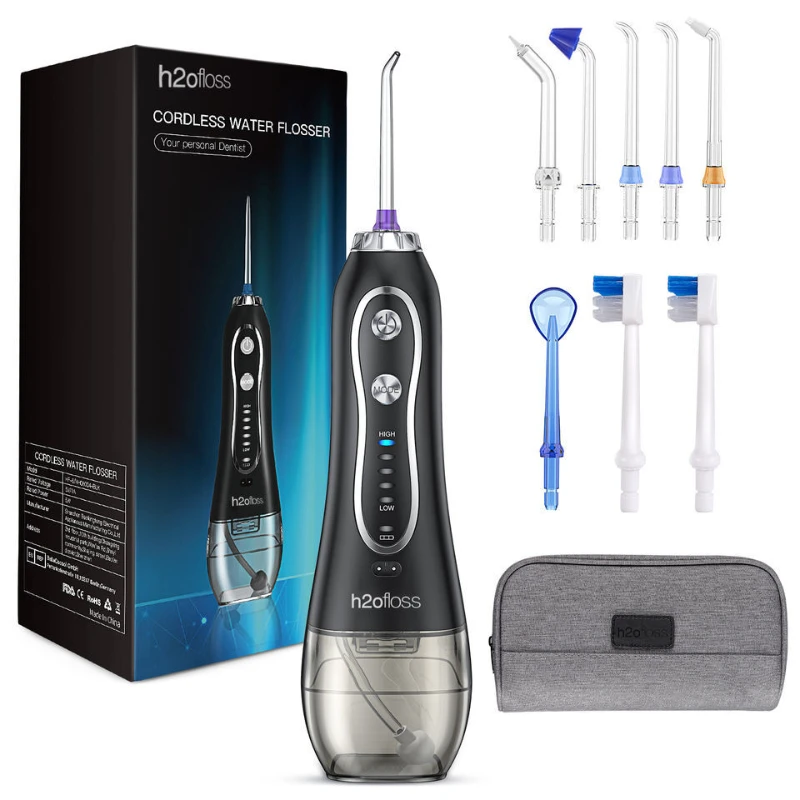
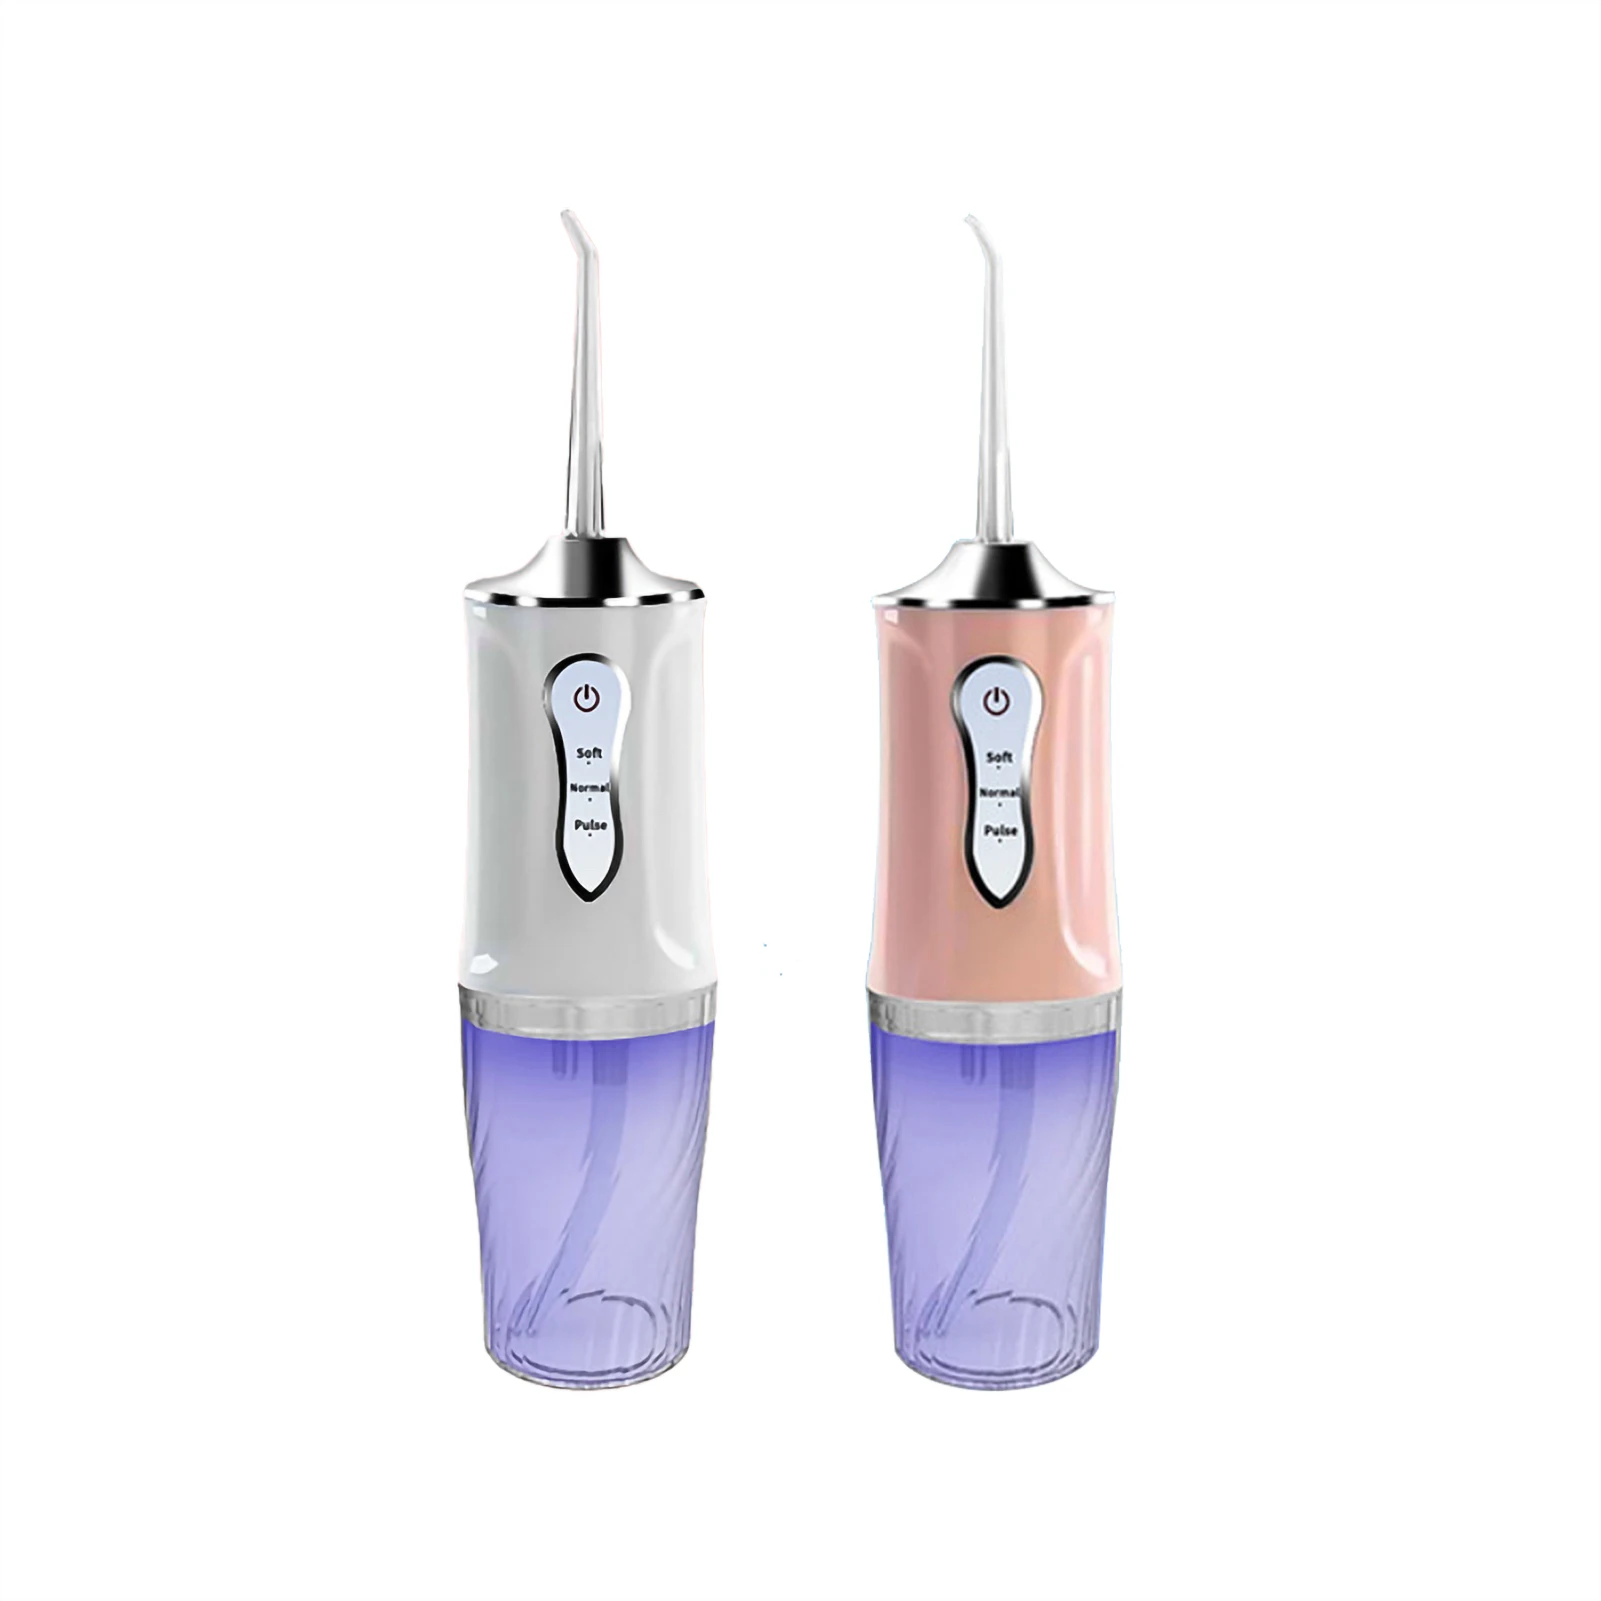
Maintaining good oral hygiene involves more than just brushing your teeth and flossing. Many people have turned to water flossers as an effective alternative to traditional flossing. However, while these devices are excellent for cleaning between teeth and along the gum line, they too require regular cleaning to maintain their effectiveness and longevity. In this guide, we will explore the importance of cleaning a water flosser, the materials needed, and a step-by-step process to ensure your flosser stays in peak condition.
 Understanding the Importance of Cleaning
Preventing Bacteria Build-Up
Water flossers, like any oral hygiene tool, are susceptible to bacteria and mold. If not cleaned regularly, harmful microorganisms can thrive in the warm, moist environment of a flosser. These bacteria can be transferred back to your mouth during use, leading to dental issues, bad breath, and potential infections.
Maintaining Device Functionality
Over time, mineral deposits can accumulate, particularly if you use tap water in your flosser. This build-up can clog the nozzle and hinder water flow, diminishing the effectiveness of the device. Regular cleaning keeps all components functioning correctly, ensuring your flosser performs at its best.
Extending the Life of the Device
Every appliance has a lifespan, but proper care can extend this significantly. When you regularly clean your water flosser, you not only maintain its performance but also reduce wear and tear on the various components, allowing you to maximize your investment.
Basic Materials Needed for Cleaning
Vinegar
White vinegar is an all-natural cleaning agent that can effectively dissolve mineral deposits. It’s safe for most flosser components and helps to neutralize odors, making it an excellent choice for regular maintenance.
Baking Soda
Baking soda can be used as a gentle abrasive to scrub away any tough residues. It is also effective at neutralizing odors and can help to remove stubborn stains.
Water
You will need clean water to dilute your vinegar and to rinse your flosser after cleaning. It’s best to use distilled water whenever possible, especially if you have hard water in your area.
Soft Cloths or Brushes
Soft cloths, such as microfiber cloths, can help clean the exterior of your device. A soft brush can be used to reach difficult areas where residue may accumulate.
Cleaning Solution
Some manufacturers recommend using specific cleaning solutions for their devices. Always check the manufacturer’s instructions before using any cleaning solutions to avoid damaging your flosser.
Step-by-Step Guide on How to Clean Your Water Flosser
Step 1: Disassemble Your Water Flosser
The first step in cleaning your water flosser is to disassemble it. Carefully remove the water tank and nozzle. Depending on the model, you may also be able to remove other components such as the hose. Always consult the user manual for specific instructions on disassembly to avoid damaging any parts.
Step 2: Clean the Nozzle and Water Tank
Cleaning the Nozzle
Start by rinsing the nozzle under warm water to remove any debris and residual toothpaste. Next, prepare a cleaning solution by mixing equal parts water and vinegar in a cup or small bowl. Soak the nozzle in this solution for about 10-15 minutes to dissolve any mineral deposits.
After soaking, use a soft brush or cloth to scrub the outside of the nozzle gently. Rinse it under warm water afterward and allow it to air dry.
Cleaning the Water Tank
The water tank can also harbor bacteria, so it’s essential to clean this component thoroughly. Rinse it out with warm water, then fill it with the vinegar and water solution. Swirl it around to ensure the solution covers all surfaces. Let it sit for about 30 minutes before rinsing it thoroughly with clean water.
Step 3: Clean the Base Unit
Wiping Down Exterior Parts
While the nozzle and water tank are soaking, don’t forget to clean the base unit. Using a damp cloth, wipe down the exterior surfaces. If there are stubborn stains or residue, you may apply a small amount of vinegar directly to the cloth for extra cleaning power. Avoid using harsh chemicals, as they can damage the device.
Cleaning the Internal Components
For some models, you may have the option to remove the impeller or other internal components. If your model allows for this, follow the manufacturer’s instructions. Clean these parts using a soft toothbrush and the vinegar solution. Rinse them with clean water and allow them to air dry completely before reassembly.
Step 4: Rinse Thoroughly
After cleaning all of the components with vinegar or other cleaning solutions, it’s crucial to rinse everything thoroughly. Any remaining cleaning solution can lead to unpleasant tastes or irritate your gums. Rinse the nozzle, water tank, and base unit under running water to ensure no residue remains.
Step 5: Reassemble the Water Flosser
Once all components are clean and completely dry, reassemble your water flosser. Make sure each part is secured correctly before using it again. Consult the user manual for specific reassembly instructions if needed.
Step 6: Perform a Final Test Run
Before you resume your usual flosser routine, fill the water tank with fresh water and perform a test run. This allows you to ensure everything is functioning correctly and allows the device to flush out any remaining cleaning solution that may still be present.
Step 7: Establish a Cleaning Schedule
To maintain your flosser’s performance, establish a regular cleaning schedule. Depending on usage frequency, you may opt to clean the flosser weekly or bi-weekly. Additionally, consider deep cleaning it monthly by following the above steps meticulously.
Tips for Maintaining Your Water Flosser
Use Distilled Water
Using distilled water instead of tap water can significantly reduce mineral buildup and the need for frequent cleaning. It’s an easy adjustment that can prolong the life and efficiency of your flosser.
Store Properly
When not in use, store your water flosser in a cool, dry place. Avoid exposing it to direct sunlight or extreme temperatures. This will help prevent damage to both the electrical components and the plastic parts of the flosser.
Regularly Check for Wear and Tear
Periodically inspect your flosser for signs of wear. Check the nozzle for cracks, the water tank for leaks, and the base unit for any unusual smells or sounds during operation. Address any issues promptly to avoid further damage.
Addressing Common Issues
Mineral Build-Up
If you notice mineral build-up despite regular cleaning, you can adjust your cleaning frequency or switch to distilled water to mitigate the issue. You may also want to increase the vinegar concentration or prolong the soaking time of components.
Strong Odors
Persistent odors might indicate a failure to clean properly. Ensure you follow the cleaning steps above and allow all components to dry fully to avoid any moisture-related smells.
Reduced Water Pressure
If you’re experiencing weak water pressure, it may be due to mineral build-up in the hose or nozzle. A thorough cleaning using vinegar and regularly checking these components will help.
Power Issues
If your water flosser isn’t turning on or has intermittent power, it might be due to issues with the electrical components. In this case, consult the user manual or contact customer service for advice.
Conclusion: How to Clean Water Flosser
In conclusion, maintaining a water flosser is crucial for ensuring it remains a vital part of your dental hygiene routine. Regular cleaning prevents bacteria build-up, maintains device functionality, and extends the life of the appliance. By following this comprehensive guide on how to clean your water flosser, you can ensure that you are using a hygienic and effective tool for your oral health. With the right care, your water flosser can be a reliable partner in achieving a healthier smile for many years to come.

