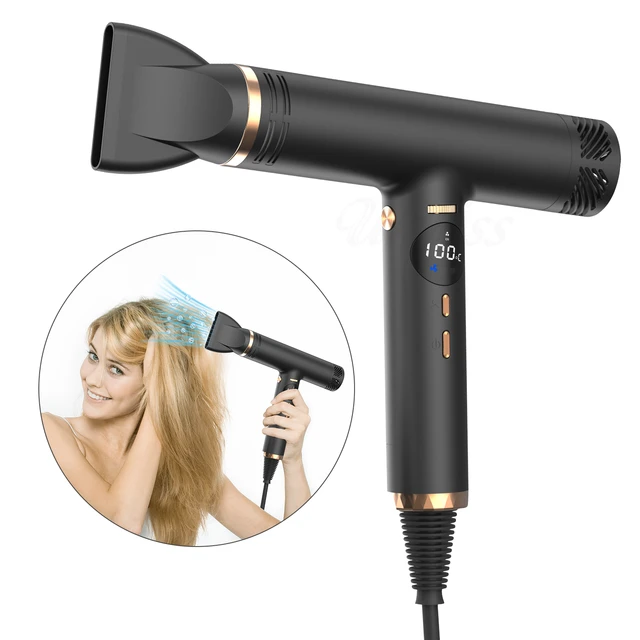
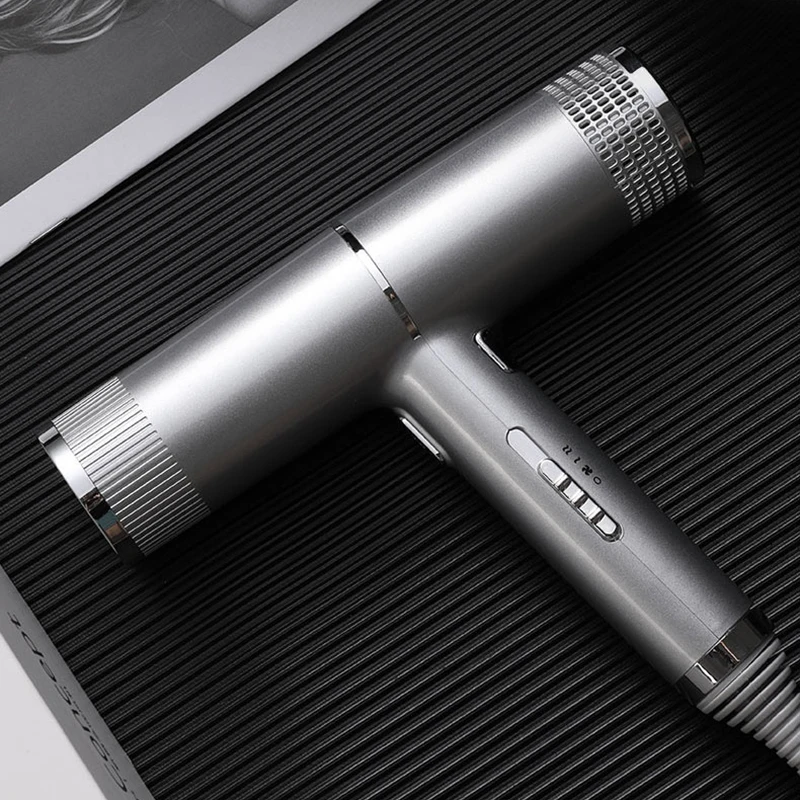
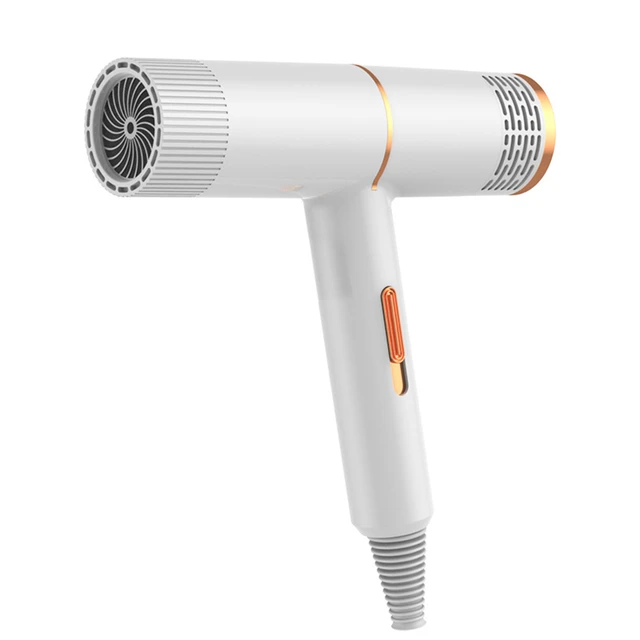
Noticing that your hair dryer smells like burning hair can be alarming and concerning. This troubling odor might signal various underlying issues, ranging from simple maintenance needs to more severe electrical problems. Understanding the causes and knowing how to address them can save you from potential hazards and ensure your hair dryer remains safe and effective. This comprehensive guide will delve into the common reasons behind that burning smell, offer detailed troubleshooting steps, and share preventive measures to keep your hair dryer in good condition.
Common Causes of the Burning Hair Smell
Identifying the root causes of the burning smell in your hair dryer is the first step toward troubleshooting.
Lint and Hair Buildup
One of the most frequent causes of a burning smell is the accumulation of lint, hair, and other debris within the hair dryer. These materials can clog the air vents and come into contact with the heating element, causing them to burn and create an unpleasant odor. Regular cleaning is essential to prevent these buildups.
Overheating Components
Overheating can occur due to several reasons, such as blocked airflow, mechanical failure, or excessive use. When components like the motor or heating element overheat, they can cause a burning smell. Recognizing the signs of overheating is crucial for timely intervention.
Electrical Issues
Faulty wiring, loose connections, or electrical arcing can also lead to a burning smell. Electrical issues can not only damage the hair dryer but also pose significant safety risks, including fire hazards. Early identification and repair of electrical problems are paramount for safety.
Foreign Objects
Small items, such as hairpins, buildup of styling products, or dust, can get trapped inside the hair dryer. When these objects come into contact with the heating element, they can emit a burning smell. Detecting and removing foreign objects keeps the dryer functioning well.
Initial Checks and Safety Precautions
Before diving into detailed troubleshooting, perform initial checks and ensure all safety precautions are taken.
Unplug the Hair Dryer
Always begin by unplugging the hair dryer from the electrical outlet. This step eliminates the risk of electric shock during inspection and cleaning. Prioritizing safety is crucial.
Examine the Air Vents
Inspect the air vents at the back and sides of the hair dryer for any visible blockages caused by lint or hair. If you notice obstructions, clean them out carefully. Maintaining clear air vents ensures proper airflow and prevents overheating.
Check the Filter
Many hair dryers come with a removable filter. Remove and clean the filter regularly to prevent lint and dust accumulation. A clean filter enhances the dryer’s efficiency and reduces the risk of overheating.
Detailed Troubleshooting Steps
If the initial checks don’t resolve the issue, proceed with more detailed troubleshooting to identify and fix the problem.
Inspect the Heating Element
The heating element is a key component that can cause a burning smell if it’s faulty or obstructed. Open the hair dryer casing if you’re comfortable doing so, and inspect the heating element for any visible signs of damage or debris. Clean or replace the heating element if necessary. Ensuring the heating element is in good condition prevents burning smells.
Check the Internal Wiring
Inspect the internal wiring for any signs of damage, such as frayed wires, burn marks, or loose connections. Use a multimeter to test the electrical continuity of the wires. Addressing any wiring issues promptly can prevent further damage and safety risks.
Examine the Motor
A faulty or overheating motor can also produce a burning smell. Listen for unusual noises, such as grinding or buzzing, which could indicate motor problems. Consult a technician if you suspect the motor needs repair or replacement. Ensuring the motor is functioning well maintains overall hair dryer performance.
Addressing Lint and Hair Buildup
To address lint and hair buildup effectively, follow these cleaning steps.
Disassemble the Hair Dryer
Carefully disassemble the hair dryer by removing the screws that hold the casing in place. Refer to the user manual for specific instructions. Proper disassembly allows thorough cleaning.
Use a Brush and Vacuum
Use a small brush or toothbrush to gently clean out lint, hair, and debris from the air vents and internal components. Follow up with a vacuum cleaner to remove any remaining particles. Ensuring thorough cleaning prevents buildup and overheating.
Clean the Filter and Grill
Clean the removable filter and grill with warm soapy water, then dry them completely before reassembling the hair dryer. Regular cleaning of these parts maintains proper airflow and efficiency.
Reassemble and Test
After cleaning, reassemble the hair dryer and plug it in. Run it for a few minutes to ensure the burning smell is gone. Testing confirms the effectiveness of the cleaning process.
Dealing with Overheating Components
Follow these steps to address potential overheating issues.
Ensure Adequate Airflow
Make sure the air vents are clear and the hair dryer is not obstructed when in use. Proper airflow prevents overheating and ensures effective cooling of components.
Limit Usage Duration
Avoid using the hair dryer for extended periods without breaks to prevent overheating. Give it time to cool down between uses. Proper usage habits extend the dryer’s lifespan.
Monitor Temperature Settings
Use appropriate temperature settings for different hair types and avoid using the highest setting unnecessarily. Proper temperature control reduces strain on the dryer and prevents overheating.
Fixing Electrical Problems
For electrical issues, follow these diagnostic and corrective measures.
Inspect the Power Cord
Check the power cord for any visible signs of damage. Replace the cord if you find any fraying or burn marks. Ensuring the power cord is in good condition prevents electrical hazards.
Test Electrical Components
Use a multimeter to test the continuity of electrical components, such as the control switch and heating element. Replace any faulty components. Proper testing ensures reliable and safe operation.
Consult a Professional
For complex electrical issues or if you’re unsure about performing repairs, consult a licensed technician. Professional assistance ensures thorough and safe repairs.
 Removing Foreign Objects
To remove any foreign objects causing the burning smell, take these steps.
Disconnect Power
Unplug the hair dryer before inspecting for foreign objects. Ensuring the device is disconnected prevents electric shocks.
Inspect and Clean the Air Vents
Check the air vents for any objects that might have gotten trapped inside. Use a flashlight if necessary to see better and carefully remove any foreign objects. Proper inspection ensures clear airflow.
Check the Heating Element Area
Open the casing to inspect around the heating element for any foreign objects. Remove anything that doesn’t belong there. Ensuring the heating element area is clear prevents burning smells.
Reassemble and Test
After removing foreign objects, reassemble the hair dryer and run it to ensure the burning smell is gone. Testing confirms the removal of the problem.
Preventive Maintenance Tips
Implementing preventive measures can minimize future issues and keep your hair dryer functioning optimally.
Regular Cleaning
Clean the air vents, filter, and internal components regularly to prevent lint and hair buildup. Regular maintenance prevents overheating and burning smells.
Inspect Before and After Use
Inspect the hair dryer for any signs of damage or foreign objects before and after each use. Regular inspections catch problems early, preventing further damage.
Use the Right Attachments
Use the appropriate attachments for different hair types and styling needs, and ensure they are properly installed to avoid obstructing airflow. Proper usage of attachments maintains efficiency.
Store Properly
Store the hair dryer in a cool, dry place to prevent damage from moisture and dust. Proper storage extends the device’s lifespan.
Conclusion
When your hair dryer smells like burning hair, addressing the problem promptly is essential for safety and efficiency. Understanding common causes, such as lint buildup, overheating, electrical issues, or foreign objects, allows you to take specific steps to resolve the problem. Regular cleaning, proper maintenance, and timely inspections can significantly reduce the likelihood of these issues, keeping your hair dryer in top condition. Whether you handle these steps yourself or seek professional help, maintaining your hair dryer ensures it remains a reliable and safe tool in your daily routine.

