Introduction
Discovering a lice infestation can be both unnerving and inconvenient. It is crucial to take immediate action to eradicate the infestation and prevent its spread. In addition to treating your hair and personal items, it is important to clean your hair straightener thoroughly to prevent reinfestation. In this guide, we will provide a detailed step-by-step process for cleaning a hair straightener after lice, ensuring effective elimination and maintaining proper hygiene.
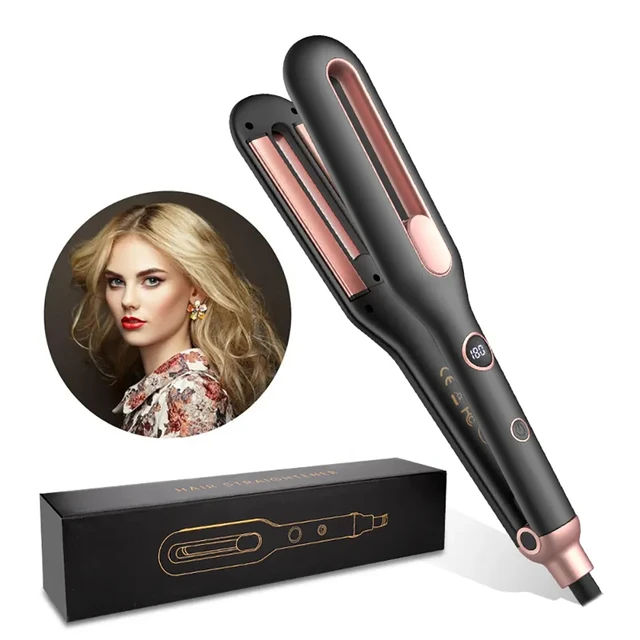
How do you clean a straightener after lice?
Preparing for Cleaning
1.1. Safety Precautions
Before starting the cleaning process, unplug the hair straightener and allow it to cool completely. This will prevent any risk of burns or electrical hazards during the cleaning process.
1.2. Gather Cleaning Supplies
Gather the necessary supplies for cleaning, including a soft cloth, cotton swabs, mild soap or detergent, a small bowl of water, and rubbing alcohol. Ensure that the cloth and cotton swabs are clean to avoid introducing any additional contaminants.
Removing Hair and Debris
2.1. Wipe Off Hair and Debris
Using a soft cloth or tissue, carefully wipe off any visible hair or debris from the heated plates of the hair straightener. Ensure that the hair straightener remains unplugged throughout this step to avoid any accidental burns.
2.2. Inspecting for Lice or Nits
Thoroughly inspect the plates and corners of the hair straightener for any signs of lice or nits. Lice infestations often involve the presence of eggs, known as nits, which can adhere to the surfaces. If lice or nits are found, use a fine-toothed comb or tweezers to remove them carefully.
Cleaning the Plates
3.1. Preparing a Soapy Solution
In a small bowl of water, add a few drops of mild soap or detergent. Mix the solution gently to create a soapy mixture. Ensure that the soap or detergent used is gentle and safe for use on heated surfaces.
3.2. Dampening the Cloth
Dip the soft cloth into the soapy solution, ensuring that it is damp but not overly saturated. Wring out any excess liquid to prevent dripping.
3.3. Cleaning the Plates
Gently wipe the plates of the hair straightener using the damp cloth. Pay close attention to any areas where lice or nits were found. Use slow, deliberate motions to remove any residue or buildup on the plates. Avoid scrubbing vigorously, as this may damage the surface of the straightener.
3.4. Removing Stubborn Residue
If there are any stubborn residues or lice debris that remain on the plates, use a cotton swab dipped in the soapy solution to target these areas. Carefully scrub the affected areas with the cotton swab to remove the residue.
3.5. Drying the Plates
Once the cleaning process is complete, use a dry cloth to wipe away any excess moisture from the plates. Ensure that the hair straightener is completely dry before proceeding to the next steps.
Disinfecting the Plates
4.1. Preparing Disinfecting Solution
Pour a small amount of rubbing alcohol onto a clean cotton swab or cloth. Ensure that there is enough rubbing alcohol to cover the surface area of the plates.
4.2. Disinfecting the Plates
Gently rub the plates of the hair straightener using the alcohol-soaked cotton swab or cloth. Pay particular attention to any areas where lice or nits were found. The rubbing alcohol helps to kill any remaining lice or nits, ensuring effective disinfection.
4.3. Allowing for Evaporation
After disinfecting, allow the rubbing alcohol to evaporate completely from the plates before using the hair straightener again. This ensures that there is no residue left that may come into contact with the hair or scalp during future use.
Cleaning the Exterior
5.1. Removing Buildup from Exterior
Wipe the exterior surface of the hair straightener using a damp cloth and mild soap or detergent. This will remove any residue, product buildup, or dirt that may have accumulated on the exterior casing.
5.2. Drying the Exterior
After cleaning the exterior, use a dry cloth to wipe away any excess moisture. Allow the hair straightener to air dry fully before storing or using it again.
Preventive Measures
6.1. Regular Cleaning Routine
To maintain proper hygiene and prevent lice infestations, establish a regular cleaning routine for your hair straightener. This should include regularly wiping down the plates to remove any buildup or debris.
6.2. Storing in a Clean Environment
Ensure that the hair straightener is stored in a clean and dust-free environment. Avoid placing it in areas where lice infestations are more likely to occur, such as near personal items or shared spaces.
To reduce the risk of lice transmission, refrain from sharing your hair straightener with others. Lice infestations can easily spread through shared hair tools, so it is important to maintain personal use and hygiene.
Additional Considerations
7.1. Seeking Professional Advice
If you suspect a severe lice infestation or are unsure about the cleaning process, it is advisable to seek guidance from a healthcare professional or licensed pest control expert. They can provide specific recommendations and guidance tailored to your situation.
7.2. Treating the Hair and Personal Items
Remember that cleaning the hair straightener is only one part of the process for managing lice. It is important to also treat your hair, wash and disinfect personal items such as bedding, hats, and brushes, and follow appropriate lice treatment protocols.
Deep Cleaning Option
9.1. Heat Treatment
If you still have concerns about eliminating lice and nits completely from your hair straightener, there is an additional step you can take for a more intensive deep cleaning.
9.2. Heat the Hair Straightener
Plug in the hair straightener and set it to the highest temperature setting suitable for your hair type. Allow the plates to heat up fully.
9.3. Using a Protective Barrier
To protect the plates from direct contact with the lice or nits, cover them with a thin, heat-resistant material such as aluminum foil or a clean, thin cloth. This barrier will prevent direct contact and reduce the risk of damaging the straightener.
9.4. Treatment Duration
Carefully place the covered plates of the hair straightener into the freezer for approximately 24 hours. The extreme cold temperature will help kill any remaining lice or nits on the barrier.
9.5. Removing and Cleaning
After the freezing process, carefully remove the straightener from the freezer and allow it to reach room temperature. Remove the protective barrier and proceed to wipe down the plates using the same cleaning and disinfecting steps outlined earlier in this guide.
9.6. Final Steps
Ensure that the hair straightener is completely dry before storing or using it again. Clean the exterior using a mild soap or detergent as before, and dry it thoroughly.
Conclusion
Cleaning a hair straightener after a lice infestation is an essential step in preventing reinfestation and maintaining proper hygiene. By systematically removing hair and debris, cleaning the plates with a soapy solution, disinfecting with rubbing alcohol, and maintaining a regular cleaning routine, you can ensure that your hair straightener remains free from lice and other contaminants. Remember to take necessary precautions, such as practicing regular hygiene and avoiding shared use, to minimize the risk of future infestations. With proper cleaning and preventive measures, your hair straightener can be safely used, providing you with a worry-free styling experience.
