Introduction:
A taper lever is an essential feature found on many hair clippers that allows for adjustable cutting lengths. Understanding how a taper lever works is crucial for achieving various styles and smoothly blending different hair lengths. In this guide, we will explore the functionality of a taper lever on hair clippers, including its purpose, operation, and effects on cutting length. By understanding the workings of a taper lever, you can confidently use it to achieve the desired results and enhance your haircutting techniques.
How does a taper lever work on hair clippers?
Purpose of a Taper Lever:
The primary purpose of a taper lever on hair clippers is to provide versatility in cutting lengths and create smooth fades or blends between different hair lengths. By adjusting the position of the taper lever, you can customize the cutting length and achieve a seamless transition from longer to shorter hair. The taper lever enhances the precision and control of the clippers, allowing for more flexibility and creativity in hairstyling.
Location and Design of the Taper Lever:
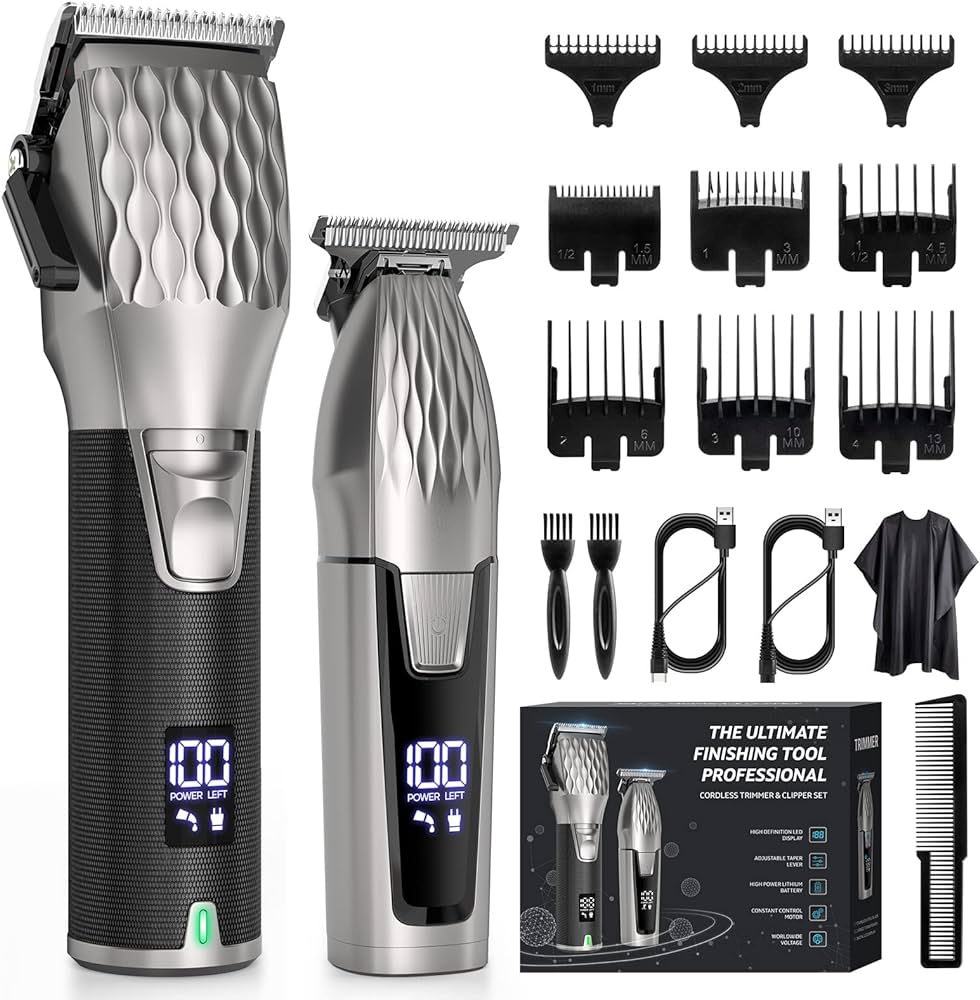
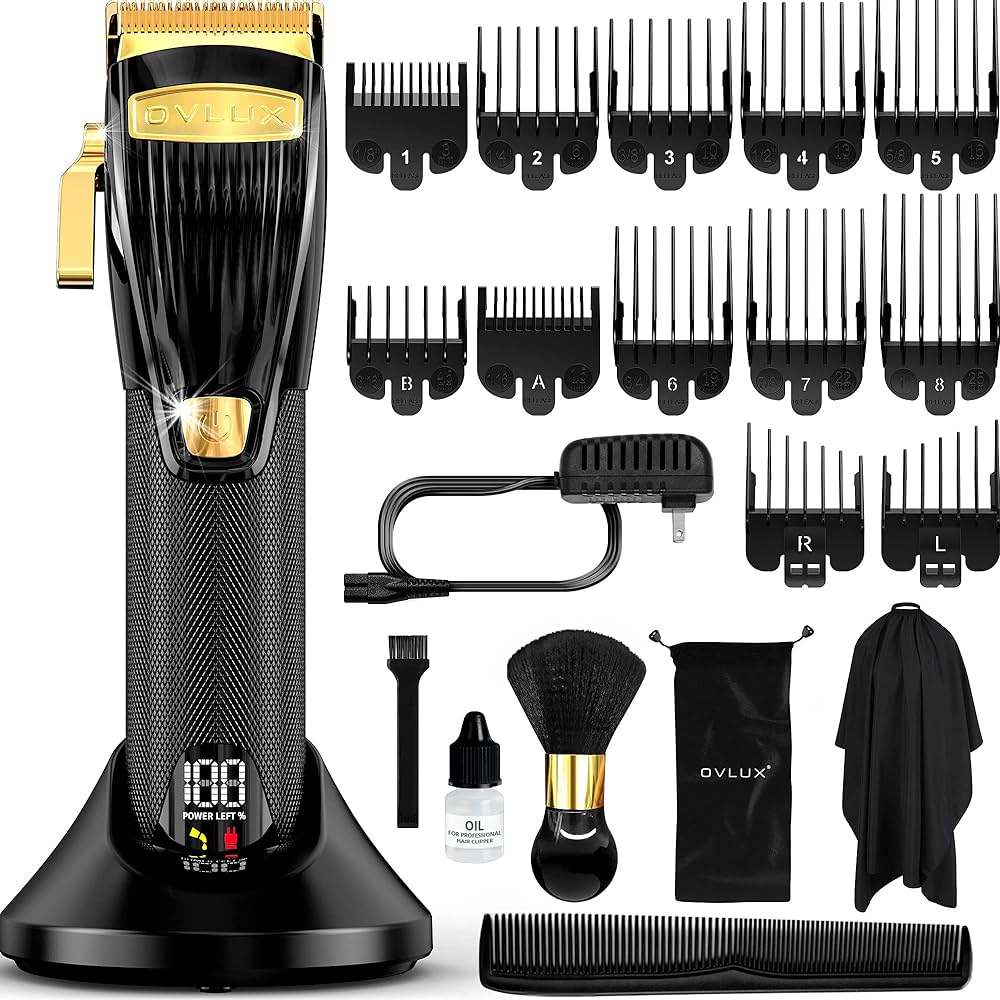
The taper lever is typically located on the side or back of the clipper’s housing, near the blades. It is designed as a lever or switch that can be moved up or down to adjust the cutting length. The taper lever is usually marked with indicators that show the different cutting lengths available at each position.
Operation of the Taper Lever:
To adjust the cutting length using a taper lever, follow these steps:
Check the Initial Position: Before adjusting the taper lever, ensure that it is in the starting or neutral position. The starting position may be fully open or fully closed, depending on the clipper model. This position determines the shortest or longest cutting length without using the taper lever.
Identify the Indicators: Look for the indicators on the taper lever that correspond to different cutting lengths. These indicators may be marked with numbers, measurements, or symbols that help you determine the desired cutting length.
Move the Lever: To adjust the cutting length, move the taper lever up or down as needed. Moving the lever upwards generally increases the cutting length, while moving it downwards decreases the cutting length. Pay attention to the indicators and select the position that aligns with the desired length.
Lock the Lever: Once you have positioned the taper lever at the desired cutting length, ensure that it locks securely into place. This prevents unintentional movement during use and maintains a consistent cutting length throughout the haircut.
Effects on Cutting Length:
The position of the taper lever directly affects the cutting length of the blades. Here are the typical effects of the taper lever in different positions:
Upward Position: When the taper lever is moved upwards, it typically increases the cutting length. This position allows for leaving more hair on the head, resulting in a longer overall haircut. It is ideal for maintaining longer hair or achieving blended looks with gradual transitions.
Downward Position: When the taper lever is moved downwards, it usually decreases the cutting length. This position cuts less hair, resulting in a shorter overall length. It is commonly used for achieving shorter hairstyles, precise cuts, or well-defined styles.
Creating Fades and Blends:
One of the key benefits of a taper lever is its ability to create fades and blends between different hair lengths. By adjusting the taper lever gradually, you can achieve smooth transitions from longer to shorter hair, creating a natural and well-blended appearance. Here are some techniques for creating fades and blends using the taper lever:
Gradual Tapering: Start with the taper lever in the upward position to establish the longest cutting length. Begin cutting at the bottom or desired starting point, moving the clippers upward towards the transition area. As you move upwards, gradually lower the taper lever to decrease the cutting length. This technique creates a gradual taper or fade, blending the longer lengths with the shorter ones.
Feathering or Flicking: Use a flicking or feathering motion with the clippers when transitioning between different hair lengths. As you move from longer to shorter sections, gently flick the clippers upward to create a seamless blend between the two lengths. This technique helps avoid sharp lines or visible transitions.
Multiple Passes: To achieve a more gradual fade or blend, make multiple passes with the clippers at different lever positions. Start with the lever in the upward position and make a first pass. Then, lower the lever slightly and make another pass, repeating this process until you achieve the desired result. This technique allows for more precise control over the blending effect.
Combining with Clipper Guards: The taper lever can be used in combination with clipper guards to enhance fading and blending techniques. Start with a longer guard and a higher taper lever position to establish the desired length at the starting point. Gradually decrease the guard size and lower the taper lever position as you move towards shorter sections, creating a seamless blend.
Precision Cutting and Detailing:
In addition to creating fades and blends, the taper lever can be used for precision cutting and detailing. Here are some techniques for achieving precise cuts using the taper lever:
Hairlines and Edges: When defining hairlines or cleaning up edges, use the taper lever in the downward position for a shorter cutting length. This allows for more accuracy and precision when shaping the hairline or creating defined edges.
Detailing and Texturizing: Adjusting the taper lever to different positions can also be effective for creating texture or dimension within the haircut. By using the taper lever at varying heights, you can achieve layered or textured effects, adding depth and visual interest to the hairstyle.
Graduated Lengths: The taper lever can be used to create graduated or layered lengths within the haircut. By adjusting the lever position as you move through different sections, you can achieve a cascading effect, where the hair gradually transitions from longer to shorter lengths. This technique creates a more dynamic and layered appearance.
Conclusion:
The taper lever on hair clippers provides versatility and control over cutting lengths, allowing for seamless fades, blends, and precise detailing. By adjusting the taper lever position, you can customize the cutting length and achieve the desired result. The upward position generally increases the cutting length, while the downward position decreases it. Understanding the effects of the taper lever on cutting length opens up endless possibilities for creative hairstyling techniques. Experiment with different positions, blending techniques, and clipper guards to enhance your haircutting skills. With practice and mastery of the taper lever, you can confidently achieve a wide range of hairstyles and deliver precise, well-blended haircuts.
Leave a Reply