Introduction
Have you ever reached for your trusty hair dryer only to find it won’t turn on? This situation can be frustrating, especially when you’re in a rush. Understanding how to fix a hair dryer that won’t turn on is essential for every homeowner. Hair dryers, while simple devices, can encounter several issues that prevent them from functioning properly. Thankfully, many of these issues can be resolved with basic troubleshooting techniques.
In this article, we will explore common reasons behind a hair dryer’s failure to turn on, effective troubleshooting steps, and tips to restore your hair dryer to perfect working condition. Let’s dive into these strategies so you can get back to styling with ease.
Initial Diagnosis: Identifying the Problem
To solve the issue of how to fix a hair dryer that won’t turn on, start with an initial diagnosis. This primary step is crucial in narrowing down the cause.
Inspect the Power Cord
Examine the cord for any signs of damage—look for cuts, fraying, or unusual bends. A compromised power cord can prevent your hair dryer from receiving electricity. If you notice any damage, it could be the root of the problem.
Test the Outlet
Plug a different device into the same outlet to check if the power source is working. If the other device also fails to operate, the problem may lie with your electrical outlet.
Check the Hair Dryer Settings
Ensure that your hair dryer’s settings are correctly adjusted. Verify that the device is not on a ‘cool shot’ setting, which can sometimes be mistaken for a power issue. Make sure that all switches and buttons are in their proper positions.
Common Causes of Hair Dryer Failure
Understanding the common causes of hair dryer failures is pivotal when learning how to fix a hair dryer that won’t turn on. Let’s examine the usual suspects.
Faulty Power Cord
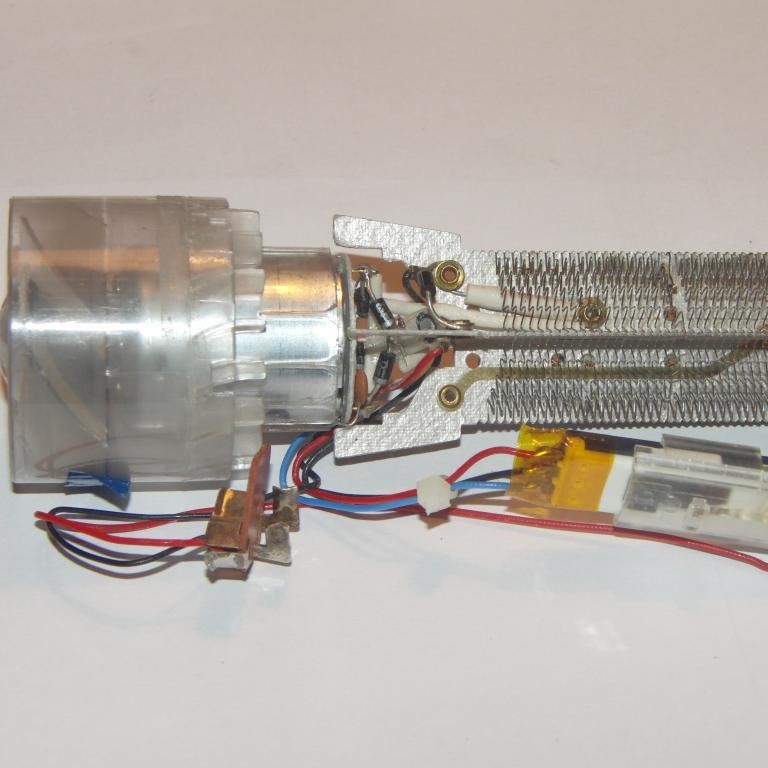
A faulty power cord often sits at the top of the list for hair dryer malfunctions. Frequent bending or pulling can damage the internal wiring. If the outer sheath shows damage, the wires inside might also be compromised. Check for any visible signs such as exposed wires or scorch marks.
Overheating and Thermal Cutouts
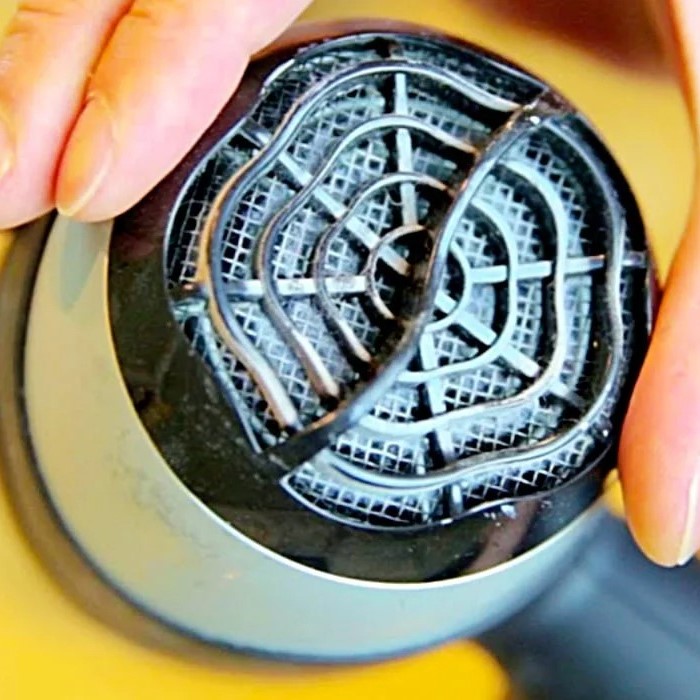
Hair dryers come equipped with thermal cutouts to prevent overheating. Continuous use or a clogged lint filter may trigger this safety feature, causing the dryer to stop. Check if the hair dryer is warm to the touch or if there’s a burnt smell. This may indicate an overheated unit that’s activated the thermal cutout.
Failed Switch or Button
A switch or button that won’t function could be the culprit. Wear and tear is common, and components can simply wear out after prolonged use. Feel for any signs of a switch giving less resistance or a button not clicking as it should. These sensations can hint at an internal failure.
Step-by-Step Repair Guide
Once you’ve identified the issue with your hair dryer, it’s time to fix it. Follow this repair guide for step-by-step instructions.
How to Reset the Thermal Fuse
Thermal fuses can trip due to overheating. Here’s how to reset it:
- Unplug the hair dryer.
- Locate the thermal fuse. Check the manual if you’re unsure.
- Press the reset button on the fuse; if there isn’t one, you may need to replace it.
- Reassemble the dryer and plug it in to test.
If the dryer still won’t turn on, the thermal fuse might need replacing.
Replacing a Damaged Power Cord
A damaged cord is a common issue. Replace it like this:
- Unplug and open the dryer casing with a screwdriver.
- Remove the damaged cord. Note how it’s connected.
- Connect a new cord as the old one was.
- Close the casing and ensure everything is secure.
- Test the dryer to see if it powers on.
Always use a cord that matches the dryer’s specifications.
Fixing or Replacing the Switch
Safety First: Unplug the Dryer
Before beginning any repair work, ensure the appliance is completely disconnected from the power supply. This step is crucial to avoid electrical shocks or further damage.
Open the Casing of the Dryer
Carefully remove the outer casing of the dryer to access the internal components. Steps to follow include:
Use Appropriate Tools: Utilize a screwdriver or other tools as necessary to unscrew and take off the casing.
Keep Track of Screws and Parts: Maintain organization by keeping the screws and small parts in a container to prevent loss.
Locate the Switch
Identify the faulty switch within the dryer. Typically, the switch is:
Positioned Near the Button or Lever: Check where the user interface elements are located, as the switch is often directly connected to them.
Assess the Condition of the Switch
Once located, take a moment to examine the switch closely. You should:
Check for Dirt or Debris: Inspect for any dust or residue that might hinder its functionality. Cleaning might be needed if dirt is present.
Evaluate for Mechanical Issues: Determine if the switch appears misaligned or if it has any visible signs of wear.
Remove and Replace the Switch if Necessary
If you find the switch is broken or irreparably damaged, proceed to replace it. Steps include:
Carefully Disconnect the Wires: Take note of how the existing switch is wired, and gently detach the wires from the broken switch.
Install the New Switch: Connect the new switch using the same configuration as the previous one, ensuring all connections are secure.
Reassemble the Dryer
Once the new switch is installed, carefully reassemble the dryer casing by:
Ensuring All Parts Are in Place: Double-check that no internal components are loose or out of alignment.
Securing All Fasteners: Tighten screws to restore the casing firmly to the dryer.
Plug in and Test the Dryer
Restore power to the dryer by plugging it back into the outlet. Then, carry out the following:
Test the Functionality: Turn on the dryer to see if the new switch operates correctly and if any previous issues have been resolved.
Monitor for Any Issues: Observe the dryer during operation for any unusual sounds or malfunctions, ensuring everything is functioning as it should.
Preventative Measures to Avoid Future Issues
Taking the right steps can prevent future power issues with your hair dryer. Below are key measures you can take.
Proper Usage and Handling
Treat your hair dryer well to extend its life. Always hold it by the handle, never the cord. Avoid wrapping the cord tightly around the dryer as this can cause wear. When not in use, store it in a dry place away from direct sunlight or heat sources.
Regular Maintenance Tips
Regular check-ups can catch issues early. Clean the filter regularly to prevent lint build-up, which can cause overheating. Inspect the cord and plugs for damage or dirt. Keep the nozzles and attachments free from hair and product residue.
Understanding the Limits of Your Hair Dryer
Know your hair dryer’s limits to avoid pushing it too far. Read the manual to understand the maximum operating time. If it starts to get overly hot, turn it off and let it cool down. Always use the correct settings for your hair type and styling needs.
When to Seek Professional Help
Sometimes, despite our best efforts, a hair dryer might not respond to DIY fixes. Recognizing when to call in an expert is important for your safety and the longevity of your device.
Recognizing Electrical Hazards
- Signs of Sparks or Smoke
- If you observe sparks or smoke emanating from your hair dryer, you should:
- Unplug the Device Immediately: To prevent potential fires or further electrical damage, disconnect the hair dryer from the power source right away.
- Avoid Using the Device: Do not attempt to use the hair dryer again until it has been checked by a professional.
- If you observe sparks or smoke emanating from your hair dryer, you should:
- Persistent Burnt Smell
- A strong, lingering burnt smell can indicate serious issues. In this situation, it’s important to:
- Investigate Further: Even after cleaning the lint filter, if the smell persists, stop using the device to prevent risk.
- Seek Professional Assistance: A technician can determine if internal components are overheated or damaged, which need repair or replacement.
- A strong, lingering burnt smell can indicate serious issues. In this situation, it’s important to:
- Exposed Wires or Damaged Cord
- The presence of exposed wires or other forms of severe damage to the cord is alarming. Here’s what you should do:
- Do Not Use the Hair Dryer: Using a device with exposed wiring poses a significant risk of electric shock or fire.
- Examine the Cord and Plug: Inspect all parts of the cord for fraying or breaks. If damage is found, immediate professional repair or replacement is necessary.
- The presence of exposed wires or other forms of severe damage to the cord is alarming. Here’s what you should do:
- Breaker Trips When Plugging In
- If the circuit breaker trips whenever you plug in the hair dryer, this indicates a potential electrical hazard. Consider the following:
- Unplug the Device: Disconnect the hair dryer from the power outlet to prevent further electrical issues.
- Perform a Basic Check: Look for any visible signs of damage or burning on the plug or cord.
- Consult an Electrician: A professional should assess the electrical system and the device to identify the source of the problem, ensuring safety and compliance with electrical standards.
- If the circuit breaker trips whenever you plug in the hair dryer, this indicates a potential electrical hazard. Consider the following:
These signs suggest serious electrical issues that could pose fire risks or electrocution hazards.
The Cost-Benefit of Repair vs. Replacement
Consider the age of your hair dryer and the cost of repairs. If fixing it would cost nearly as much as buying a new one, replacement might be the better option. Also, think about efficiency; newer models could offer better performance or energy savings. Weighing the pros and cons will guide your decision on whether to fix or replace your hair dryer.
Alternatives to Repair: Upgrading Your Hair Dryer
Sometimes, it’s not just about knowing how to fix a hair dryer that won’t turn on; it can be an opportunity to upgrade. If your hair dryer is old or continues to have issues despite repairs, consider getting a new one. Newer models offer advanced features that improve both safety and styling effectiveness.
Evaluating Modern Features and Technology
When looking at new hair dryers, assess the latest features. Many come with ionic technology that helps reduce frizz and boosts shine. Ceramic and tourmaline components provide even heat distribution, which protects hair from damage. Some dryers have multiple heat and speed settings for better control. Look for models with cool shot buttons to set styles in place. Don’t forget to check for safety features such as automatic shutoff and thermal cutouts.
Choosing a New Hair Dryer Based on Your Needs
- Hair Type Consideration:
- Evaluate your specific hair type before making a selection. Different hair types require different handling.
- For instance, thick or frizzy hair often requires a hair dryer with a powerful motor and the ability to produce high heat to tame the hair effectively.
- On the other hand, fine or damaged hair is more susceptible to heat damage. Therefore, a dryer with adjustable heat settings and a gentle airflow is ideal to protect it from further harm.
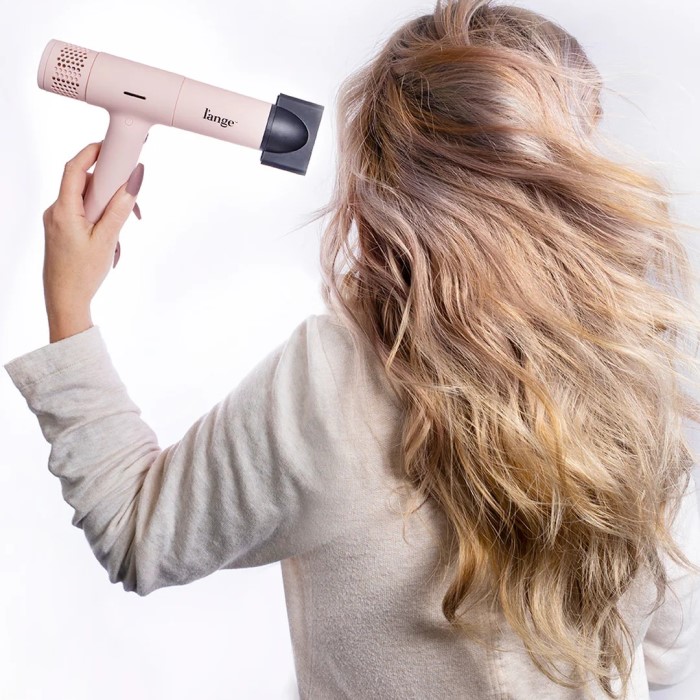
- Comfort and Design:
- When selecting a hair dryer, consider its weight and design. A lightweight dryer can reduce fatigue during use, especially for individuals who style their hair frequently.
- Ergonomic designs may enhance comfort, making it easier to handle the device and maneuver it while drying your hair.
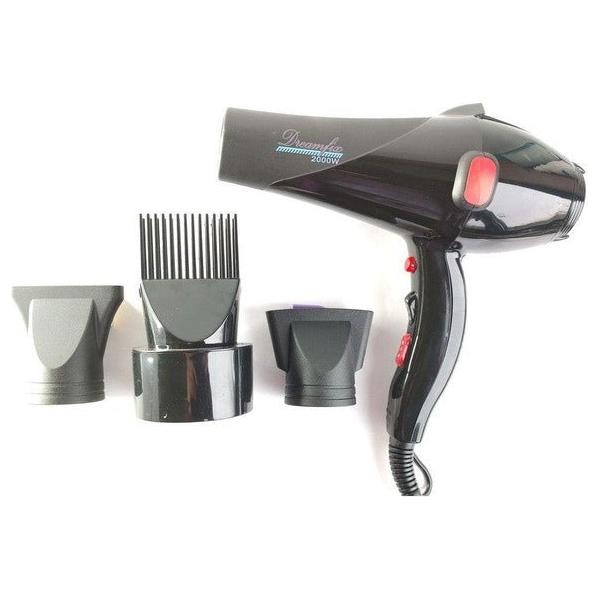
- Essential Attachments:
- Think about the attachments that come with the hair dryer. Different attachments serve specific purposes and can enhance styling versatility.
- For example, a diffuser attachment is essential for individuals with curly hair, as it helps to maintain the curl pattern and reduce frizz during drying.
- Conversely, a concentrator nozzle is beneficial for those seeking straight styles, as it directs hot air precisely to help achieve a sleek look.
- Eco-friendliness:
- If environmental impact is a priority for you, look for energy-efficient hair dryers. These appliances not only consume less power but can also contribute to lower energy bills over time.
- Brands that prioritize sustainability may also use materials that are less harmful to the environment, making your purchase feel even better.
Conclusion
In conclusion, learning how to fix a hair dryer that won’t turn on can save you time and money. By systematically troubleshooting, inspecting electrical components, and maintaining your hair dryer, you can extend its lifespan and functionality.
Regular cleaning and careful handling are essential practices every hair dryer owner should adopt. With these insights in hand, you will be equipped to tackle common hair dryer problems confidently. Remember, if all else fails, don’t hesitate to seek professional help for a complete and safe resolution. Happy styling!