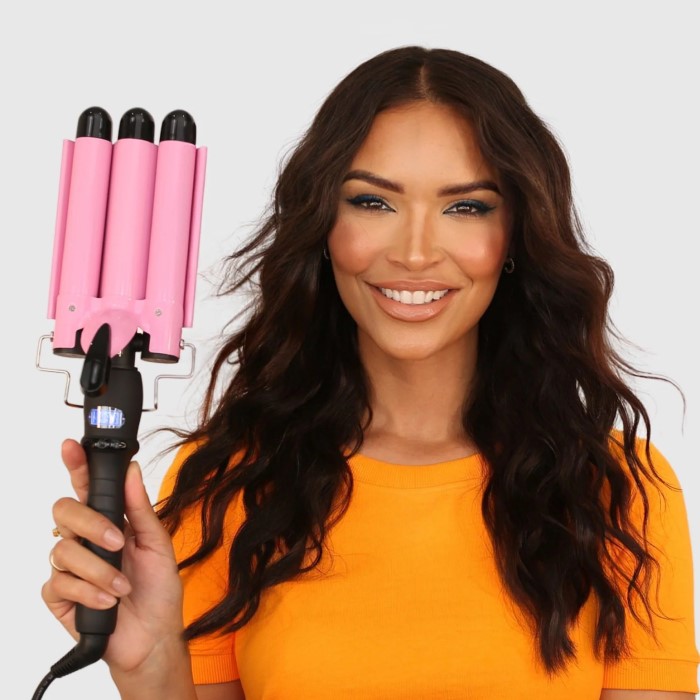
What is a Beach Wave Curling Iron?
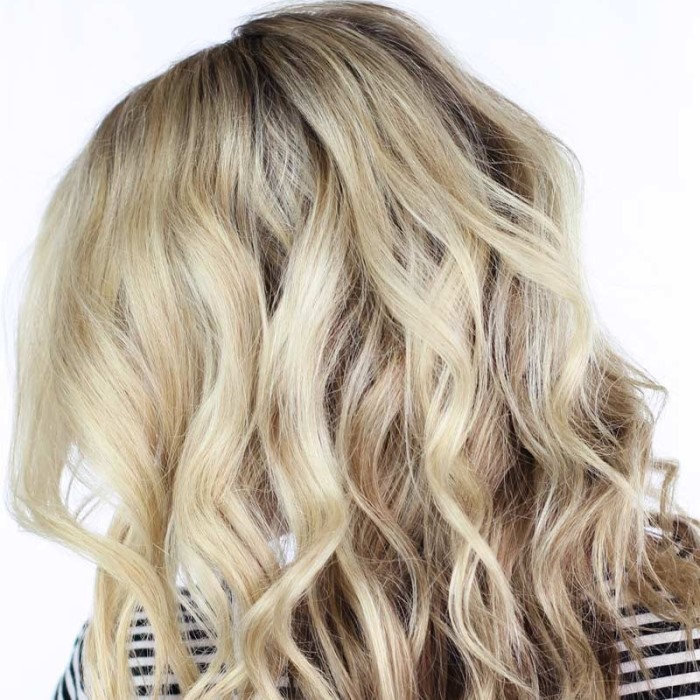
A beach wave curling iron is a hairstyling tool. It creates soft, wavy curls resembling ocean waves. These waves give a natural, relaxed appearance to your hair. Unlike regular curling irons, it is specifically shaped to design loose, effortless waves. The barrel shape is often oval or flat, which helps create this unique wave pattern. Many models feature adjustable temperature settings for different hair types. They are suitable for short, medium, and long hair.
This tool is ideal for those aiming for a casual, summer-inspired look. It works well for a variety of occasions, including daily wear and special events. Beach wave curling irons simplify the process of achieving professional-looking waves at home. They enhance texture and volume, making your hair appear fuller and more stylish. Whether you’re preparing for a night out or a casual day, this curling iron offers versatility and ease.
Key Features
Beach wave curling irons are designed for unique, natural-looking waves. They come with several key features:
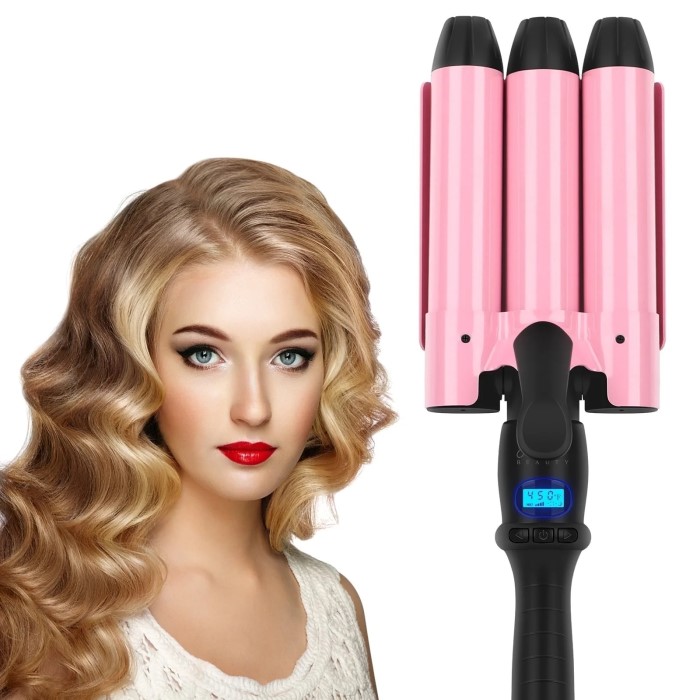
- Special Barrel Shapes: These curling irons often have oval or flat barrels. This shape creates soft, loose waves.
- Adjustable Heat Settings: Many models offer temperature controls. Lower heat suits fine hair, while higher settings work for thicker strands.
- Variety of Barrel Sizes: Different sizes cater to short, medium, or long hair. This ensures versatility for all lengths.
- Quick Heat-Up Time: Fast heating saves time during styling. It’s perfect for busy mornings.
- Tourmaline or Ceramic Technology: These materials reduce frizz and protect hair. They also ensure even heat distribution.
- Ergonomic Design: Many tools include easy-grip handles or swivel cords. This enhances comfort and prevents tangling.
- Safety Features: Auto-shutoff and heat-resistant tips are common. These provide added safety during use.
- Dual Voltage: Some models have dual voltage compatibility. This feature is helpful for travelers.
These features make beach wave curling irons practical and user-friendly. They simplify achieving salon-quality waves at home.
Preparing Your Hair for Styling
Before using a beach wave curling iron, proper preparation is essential. This step helps protect your hair and ensures better results. Follow these steps to get your hair ready:
- Start with Clean, Dry Hair: Wash your hair to remove dirt and oil. Dry it completely before using the curling iron.
- Use a Heat Protectant: Apply a heat protectant spray or serum to prevent heat damage. Focus on the mid-lengths and ends.
- Detangle Your Hair: Brush your hair to remove knots and tangles. This ensures smooth and even waves.
- Divide Your Hair into Sections: Part your hair into small, manageable sections. Use clips to secure each section.
- Consider Your Hair Type: If your hair is fine, use a lightweight mousse. For thicker hair, use a smoothing cream.
- Avoid Overloading with Products: Use minimal styling products. Too much product can weigh down your waves.
Taking these steps sets the foundation for great styling. Proper preparation makes achieving perfect beach waves simpler and faster.
Step-by-Step Guide to Using a Beach Wave Curling Iron
Creating beach waves at home is simple with the right technique. Follow these steps for the best results:
Heat the Curling Iron
Begin by plugging in your curling iron and turning it on.
Wait for it to heat up, and set the temperature according to your hair type.
For fine or damaged hair, use a low heat setting (around 250°F to 300°F) to prevent further damage.
For medium to thick hair, a medium heat setting (around 300°F to 350°F) is usually adequate.
Divide Your Hair
Use hair clips to section your hair. This helps ensure that you have more control and can achieve more uniform curls.
Start by separating the top half of your hair and clipping it up, leaving the bottom half down.
You can divide the hair into smaller sections (1-2 inches wide), which makes curling easier and more effective.
Start from the Bottom
Begin curling the lower sections of your hair first, as these tend to be less visible and allow you to build volume.
Work your way up to the upper layers, ensuring even curling throughout.
This method also helps prevent accidentally disturbing curls that you have already styled.
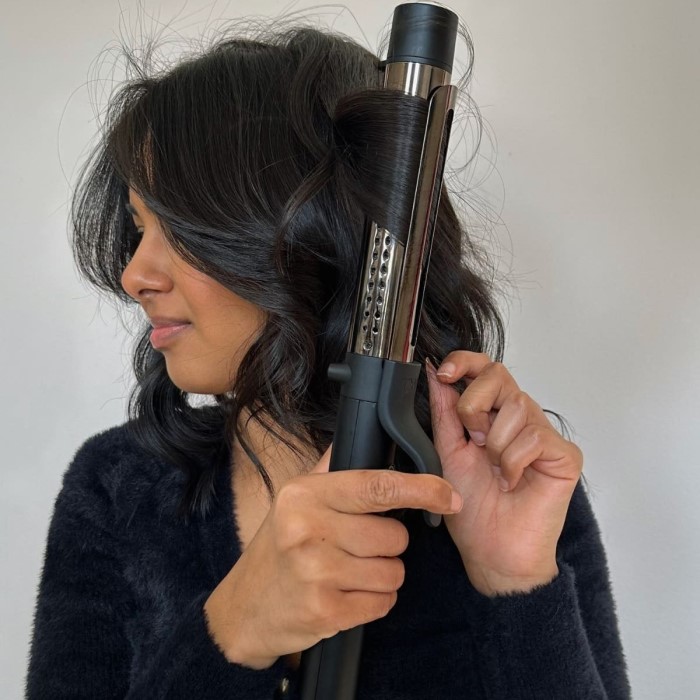
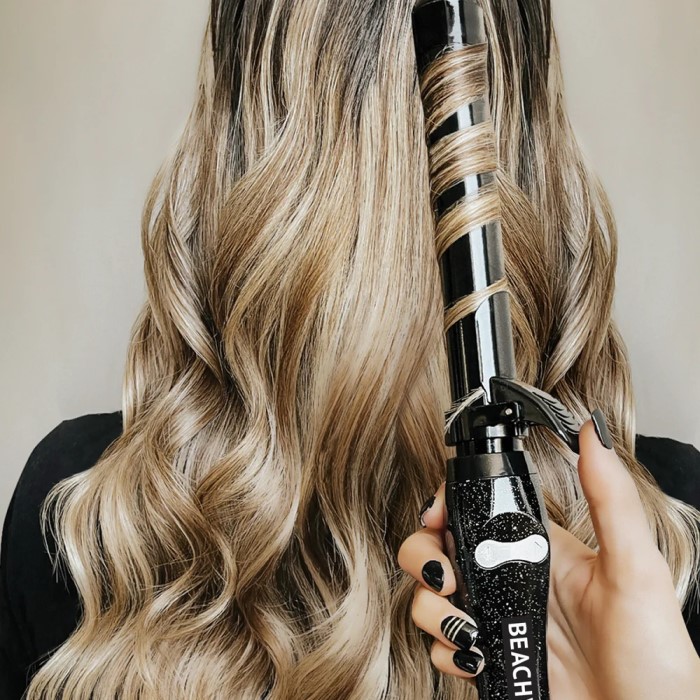
Wrap the Hair
Take a small strand of hair, approximately 1 inch in thickness, and hold it firmly.
Wrap the strand around the curling iron barrel, starting from the end and moving towards the roots.
For a more natural, relaxed look, leave the very ends of the hair slightly loose and unwound.
Hold for a Few Seconds
Firmly hold the wrapped hair in place on the curling iron for about 5 to 10 seconds.
A good guideline is to keep it on the barrel long enough to take shape, but not so long that it risks burning the hair.
Adjust the duration depending on your hair type; thicker hair may require a bit longer while fine hair needs less time.
Release Gently
Carefully unclamp the curling iron and allow the strand of hair to slide off the barrel.
Let the curl fall naturally rather than pulling or tugging on it, which can cause it to lose its shape.
Give the curl a moment to cool in its formed shape before moving on to the next strand.
Repeat the Process
Continue the curling process by taking another section of hair, repeating the wrapping, holding, and releasing steps.
Work methodically through each section, ensuring all hair gets styled.
Maintain consistent thickness when taking new sections for uniformity in curl size.
Let the Waves Set
Once all the hair is curled, allow the curls to cool completely without touching them.
This cooling period is crucial as it helps the curls set into place, ensuring they last longer throughout the day.
Try to avoid pulling or manipulating the curls during this time.
Loosen the Waves
After the curls have cooled, gently run your fingers through them to separate and loosen them up.
This will create a more casual, beachy wave look instead of structured curls.
Be careful not to overdo it; just enough to achieve the desired softness.
Add Finishing Products
Finish by applying a light hairspray or texturizing spray to help hold the waves in place.
A small amount of product will also add volume and prevent frizz throughout the day.
Be sure to distribute the product evenly without weighing down your waves.
This process helps achieve effortless, natural-looking beach waves. With practice, you’ll style your waves faster and more effectively.
Tips for Long-Lasting Beach Waves
Achieving perfect beach waves is only half the journey. Ensuring they last all day requires specific steps and techniques. Here are expert tips to make your beach waves endure:
Use the Right Products
- Texturizing Spray: Apply a texturizing spray after curling. It enhances grip and keeps the waves intact.
- Light Hold Hairspray: A light spray locks in the shape without stiffening your hair.
- Dry Shampoo: Use dry shampoo at the roots for added texture and volume.
Cool Down Before Styling Further
- Let Curls Set: Allow the curls to cool before touching them. Cool curls hold their shape better.
- Avoid Brushes: Use your fingers or a wide-tooth comb to loosen curls without ruining them.
Adjust the Heat Setting
- Use Optimal Heat: Adjust the curling iron temperature based on your hair type. Fine hair needs lower heat.
- Don’t Overheat: Holding your hair on the iron for too long can cause damage and weak curls.
Stay Away from Humidity
- Anti-Frizz Spray: Use anti-frizz products to prevent humidity from interfering with your waves.
- Avoid Wet Weather: Protect your hair from rain or moisture whenever possible.
Sleep Smart
- Use a Silk Pillowcase: Silk reduces friction and prevents waves from losing their shape.
- Make Loose Braids: Before bed, braid your hair loosely to help preserve the waves.
Reapply Styling Products Afterward
- Refresh with Spray: Reapply light texturizing or hairspray throughout the day if needed.
- Scrunch Hair Gently: Use your fingers to scrunch and revive flattened waves.
Following these tips keeps your beach waves looking fabulous for hours. Practice makes perfect, so don’t hesitate to experiment!
Common Mistakes to Avoid When Using a Curling Iron
Using a curling iron can seem simple, but certain mistakes can ruin your waves. Knowing what to avoid ensures better results and protects your hair. Here are common errors to watch out for:
Skipping Heat Protectant
Avoid curling without a heat protectant. Heat damages hair, leading to dryness and split ends. Always apply a heat protectant spray or serum to shield your strands before styling.
Using Incorrect Heat Settings
High heat isn’t always better. Fine hair needs low heat, while thick hair requires medium to high settings. Find the right temperature for your hair type to prevent burns or weak waves.
Wrapping Too Much Hair
Don’t use big sections for curling. Smaller sections create more defined, lasting waves. Large sections result in loose, uneven curls.
Holding Hair Too Long
Never hold the hair on the iron for more than 10 seconds. Overheating causes damage and limp curls. Be sure to release promptly after holding briefly.
Overloading Hair with Products
Using excessive products weighs hair down. Stick to light sprays or creams for texture. Avoid heavy applications that make your waves flat or greasy.
Not Letting Curls Cool
Touching curls immediately causes them to lose shape. Let them cool completely to set. Cool waves last longer and look more natural.
Using the Wrong Barrel Size
Choose a barrel size suited to your hair length. Small barrels work well for shorter hair. Medium and large barrels create looser waves for longer hair.
Twisting or Pulling While Wrapping
Avoid twisting or tugging while styling. Wrap smoothly around the barrel. Twisting leads to uneven patterns or tangled strands.
Skipping Cleaning Your Iron
Regularly clean your curling iron to remove product buildup. Dirty tools distribute heat unevenly and can damage your hair.
By being mindful of these mistakes, you’ll achieve better beach waves effortlessly. Proper technique and preparation are key to flawless styling.
Choosing the Right Beach Wave Curling Iron for Your Hair Type
Selecting the correct curling iron ensures better styling results and protects your hair. Here are key factors to consider:
Consider Your Hair Length
- Short Hair: Choose a curling iron with a smaller barrel (about 1 inch). It creates tighter waves for shorter strands.
- Medium Hair: Opt for a medium barrel (1.25–1.5 inches). It provides balanced, loose waves.
- Long Hair: Large barrels (1.5–2 inches) are best for longer hair. They create natural, flowing waves.
Match Barrel Material to Hair Needs
- Fine Hair: Use curling irons with ceramic barrels. They reduce heat damage and create smooth waves.
- Thick Hair: Tourmaline barrels work best. They fight frizz and handle higher heat effectively.
- Frizzy Hair: Opt for irons with ionic technology. It minimizes frizz and enhances shine.
Heat Settings for Hair Type
- Fine or Damaged Hair: Use low heat settings (250–300°F). It prevents further damage.
- Normal Hair: A medium setting (300–375°F) works well. It balances heat and styling.
- Thick or Coarse Hair: Higher settings (375–450°F) may be necessary for effective curls.
Features to Look For
- Adjustable Settings: Pick a curling iron with adjustable temperature for versatility.
- Ergonomic Design: Comfortable handles and swivel cords prevent wrist strain.
- Dual Voltage: Choose this feature if you travel often.
Price vs. Quality
- Budget-Friendly: Affordable models work well for occasional use.
- Premium Options: Invest in higher-end tools for frequent styling and better technology.
Choosing the right curling iron simplifies creating perfect beach waves tailored for your hair. Prioritize your needs for optimal results.
Maintenance and Care for Your Curling Iron
Proper maintenance ensures your beach wave curling iron stays effective and lasts longer. Follow these steps to keep your tool in top shape:
Clean Your Curling Iron Regularly
- Remove Product Buildup: Wipe the barrel with a damp cloth after each use.
- Use Gentle Cleaners: Avoid harsh chemicals. A mild soap solution works well.
- Pay Attention to Heat Settings: Let the iron cool completely before cleaning.
Store Correctly
- Avoid Tangling Cords: Wrap the cord loosely to prevent damage.
- Use Heat-Resistant Cases: Protect the iron during storage and travel.
- Keep in a Dry Place: Store in a clean area, away from moisture.
Check for Damage
- Inspect the Barrel: Look for scratches or peeling that might hinder performance.
- Test the Temperature Settings: Ensure the heat control works smoothly.
- Examine the Cord: Replace frayed or damaged cords immediately.
Practice Safety Measures
- Unplug After Use: Turn off and unplug to prevent overheating.
- Avoid Water Exposure: Keep your curling iron away from sinks and showers.
Upgrade When Necessary
- Watch for Performance Issues: If it heats unevenly or loses effectiveness, consider replacing.
- Invest in Reliable Brands: Choose durable options for better styling and longevity.
Maintaining your curling iron improves its lifespan and ensures safe, effective use over time.
Can I bring my curling iron in my carry-on luggage?
Yes, you can bring your curling iron in your carry-on luggage when flying. According to the Transportation Security Administration (TSA) guidelines in the United States and similar regulations in many other countries, curling irons are permitted in both carry-on and checked baggage.
However, here are a few things to keep in mind:
- Battery-Powered Curling Irons: If your curling iron is battery-operated, ensure that the batteries comply with airline regulations, as there are specific restrictions on lithium batteries.
- Check Airline Policies: While the TSA allows curling irons, it’s a good idea to check with your specific airline for any additional restrictions or guidelines they may have.
- Pack Carefully: Make sure to pack your curling iron in a way that prevents it from being damaged or damaging other items in your luggage.
- Heat Resistance: Ensure that the curling iron is completely cool before packing it to avoid any risk of burns or damage to your belongings.
Overall, bringing a curling iron in your carry-on is generally allowed, but always double-check the latest regulations before your trip.
Conclusion: Embrace the Beachy Vibes
In conclusion, learning how to use a beach wave curling iron can be a game-changer for achieving that effortless summer look. With proper preparation and technique, you can create stunning waves that have the power to transform your hairstyle. Remember to enjoy the process and feel free to experiment with different styles until you find what works best for you. So grab your curling iron, and get ready to rock those fabulous beach waves all summer long!